You’ve just finished making a big batch of squishy dumplings for a craft fair, or maybe to give to your whole class or your child’s class. Twenty of them, maybe thirty. They’re adorable, they’re squishy, and they’re ready to go. And then you remember they all need a little steamer basket.
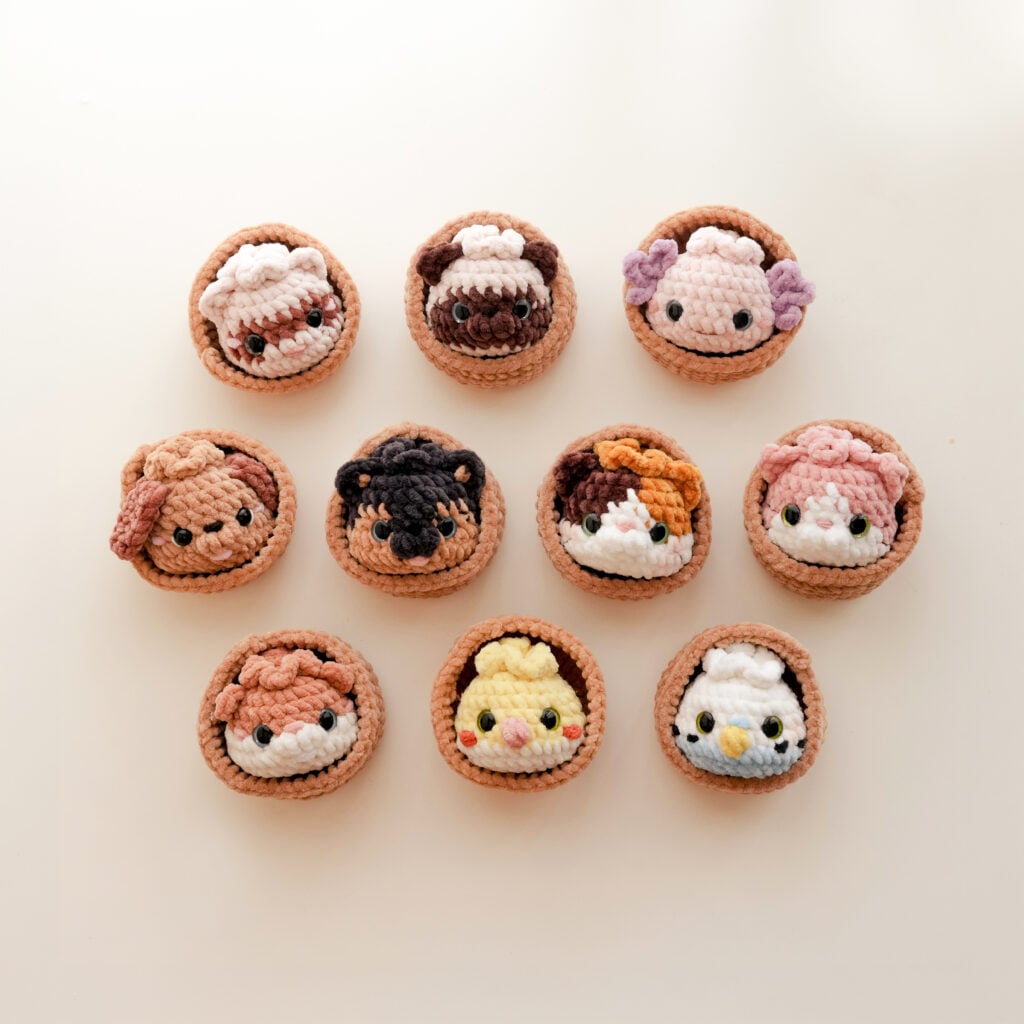
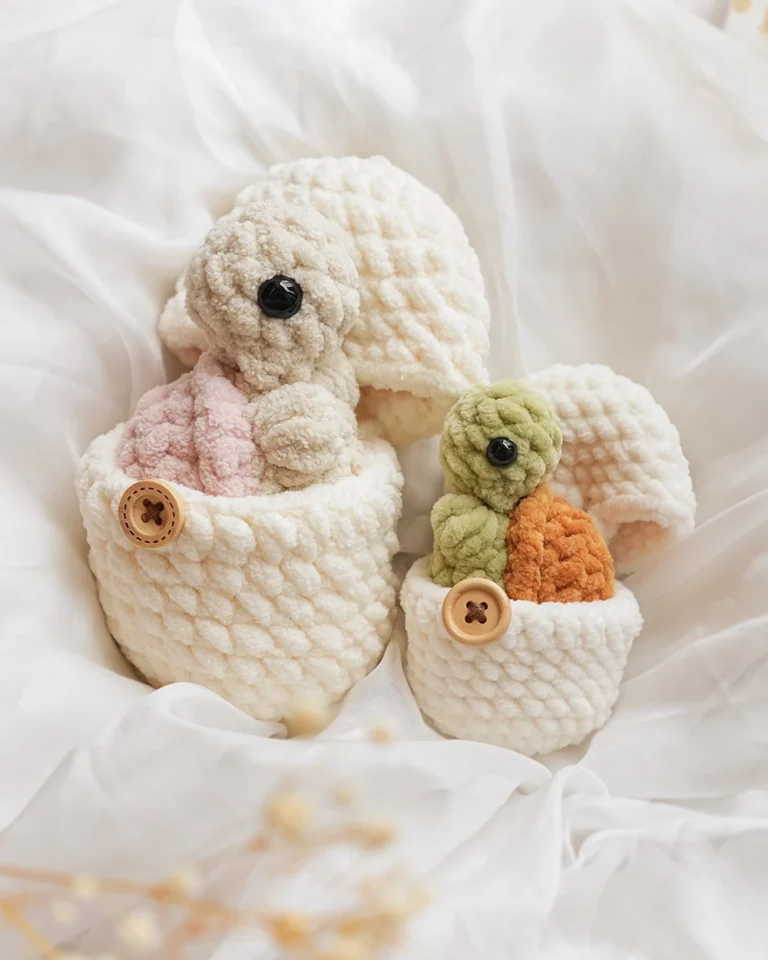
The baskets are cute, but they take time, they eat yarn. And honestly, I’ve gotten so many comments on my dumpling post saying, “These are so cute, but I don’t want to crochet 10 steamer baskets!”
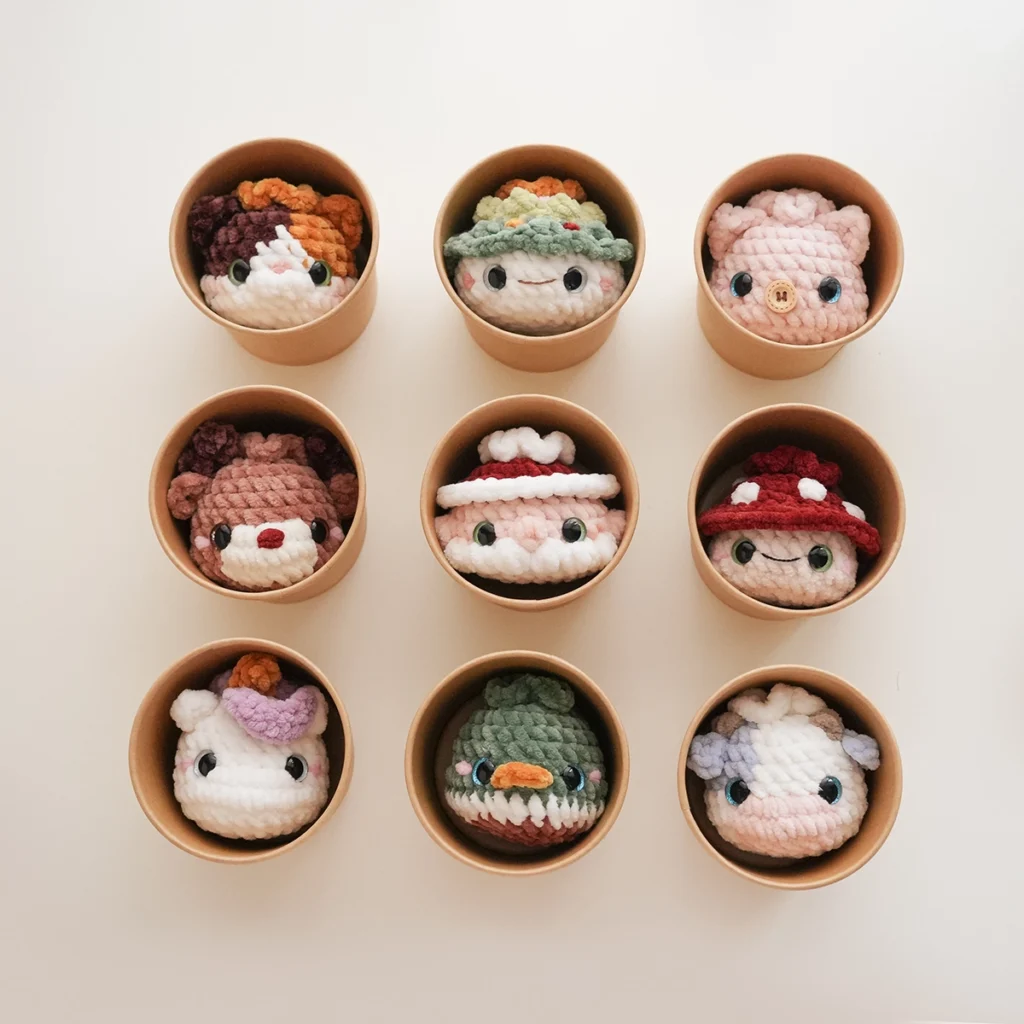
So here’s the swap I’ve been using instead: a 12 oz soup container and a free printable label. It turns into a little mystery box (or blind box, if you want to be trendy about it), and people absolutely love it.
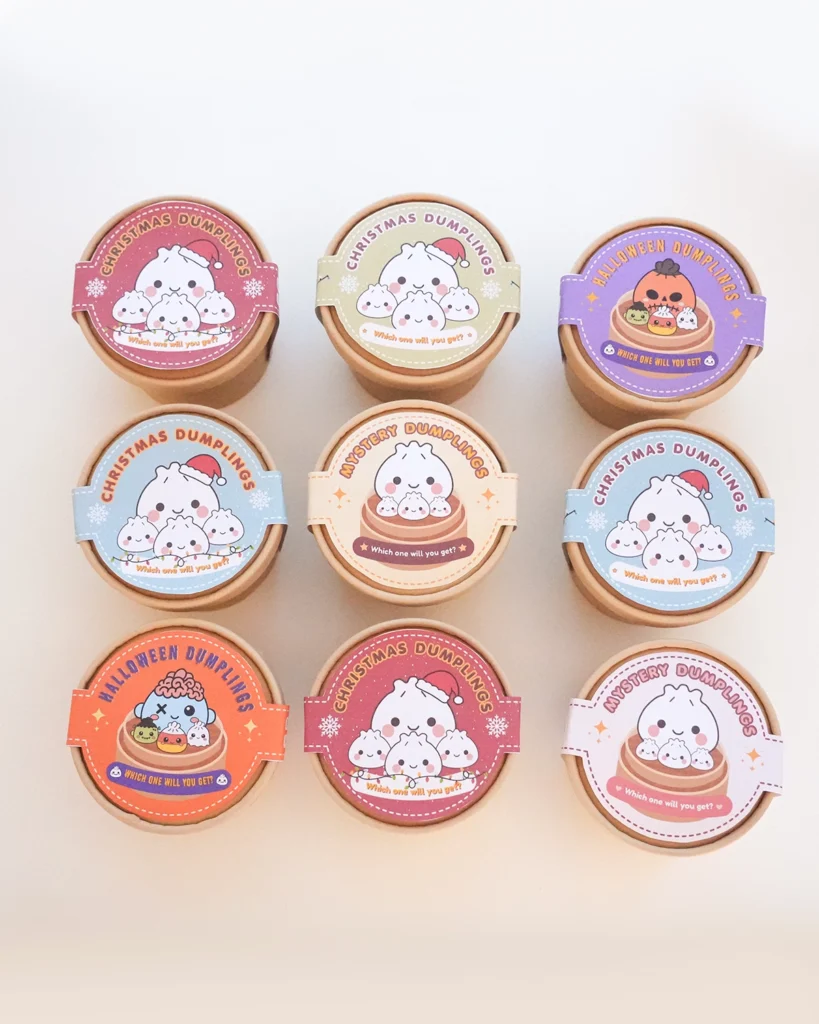
Credit – The Cozy Buckeye
This idea came straight from April at The Cozy Buckeye. She showed it in one of her video about my dumplings and I thought it was so clever I had to try it myself. April is always so generous with her ideas and so supportive of other designers in this community, and I really appreciate her.
Go watch the moment she shares it here: The Cozy Buckeye’s video
Follow her on Instagram: @thecozybuckeye
All of The Cozy Buckeye’s Links: https://linktr.ee/thecozybuckeye
Why a soup container works so well
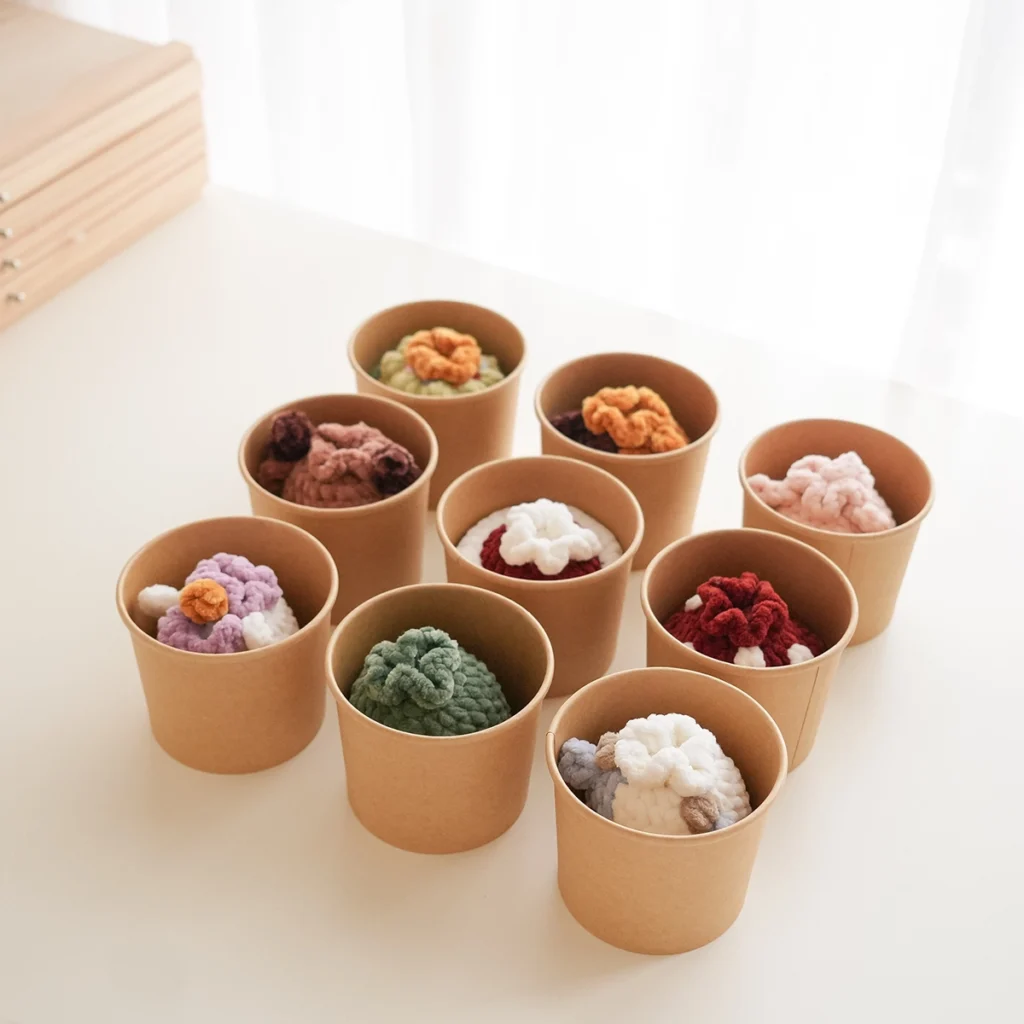
The 12 oz kraft soup cups are basically the perfect size. They look like a tiny takeout container, which fits the whole dumpling theme so nicely, and they hide what’s inside so your customer gets that fun surprise moment when they open it.
A few reasons I love the soup box:
- They’re cheap: Way cheaper than the yarn and hours you’d spend crocheting baskets.
- They stack: Packing up for a market is so much easier when everything is a neat little tower.
- They feel like a gift: A small keychain feels special when it comes in a box with a pretty label.
- They’re reusable: Buyers use them for buttons, storage, little bits and bobs.
Here’s the exact one I use: 12 oz (360 ml) kraft soup containers with lids
What fits inside
Anything up to about 8 cm (3.2 inches) will fit comfortably with the lid on.
That covers:
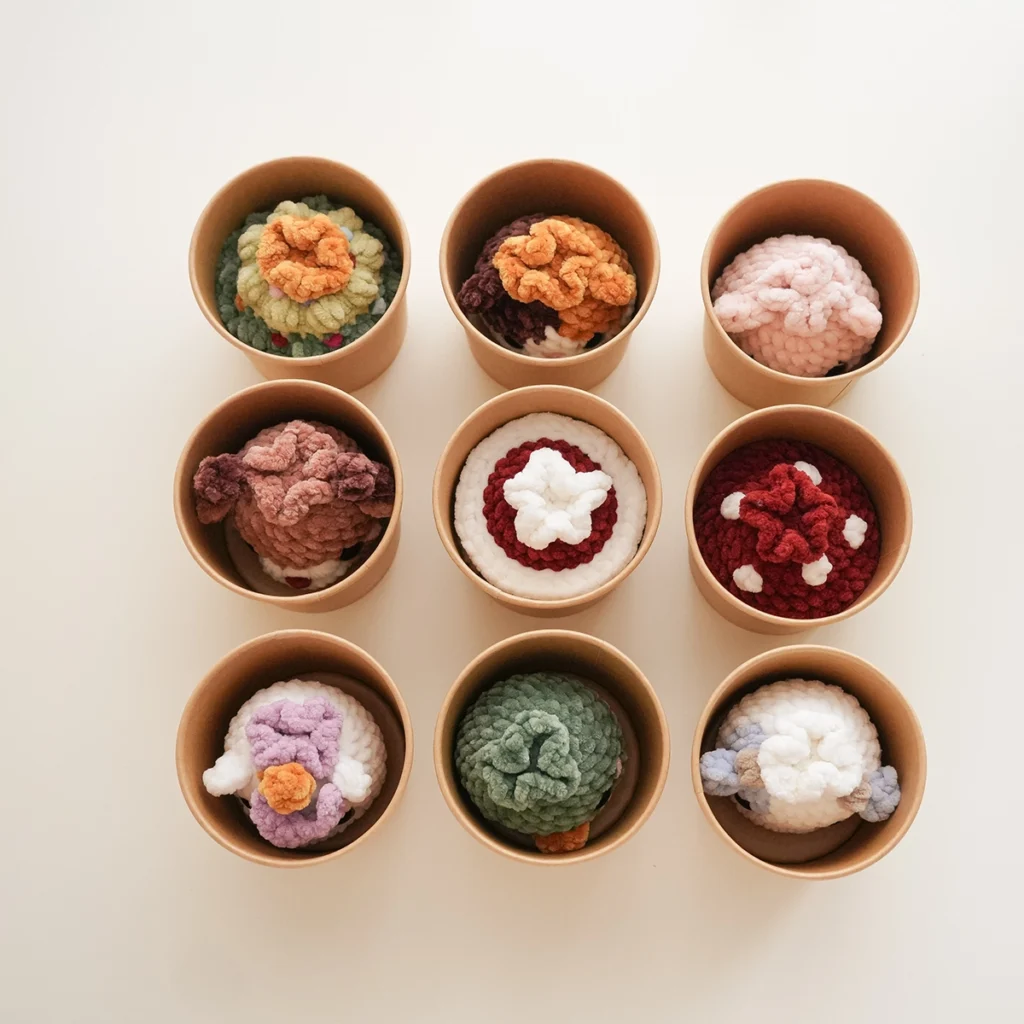
- My no-sew squishy dumpling patterns. They all work up fast, they’re beginner friendly, and they fit the 12oz containers perfectly with Premier Parfait Chenille or any #6 Chenille yarn:
- Mini animals from the hatching animals series
- Small keychains and charms
- Mini plushies
If your piece is on the bigger side, do a test fit before you commit to a whole batch. You want the lid to close without smooshing anything.
Grab the free printable labels
I made a set of printable labels you can use for your own mystery boxes. They’re sized for the lid of the 12 oz container, and there are a few designs in there so you can match whatever theme you’re selling.
Customizable Canva Label
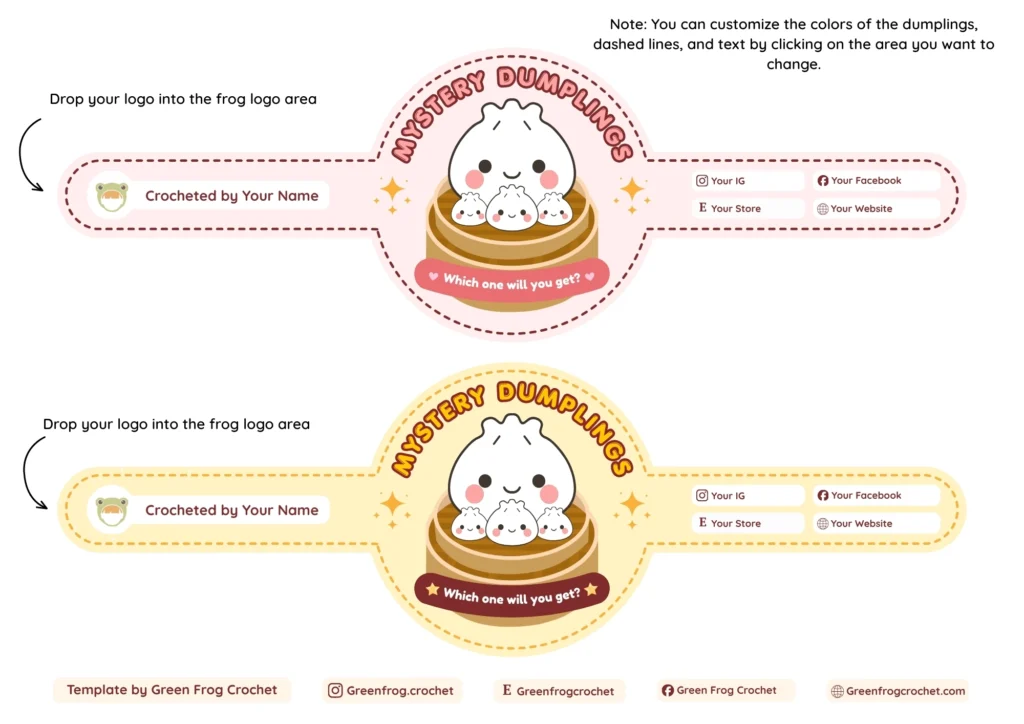
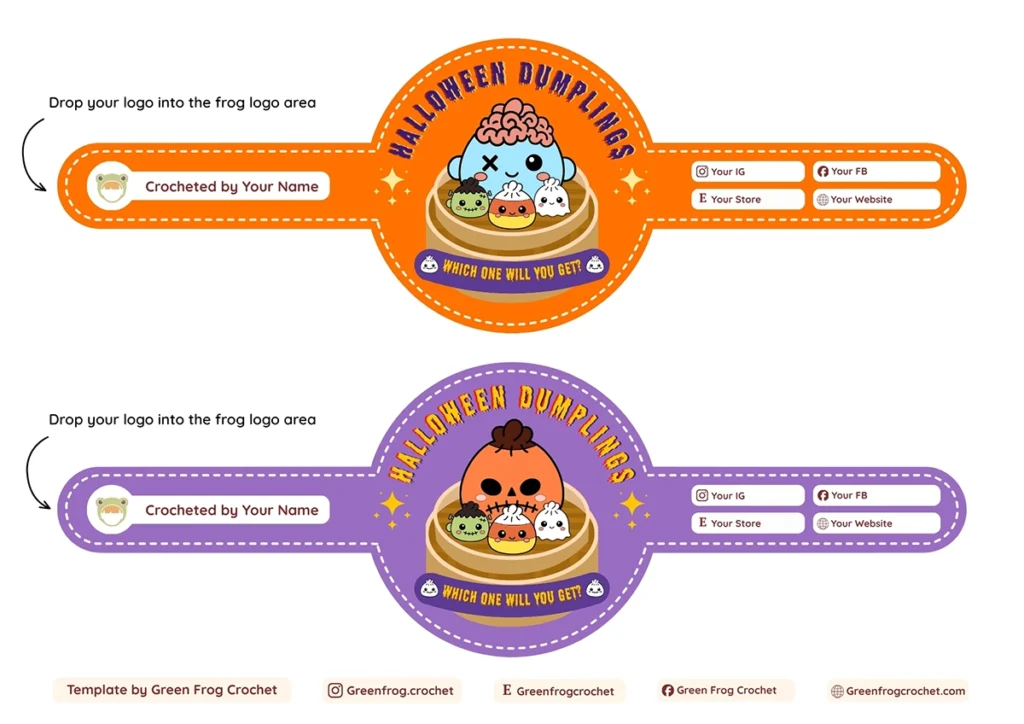
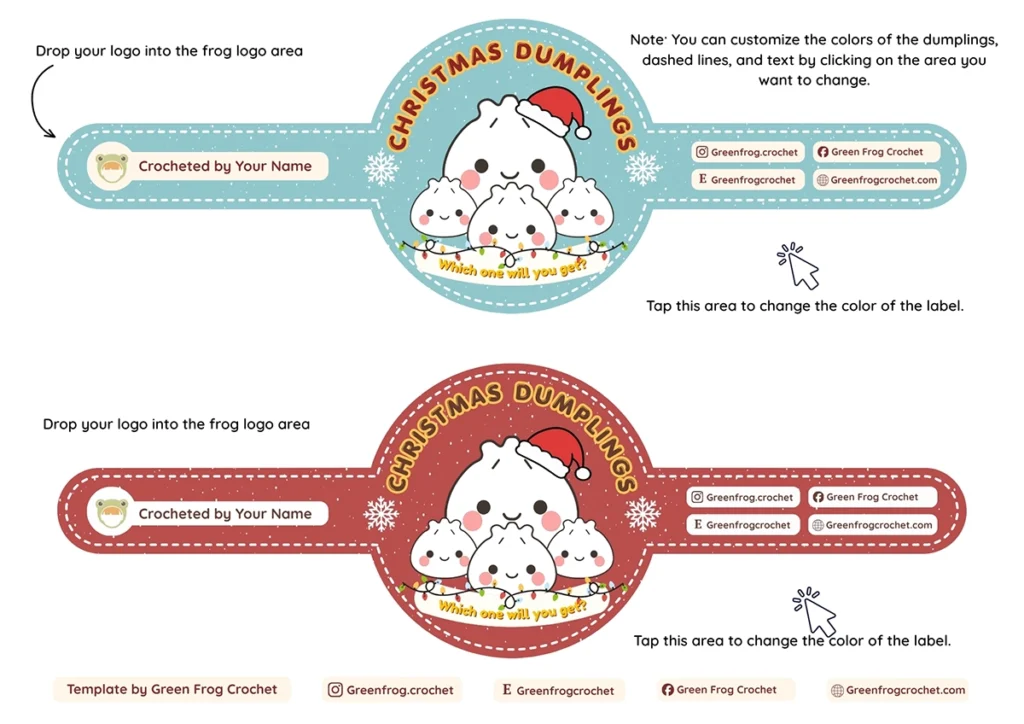
You can customize the text, dumpling colors, and decorative elements. You can even add your own decorations if you’d like. Simply click on the area you want to edit!
Step 1: Open the Canva Template
Click the template link. Canva will open in your web browser or the Canva app. Click “Use template for new design.” This will automatically create a personal copy in your own Canva account.
Step 2: Customize Your Text
Double-click any text box, such as “Crocheted by YOUR NAME,” to add your shop name, social media handle, or a personal message. You can also change the font, size, and text color using the top toolbar.
Step 3: Change Colors & Elements
Click on the background, dumplings, or decorative elements to change their colors and match your brand or personal style. You can also add your own decorative elements if you’d like.
Step 4: Print & Package
Once you’re happy with your design, click Share in the top-right corner, then click Download. Choose PDF Print for the best printing quality. Print the labels, cut along the lines, and wrap them around your adorable box!
Don’t use Canva?
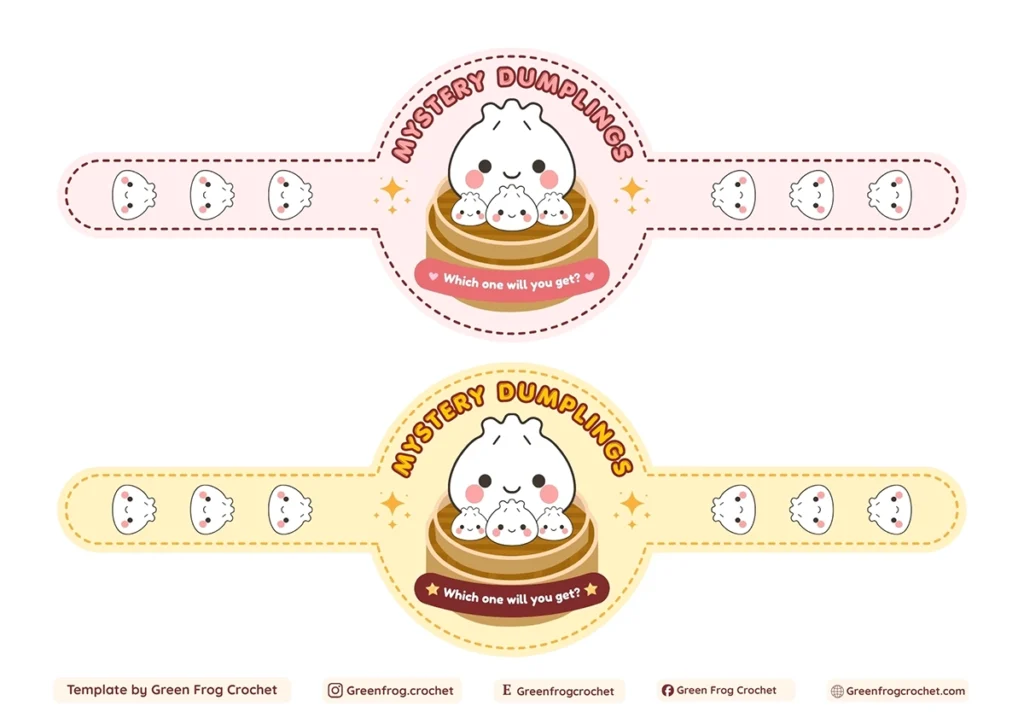
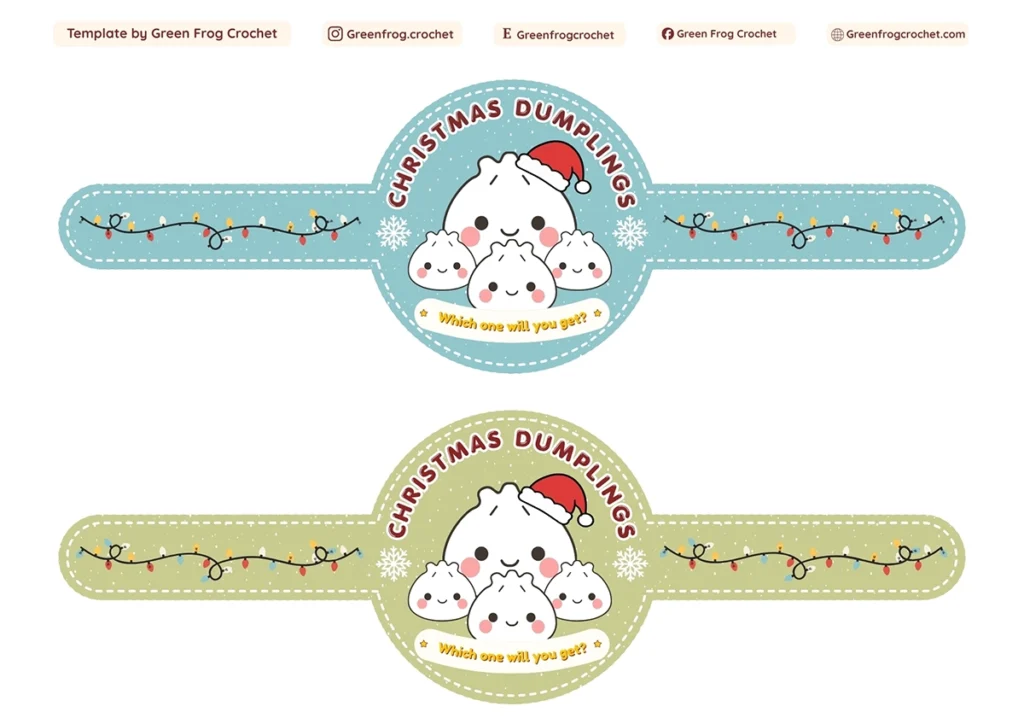
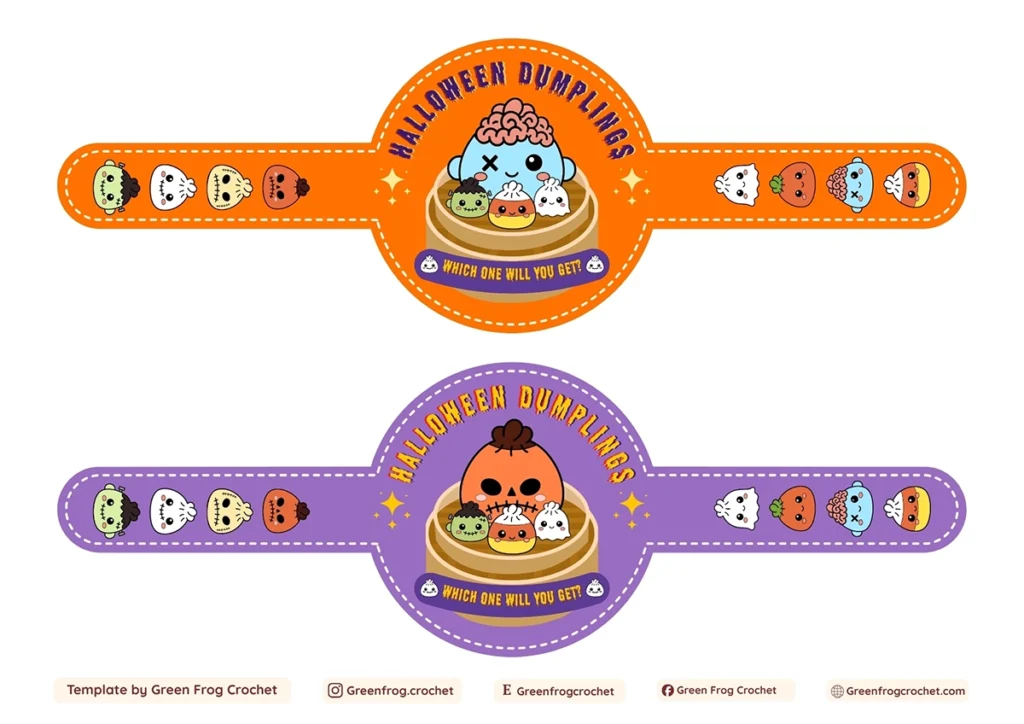
No worries! You can download the ready-made label I created below and print it directly.
How to print and use labels
- Use your printer. Print on sticker paper if you want it easy, or regular cardstock if you’d rather glue or tape it on.
- Cut along the guides.
- Pop your finished piece inside, snap the lid on.
- Stick the label on the lid, and both sides of the box.
That’s it. No yarn, no extra hook time, no last minute panic crocheting.
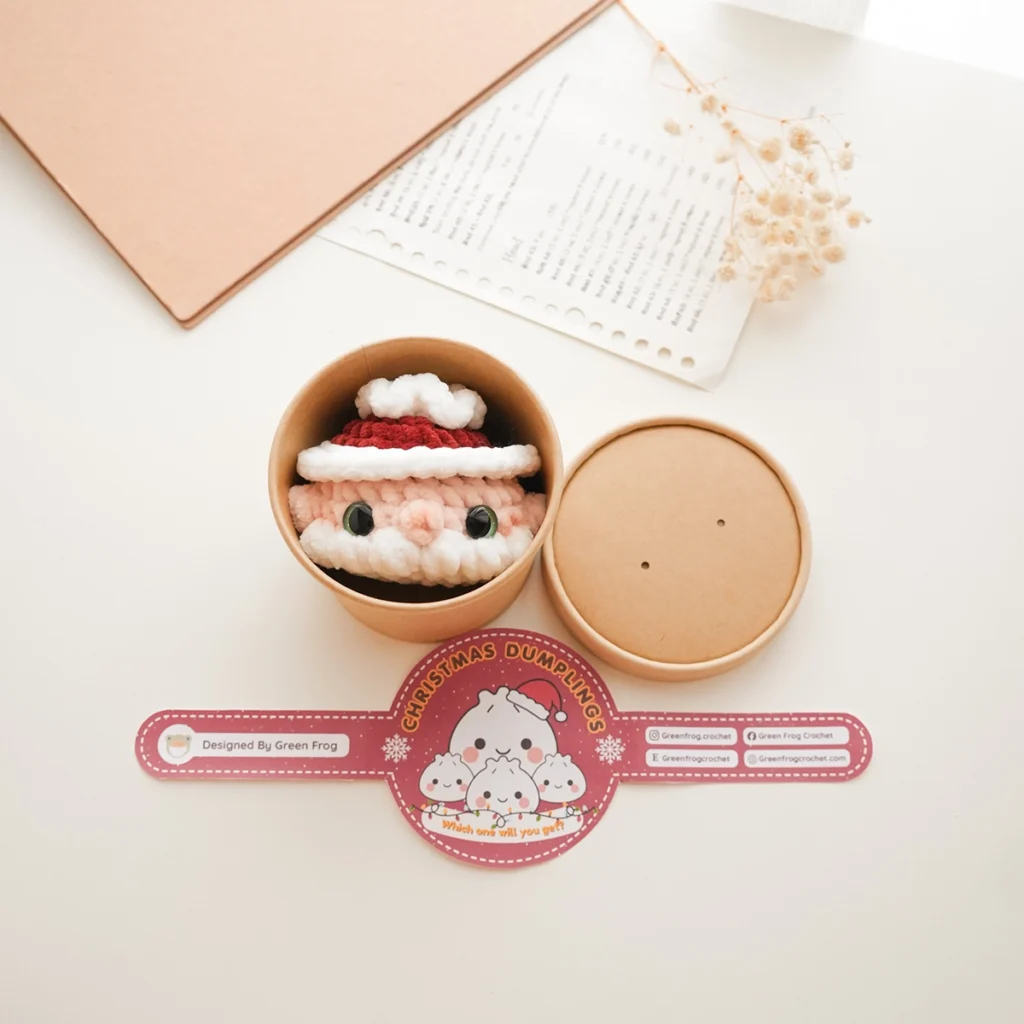
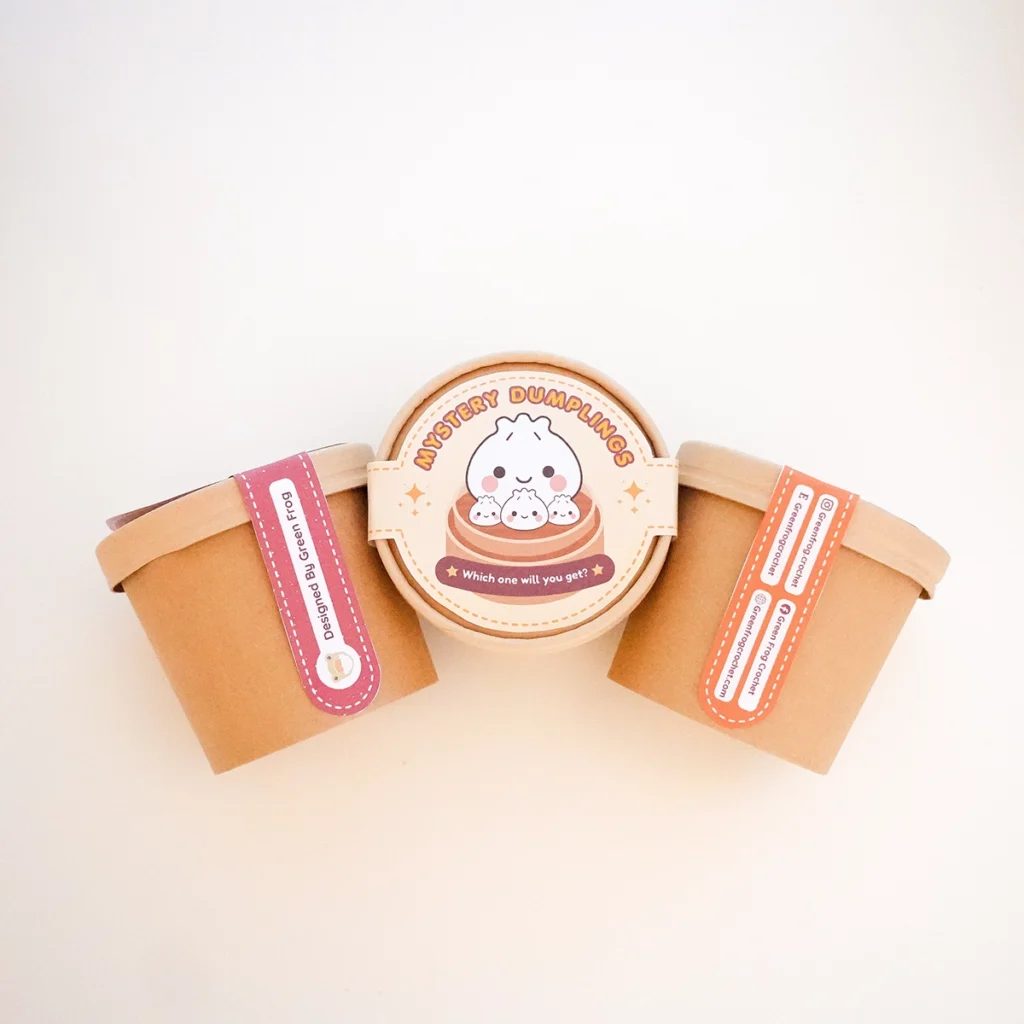
If you make some, I’d love to see them! Tag me on Instagram or send me a photo. Seeing your versions is genuinely my favorite part of doing this.
Get Free Patterns Straight to Your Inbox
And if you want more free printables, pattern tips, and first looks at new releases, come join my email list. I send the good stuff straight to your inbox.
You can find more crochet patterns in our Etsy and Website shops.
For more inspiration and behind-the-scenes contents, join me over on Facebook or Instagram!
Happy crocheting!
This post contains affiliate links. If you buy through them I may earn a small commission at no extra cost to you. Thank you for supporting Green Frog Crochet!