Hi friends!
My Instagram page just reached 100k followers! Yay!!! Thank you all so much for all your love, I have never believed that I could go big like this! Let’s celebrate with a free pattern from Green Frog!
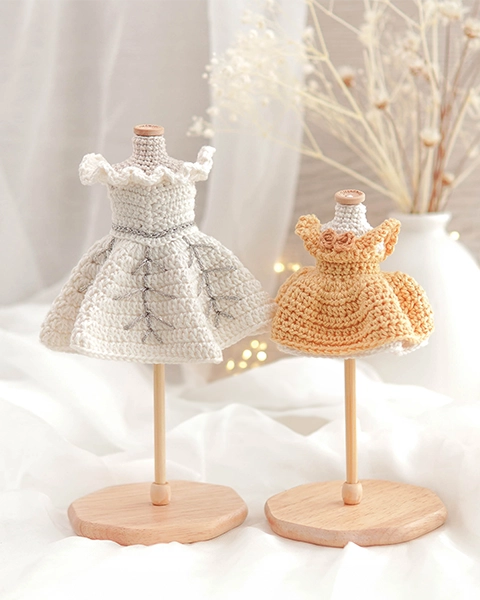
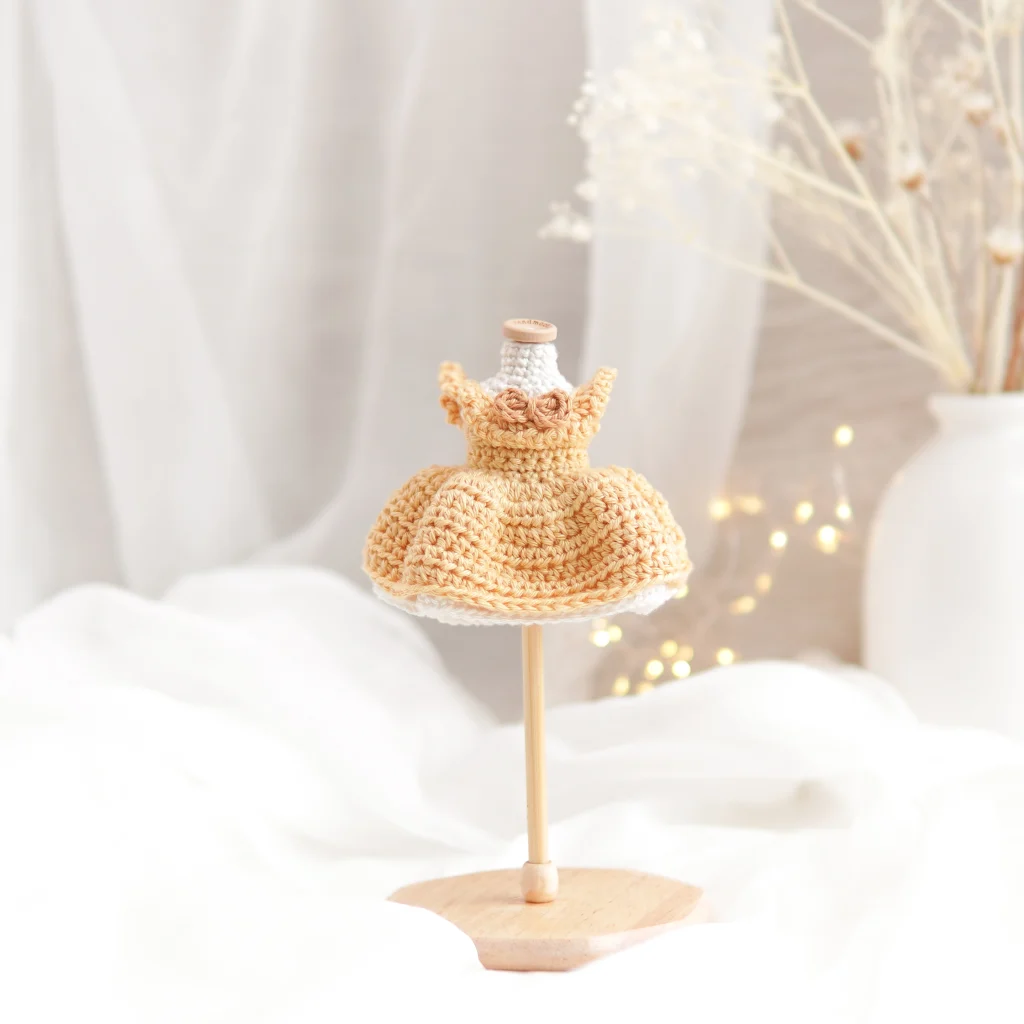
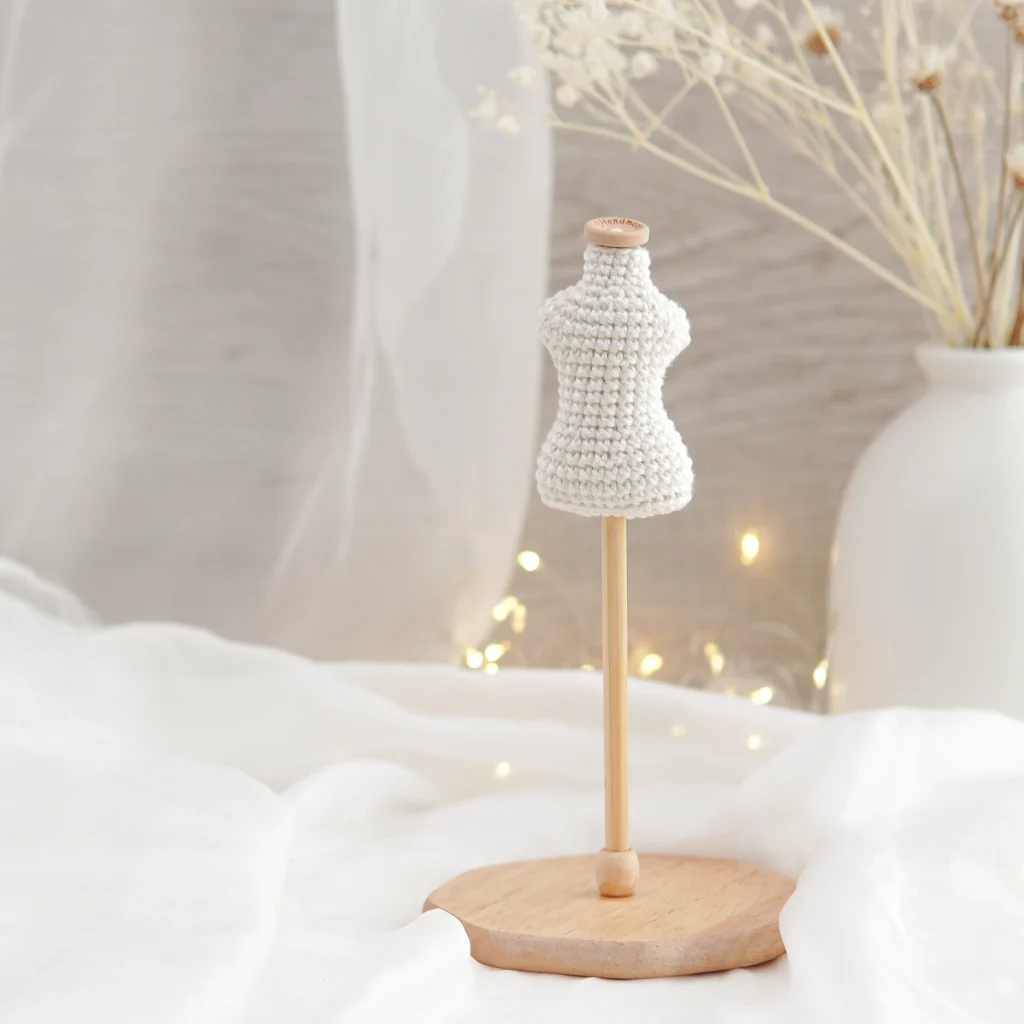
I think I am mostly known as a doll pattern maker. So today, we have a brand new thing to do if you are a crochet doll lover! This Mannequin Dress Form is a must-have accessory for handmade doll enthusiasts. It serves as both a professional display and a practical tool for measuring and fitting outfits without needing the actual doll.
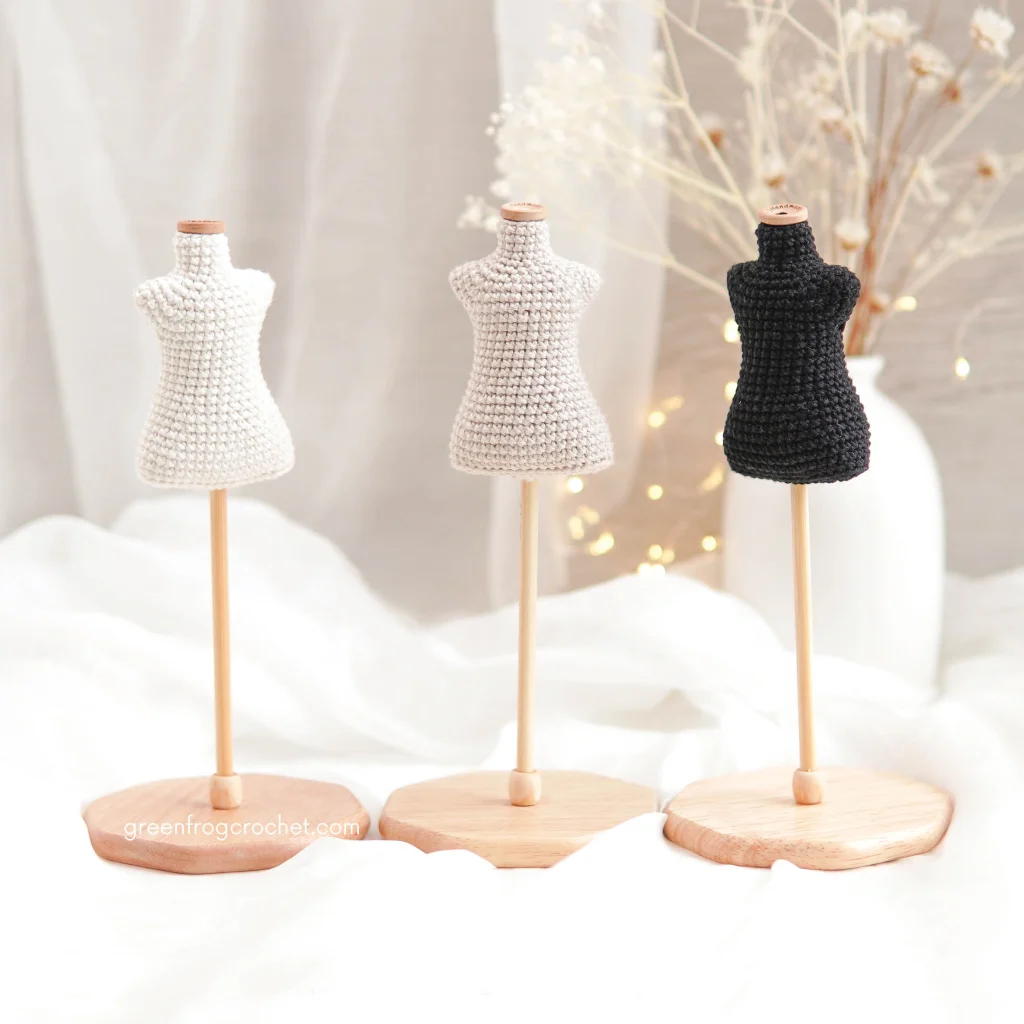
In this post, you can find free patterns for the mannequin in 2 different sizes.
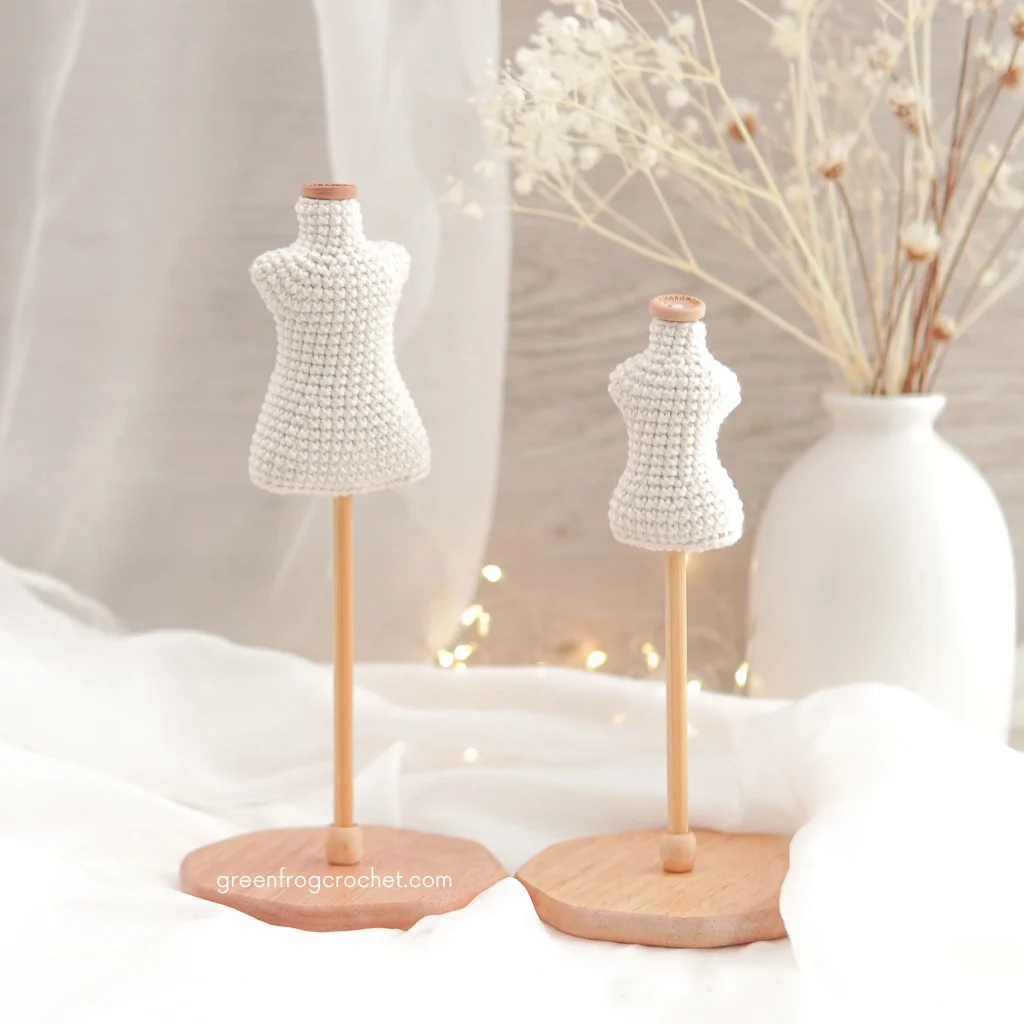
The big size fits with my 23-26 cm tall dolls.
The small size fits with my smaller dolls (20 cm and below).
You can find links to my patterns here:
- Click here for 25 cm doll patterns.
- Click here for 23 cm doll patterns.
- Click here for 20 cm doll patterns.
Let’s get started!
Copyright
This pattern is for personal use only. Please do not copy, translate, share, or resell this pattern or any part of it. Thank you so much for supporting Green Frog Crochet!
Material & Tools
- Sport cotton yarn and 2.0 mm hook. I used Scheepjes Catona yarn, you can find it HERE.
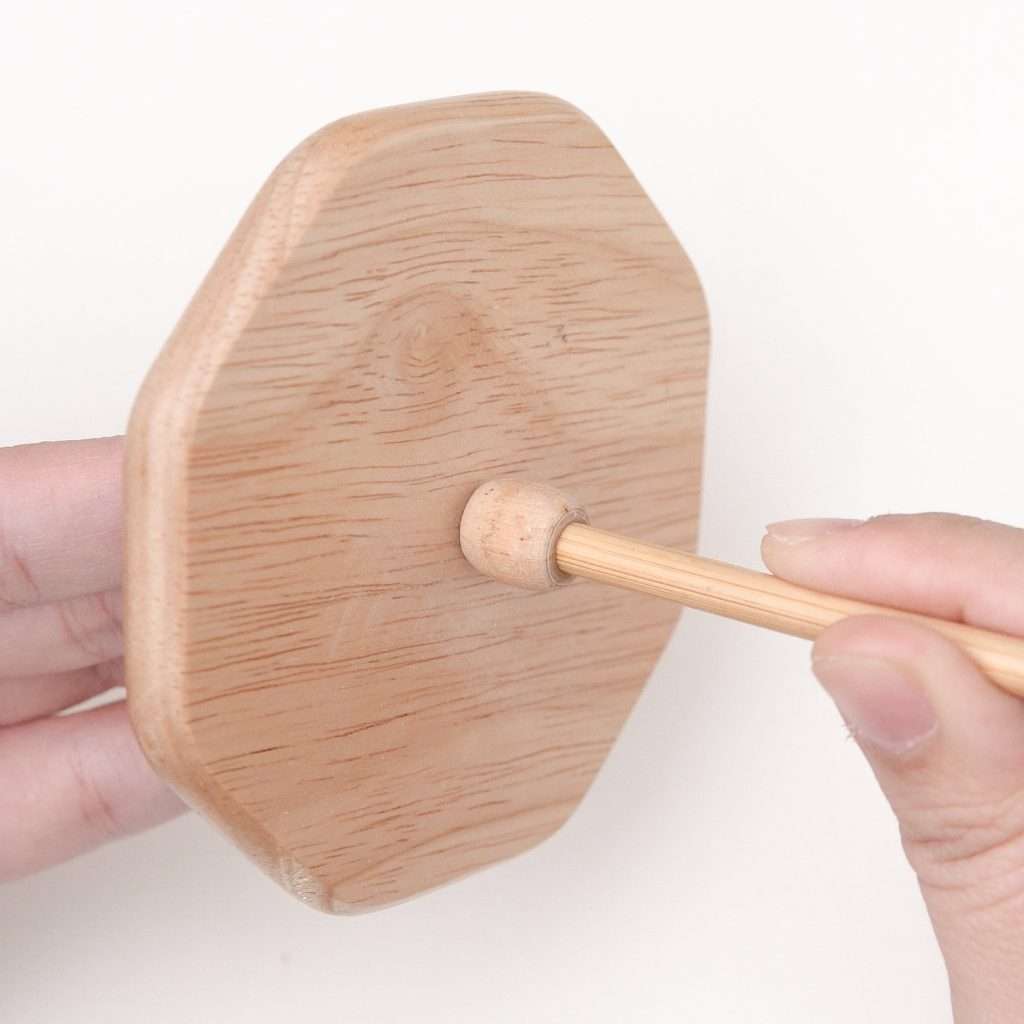
- Bamboo knitting needle (5.5 mm) for the stand, bamboo coaster (9 cm) for the stand base of the mannequin.
- Wooden button for the top of the mannequin (15 mm).
- Sewing needle, scissor, stitch markers, fiberfill.
- Hot glue to cover the tip of the yarn needle. Superglue to glue the knitting needle.
ABBREVIATIONS
This pattern is written in US terms.
Rnd: round
slst: slip stitch
sc: single crochet stitch
inc: single crochet increase (2 sc in a same stitch)
inc4: increase with 4 sc in same stitch
inc3: increase with 3 sc in same stitch
BLO: crochet through back loops only
dec: single crochet decrease
BIGGER SIZE
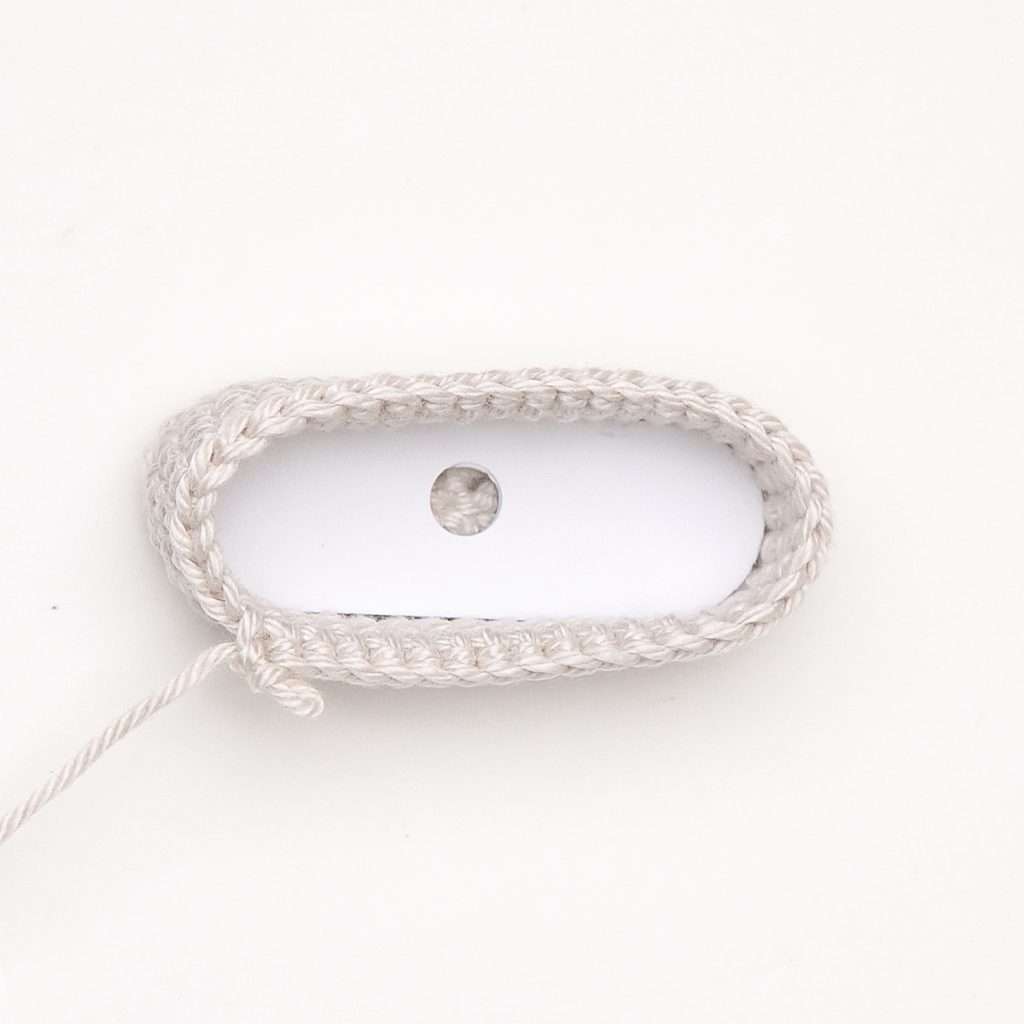
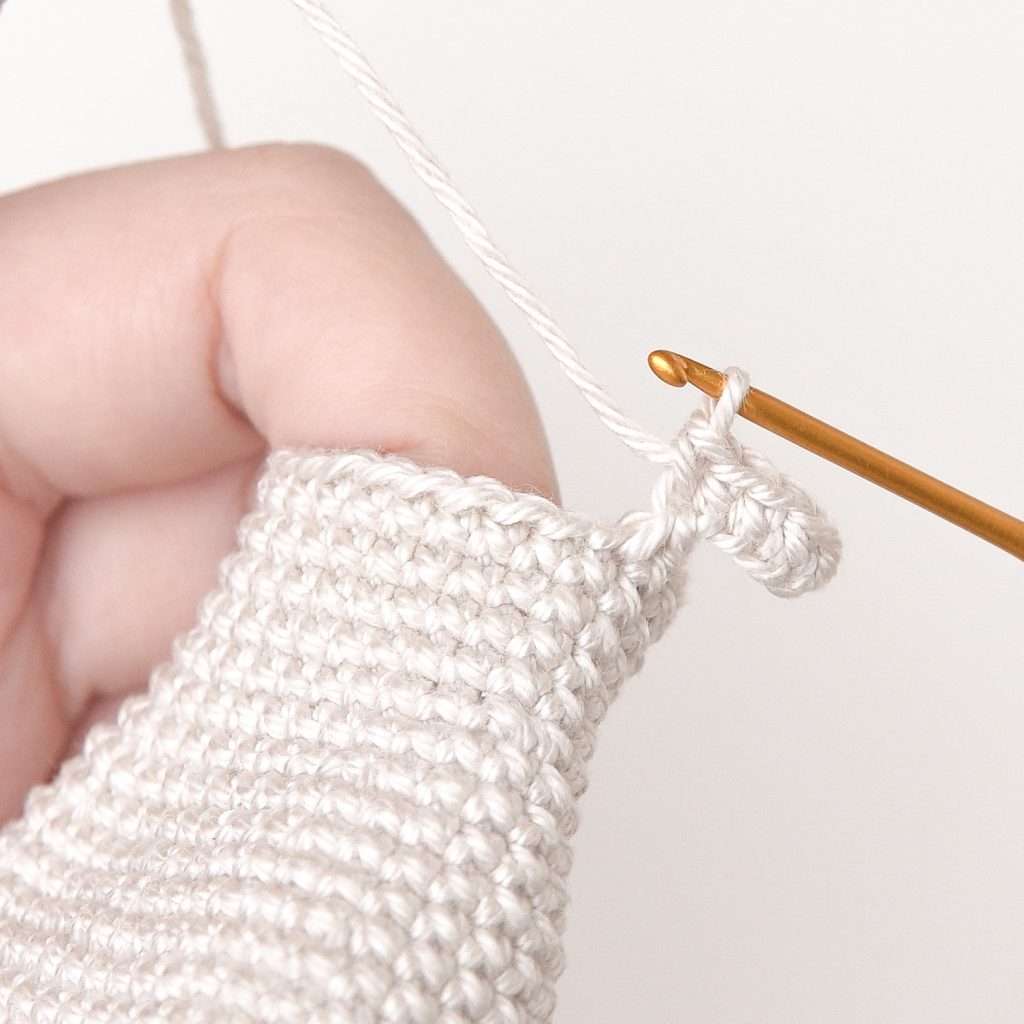
Work in spiral rounds. First, make an oval by crocheting around a foundation chain.
Rnd 1: Chain 13, start to crochet in the second chain from the hook: 1 inc3, 10 sc, 1 inc4, continue to crochet on the next stitches on the opposite side of the chain: 11 sc (28)
Rnd 2: 3 inc, 10 sc, 4 inc, 10 sc, 1 inc (36)
Rnd 3: 2 sc, (1 sc, 1 inc) * repeat 2 times, 12 sc, (1 sc, 1 inc)* repeat 3 times, 11 sc, 1 inc (42)
Rnd 4: BLO 42 sc (42)
Rnd 5 – Rnd 7: 42 sc (42) [3 Rounds]
Place a pad inside the body to flatten the base.
Rnd 8: (5 sc, 1 dec) * repeat 6 times (36)
Rnd 9: 36 sc (36)
Rnd 10: (7 sc, 1 dec) * repeat 4 times (32)
Rnd 11: 32 sc (32)
Rnd 12: (6 sc, 1 dec) * repeat 4 times (28)
Rnd 13: 28 sc (28)
Rnd 14: 2 sc, 1 dec, 14 sc, 1 dec, 8 sc (26)
Rnd 15 – Rnd 18: 26 sc (26) [4 Rounds]
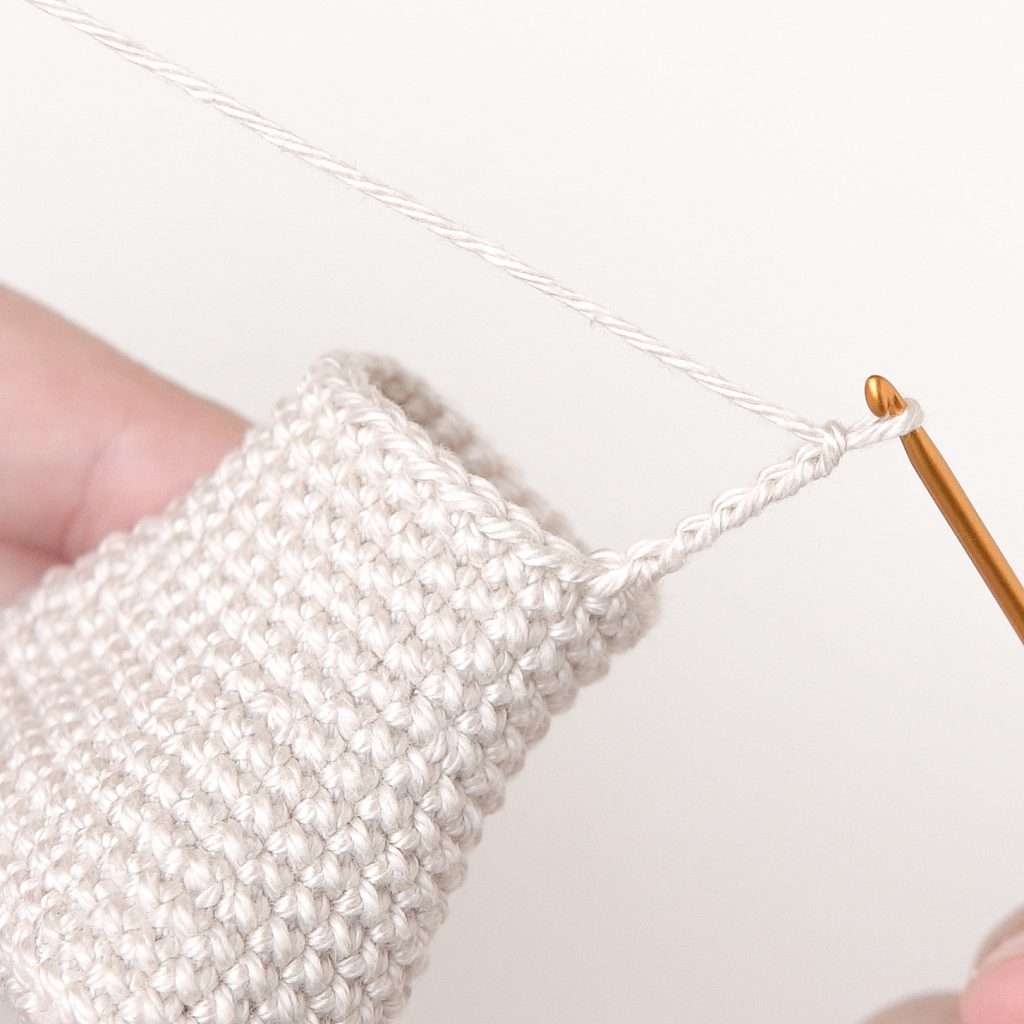
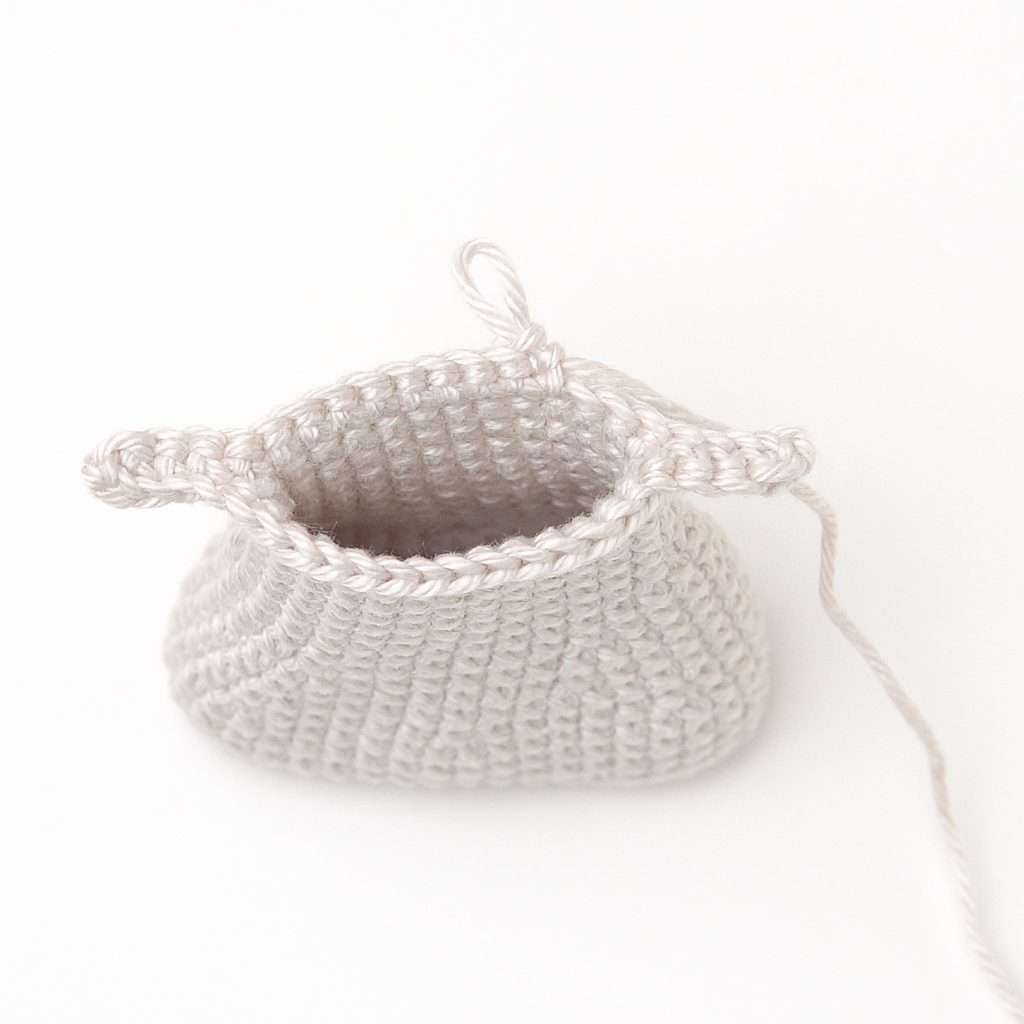
Next, we will crochet the arm part of the mannequin.
Rnd 19: 3 sc in the body, chain 5, 1 sc in the second chain from the hook, sc in the next 3 chains, 14 sc in the body, chain 5, 1 sc in the second chain from the hook, sc in the next 3 chains, 9 sc in the body. (44)
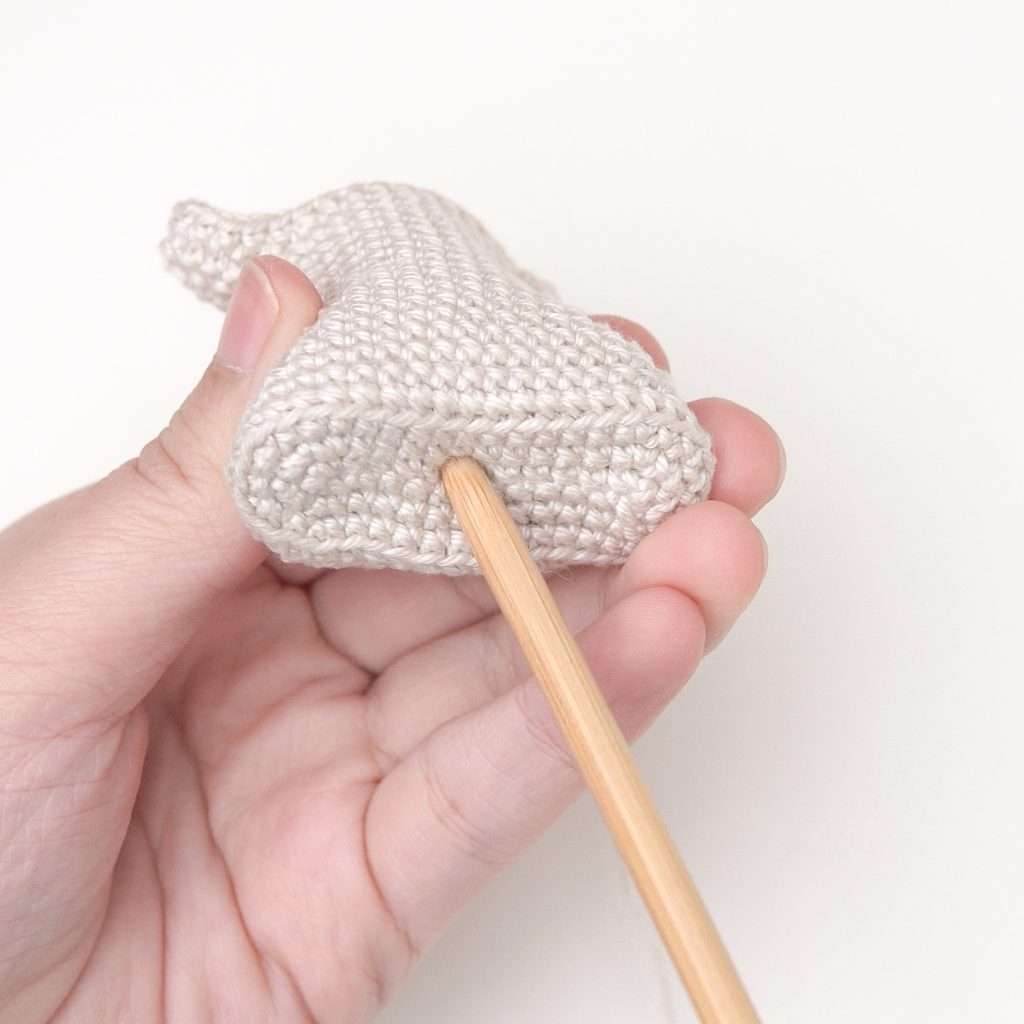
Rnd 20: 6 sc, 1 inc, skip 1 stitch, 1 inc, 20 sc, 1 inc, skip 1 stitch, 1 inc, 12 sc (46)
Insert the stick, cover the tip of the stick with hot glue.
Rnd 21: 46 sc (46)
Rnd 22: 1 sc, 2 dec, 7 sc, 2 dec, 8 sc, 2 dec, 7 sc, 2 dec, 7 sc (38)
Rnd 23: 2 dec, 5 sc, 2 dec, 6 sc, 2 dec, 5 sc, 2 dec, 6 sc (30)
Rnd 24: (3 sc, 1 dec) * repeat 6 times (24)
Rnd 25: (2 sc, 1 dec) * repeat 6 times (18)
Rnd 26: 3 sc, 1 dec, 2 sc, 1 dec, 3 sc, 1 dec, 2 sc, 1 dec (14)
Rnd 27 – Rnd 30: 14 sc (14) [4 rounds]
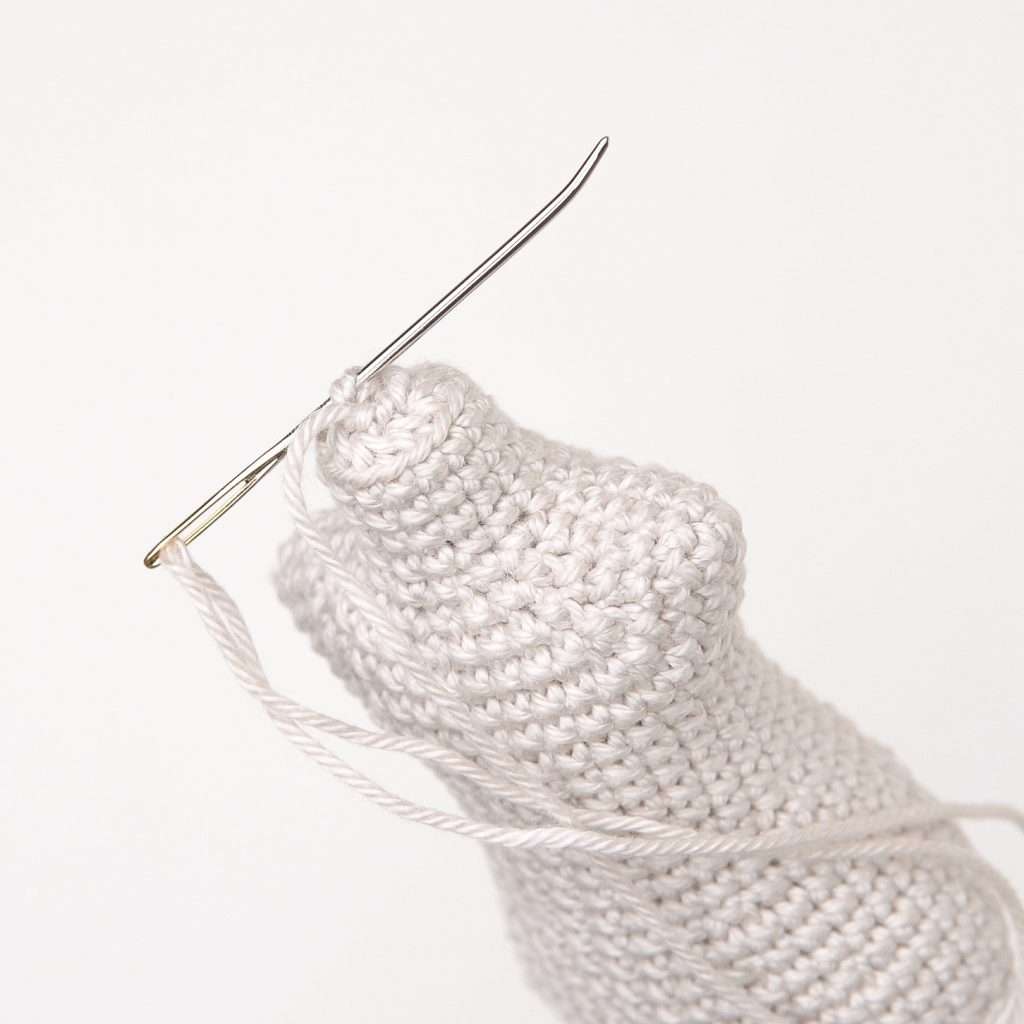
Stuffing the body and the neck.
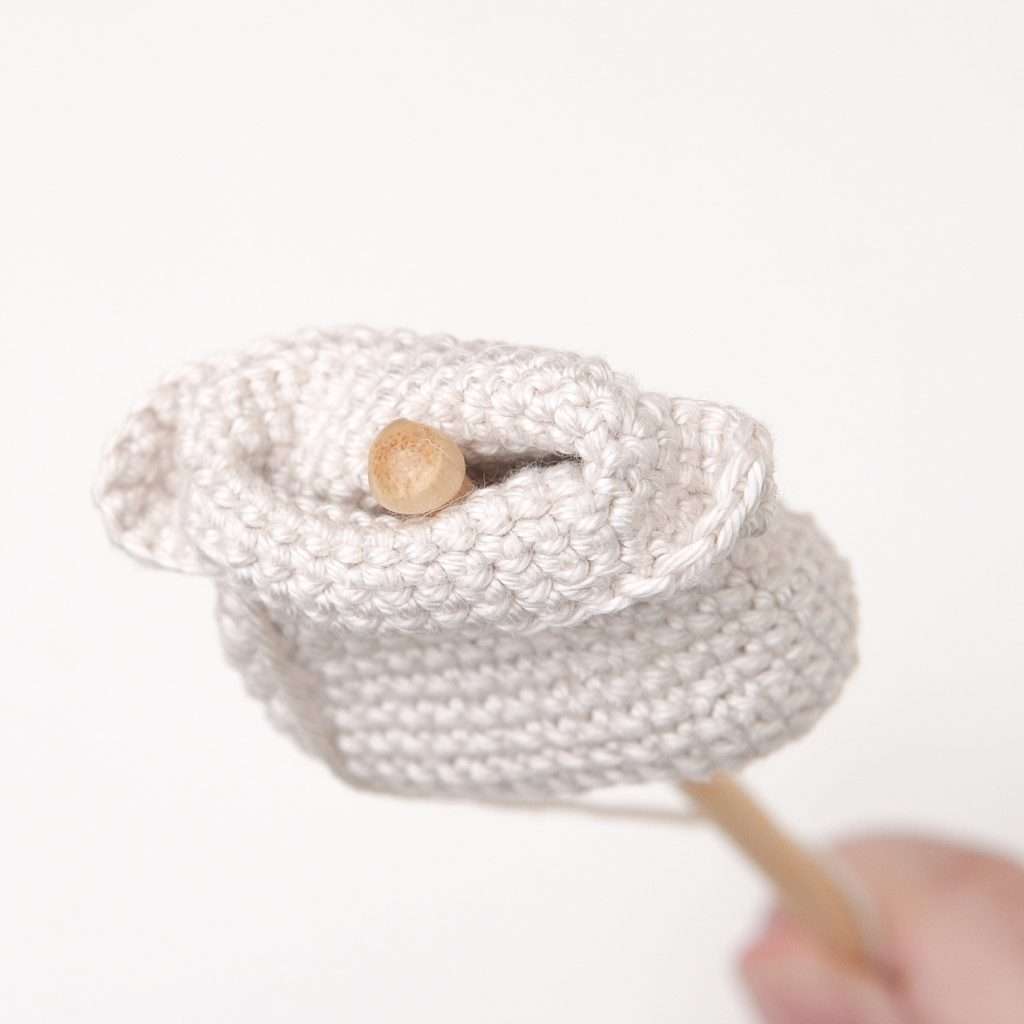
Rnd 31: BLO 7 dec (7)
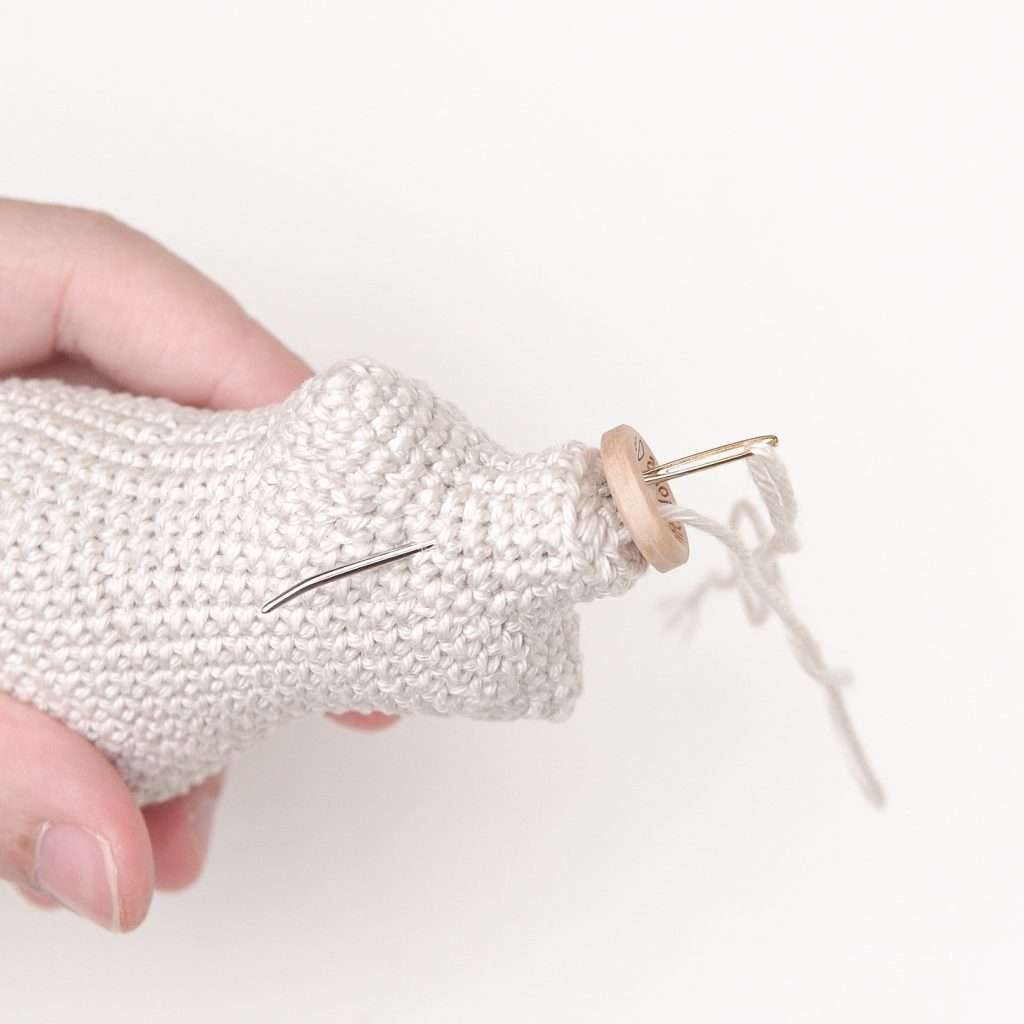
Fasten off and leave a long tail. Use a sewing needle, weave the yarn tail through the front loops of the last round and pull it tight to close the hole, sew the yarn tail through the button 2 or 3 times, then weave the yarn tail. Glue the mannequin on top of the wooden coaster. (Pic.7-9)
SMALLER SIZE (Princess Size)
With smaller size, please see the reference pictures of the bigger size above.
Work in spiral rounds. First, make an oval by crocheting around a foundation chain.
Rnd 1: Chain 7, start to crochet in the second chain from the hook: 1 inc3, 4 sc, 1 inc4, continue to crochet on the next stitches on the opposite side of the chain: 5 sc (16)
Rnd 2: 3 inc, 4 sc, 4 inc, 4 sc, 1 inc (24)
Rnd 3: 2 sc, (1 sc, 1 inc) * repeat 2 times, 6 sc, (1 sc, 1 inc)* repeat 3 times, 5 sc, 1 inc (30)
Rnd 4: BLO 30 sc (30)
Rnd 5 – Rnd 6: 30 sc (30) (2 rounds)
Rnd 7: (3 sc, 1 dec) * repeat 6 times (24)
Place a pad inside the body to flatten the base.
Rnd 8: 24 sc (24)
Rnd 9: (2 sc, 1 dec) * repeat 6 times (18)
Rnd 10 – Rnd 13: 18 sc (18) (4 rounds)
Rnd 14: 2 sc in the body, chain 3, 1 sc in the second chain from the hook, sc in the next chain, 10 sc in the body, chain 3, 1 sc in the second chain from the hook, sc in the next chain, 6 sc in the body. (28)
Rnd 15: 3 sc, 1 inc, skip 1 stitch, 1 inc, 12 sc, 1 inc, skip 1 stitch, 1 inc, 7 sc (30)
Insert the stick, cover the tip of the stick with hot glue.
Rnd 16: 5 sc, 1 inc, 14 sc, 1 inc, 9 sc (32)
Rnd 17: 1 sc, 1 dec, 5 sc, 1 dec, 8 sc, 1 dec, 5 sc, 1 dec, 5 sc (28)
Rnd 18: 1 dec, 5 sc, 1 dec, 6 sc, 1 dec, 5 sc, 1 dec, 4 sc (24)
Rnd 19: (2 sc, 1 dec) * repeat 6 times (18)
Rnd 20: (1 sc, 1 dec) * repeat 6 times (12)
Rnd 21 – Rnd 23: 12 sc (12) [3 rounds]
Stuffing the body and the neck.
Rnd 24: BLO 6 dec (6)
Fasten off and leave a long tail. Use a sewing needle, weave the yarn tail through the front loops of the last round and pull it tight to close the hole, sew the yarn tail through the button 2 or 3 times, then weave the yarn tail. Glue the mannequin on top of the wooden coaster.
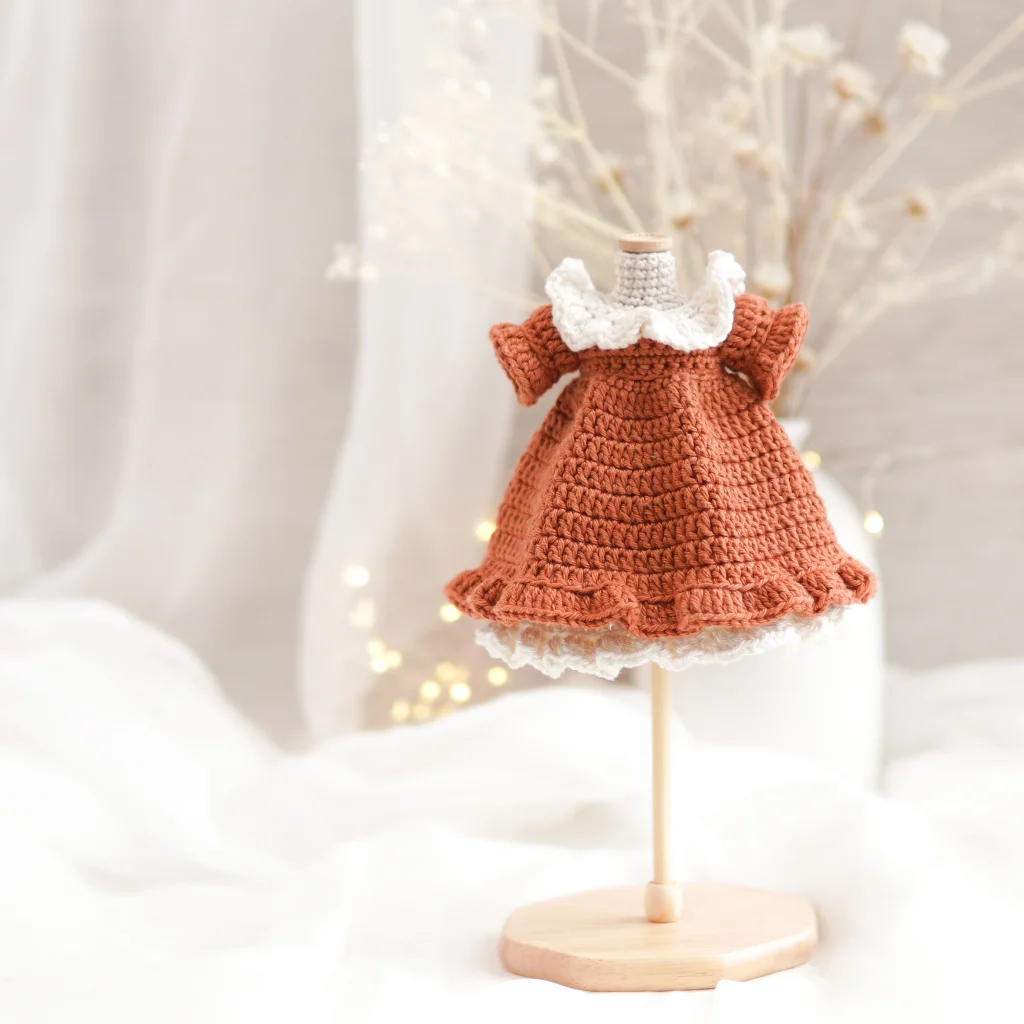
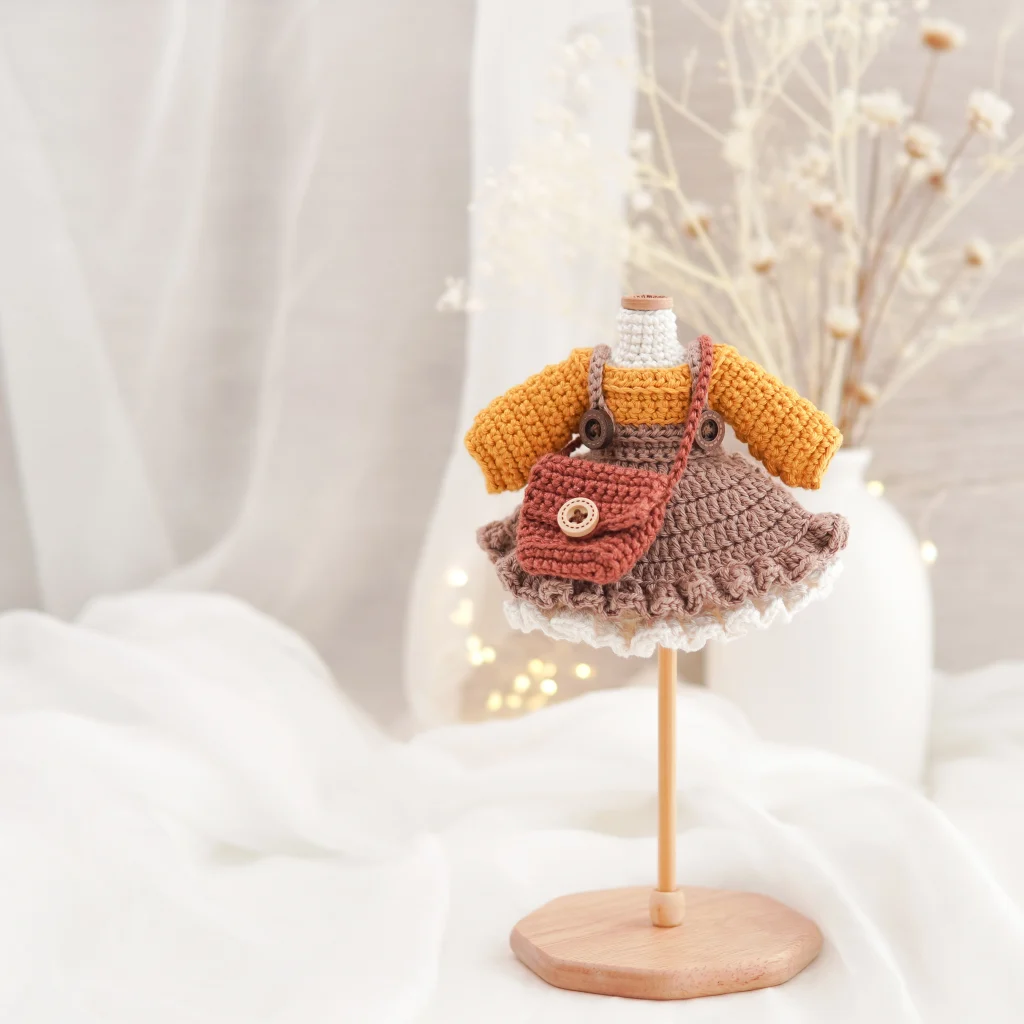
I hope this Mannequin Dress Form becomes a lovely addition to your crochet collection. It is the perfect way to beautifully showcase your finished doll outfits and add a professional, polished touch to your photos.
Happy crocheting, and I can’t wait to see your finished mannequins! Don’t forget to share your photos and tag Green Frog Crochet so we can celebrate your beautiful work together.
You can find more crochet patterns in our Etsy and Website shops.
For more inspiration and behind-the-scenes contents, join me over on Facebook or Instagram!
Thank you and have a wonderful day!