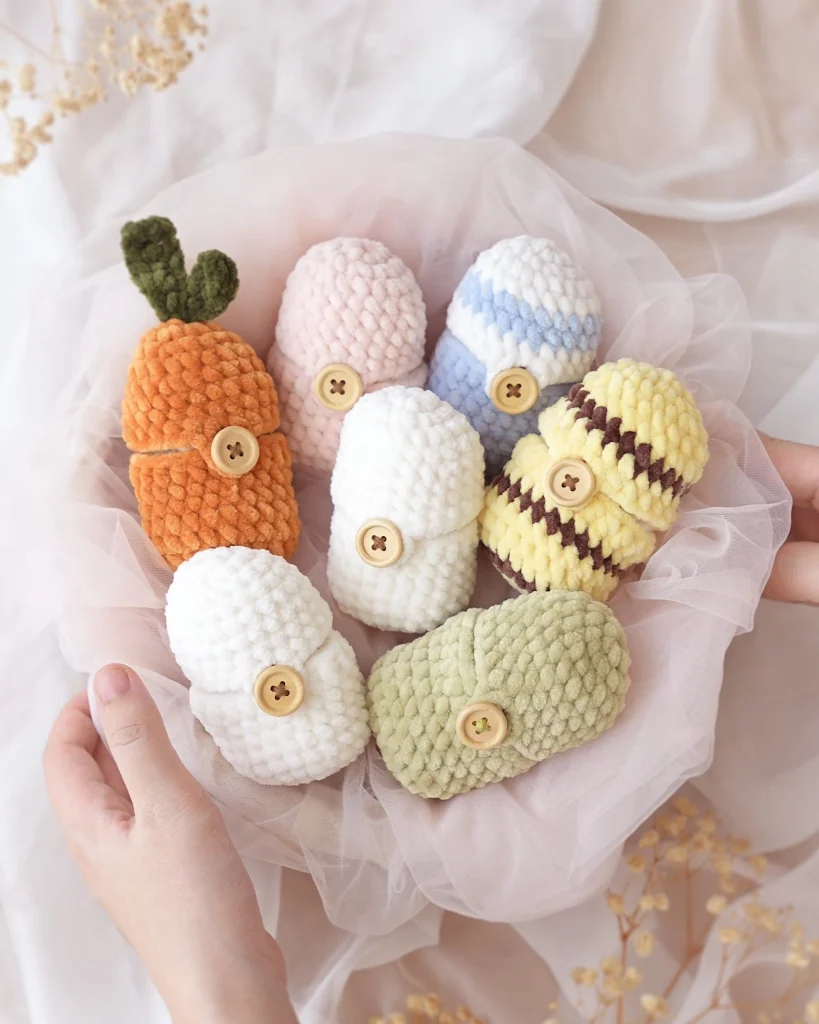
Looking for a quick, adorable, and beginner-friendly project for your Easter crochet lineup? This Free Hatching Egg Crochet Pattern is exactly what you need!
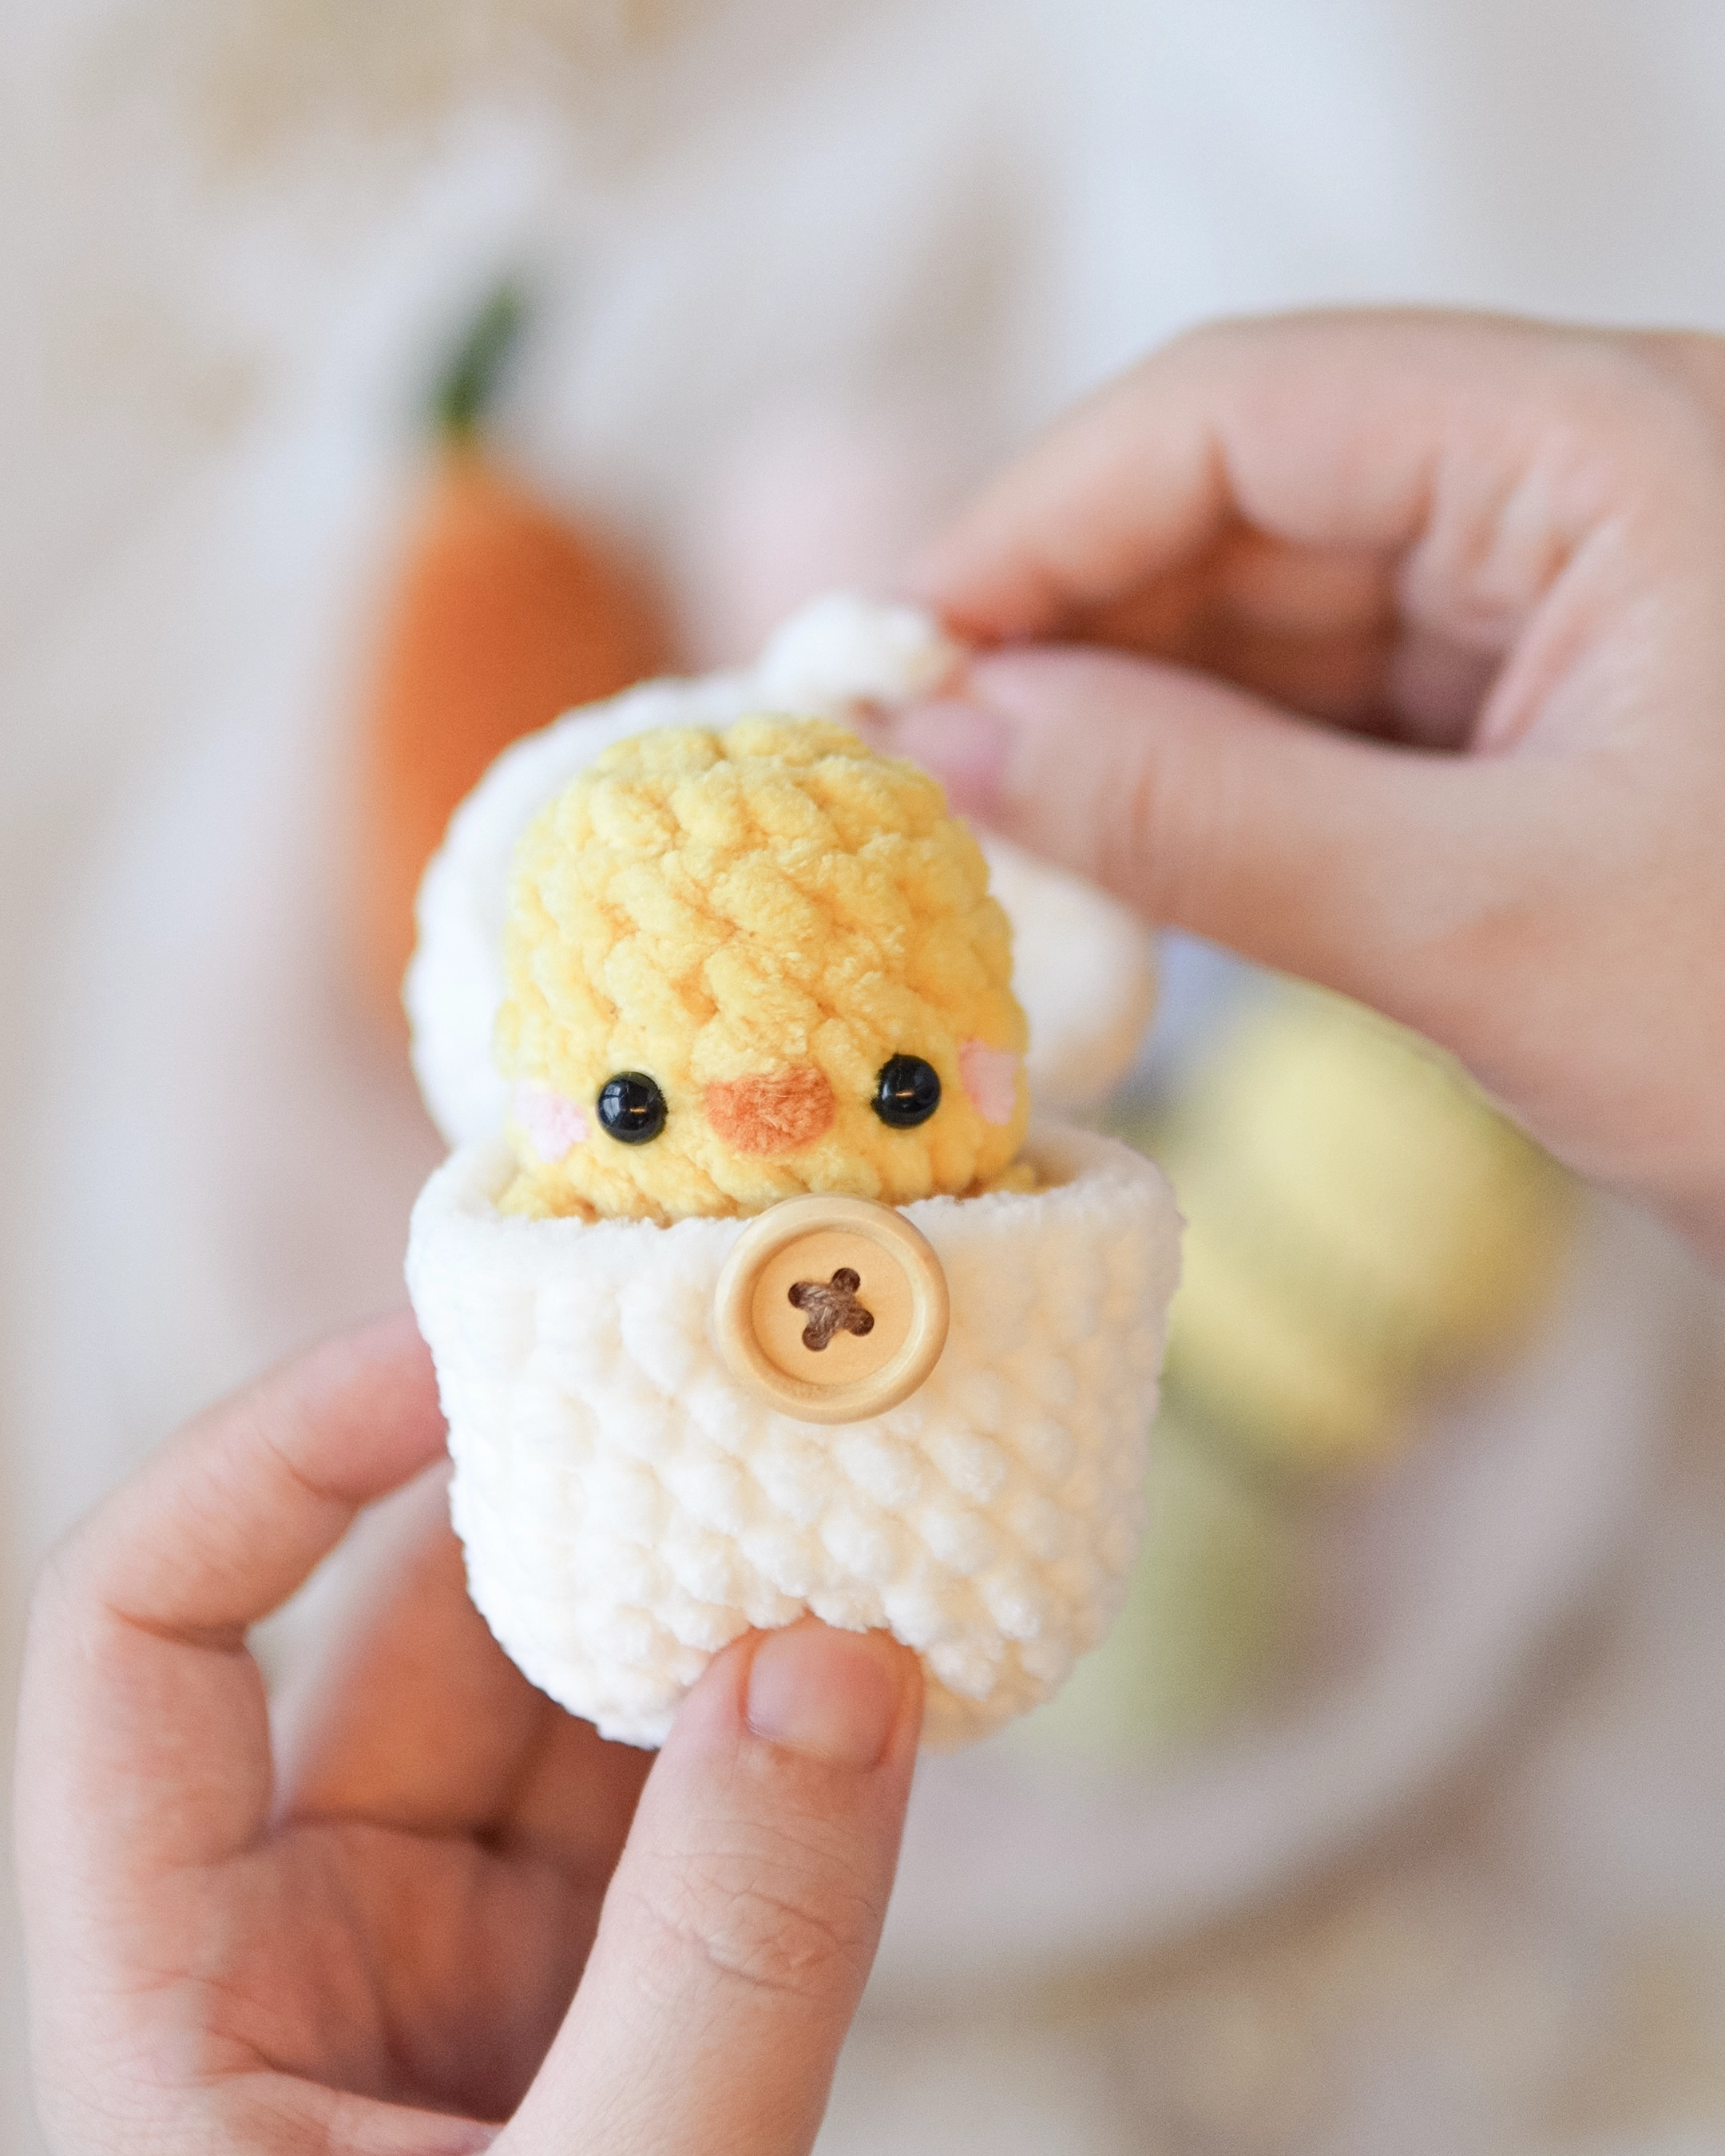
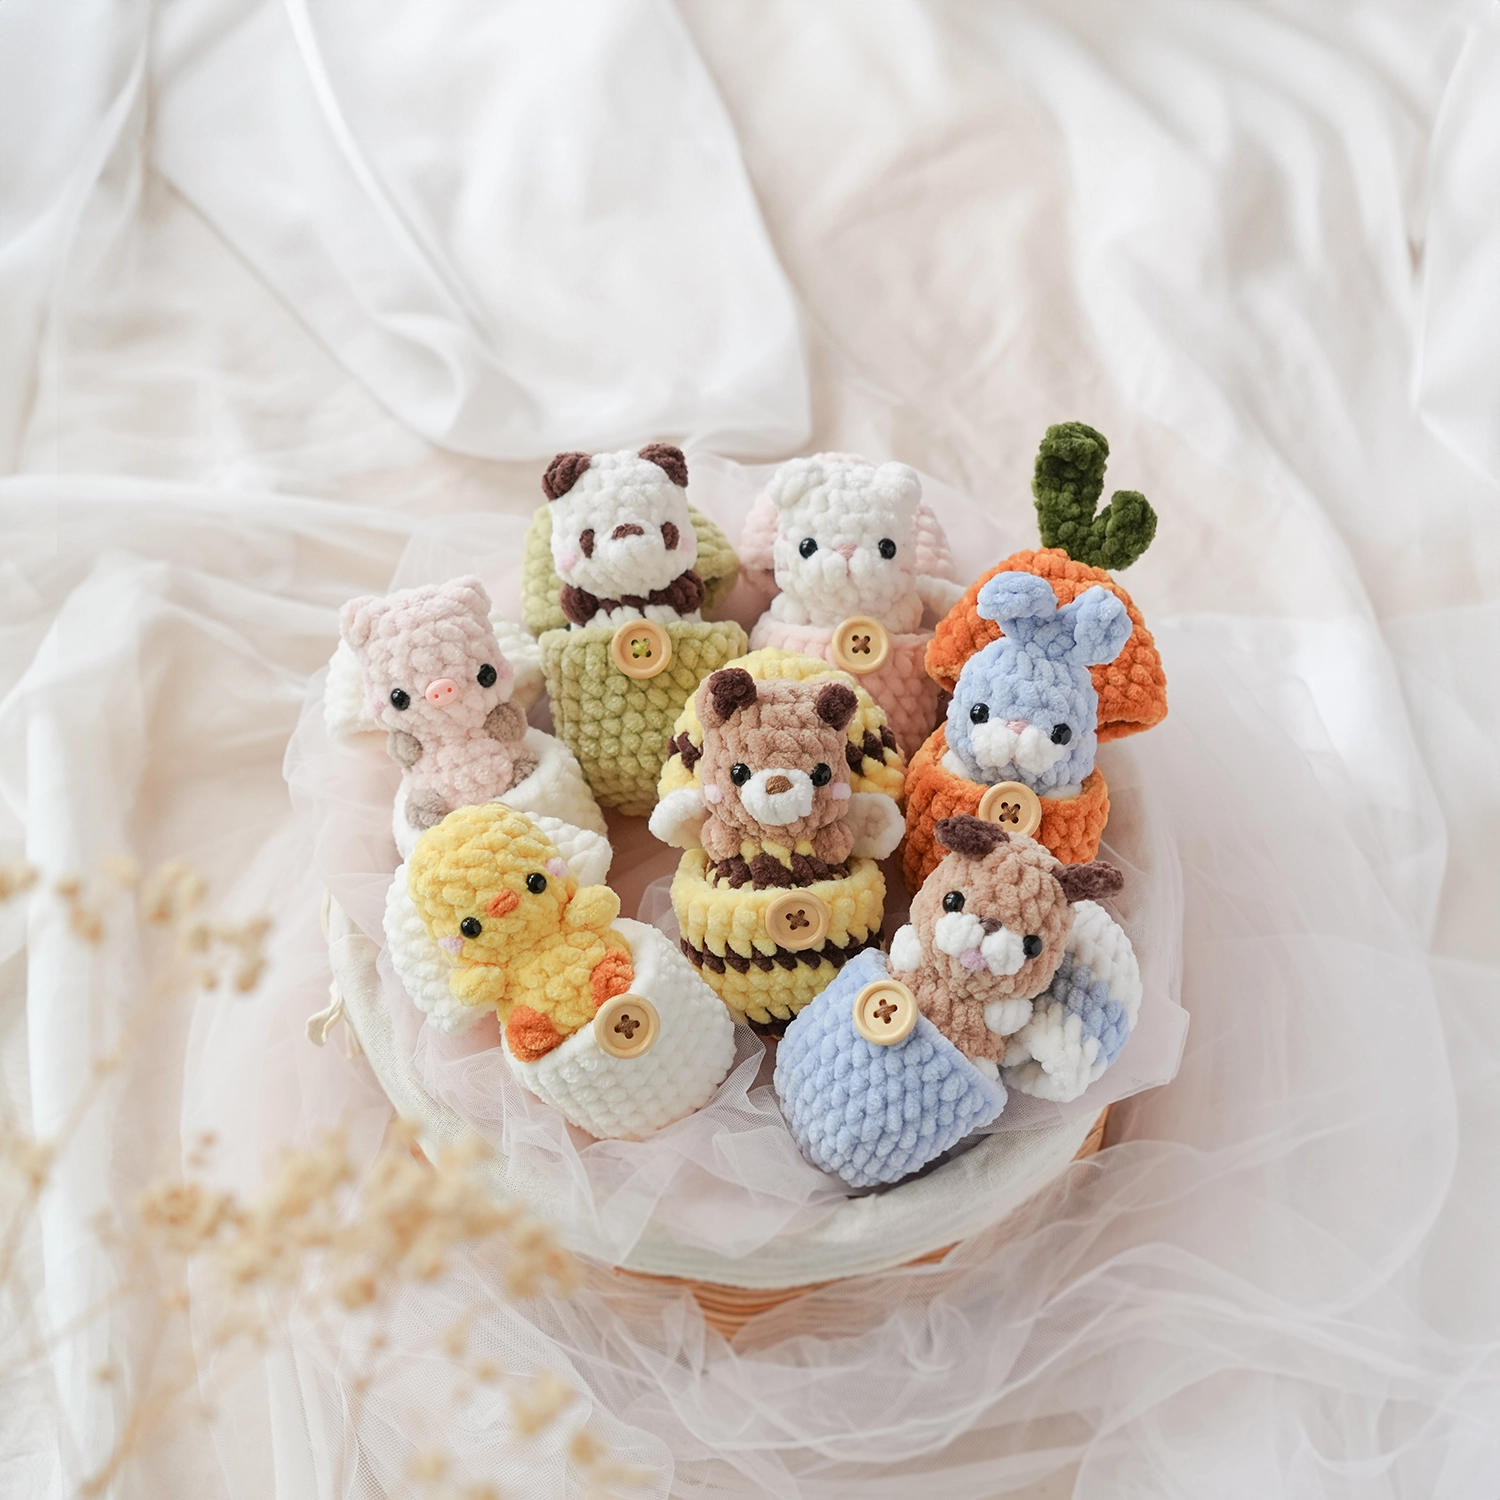
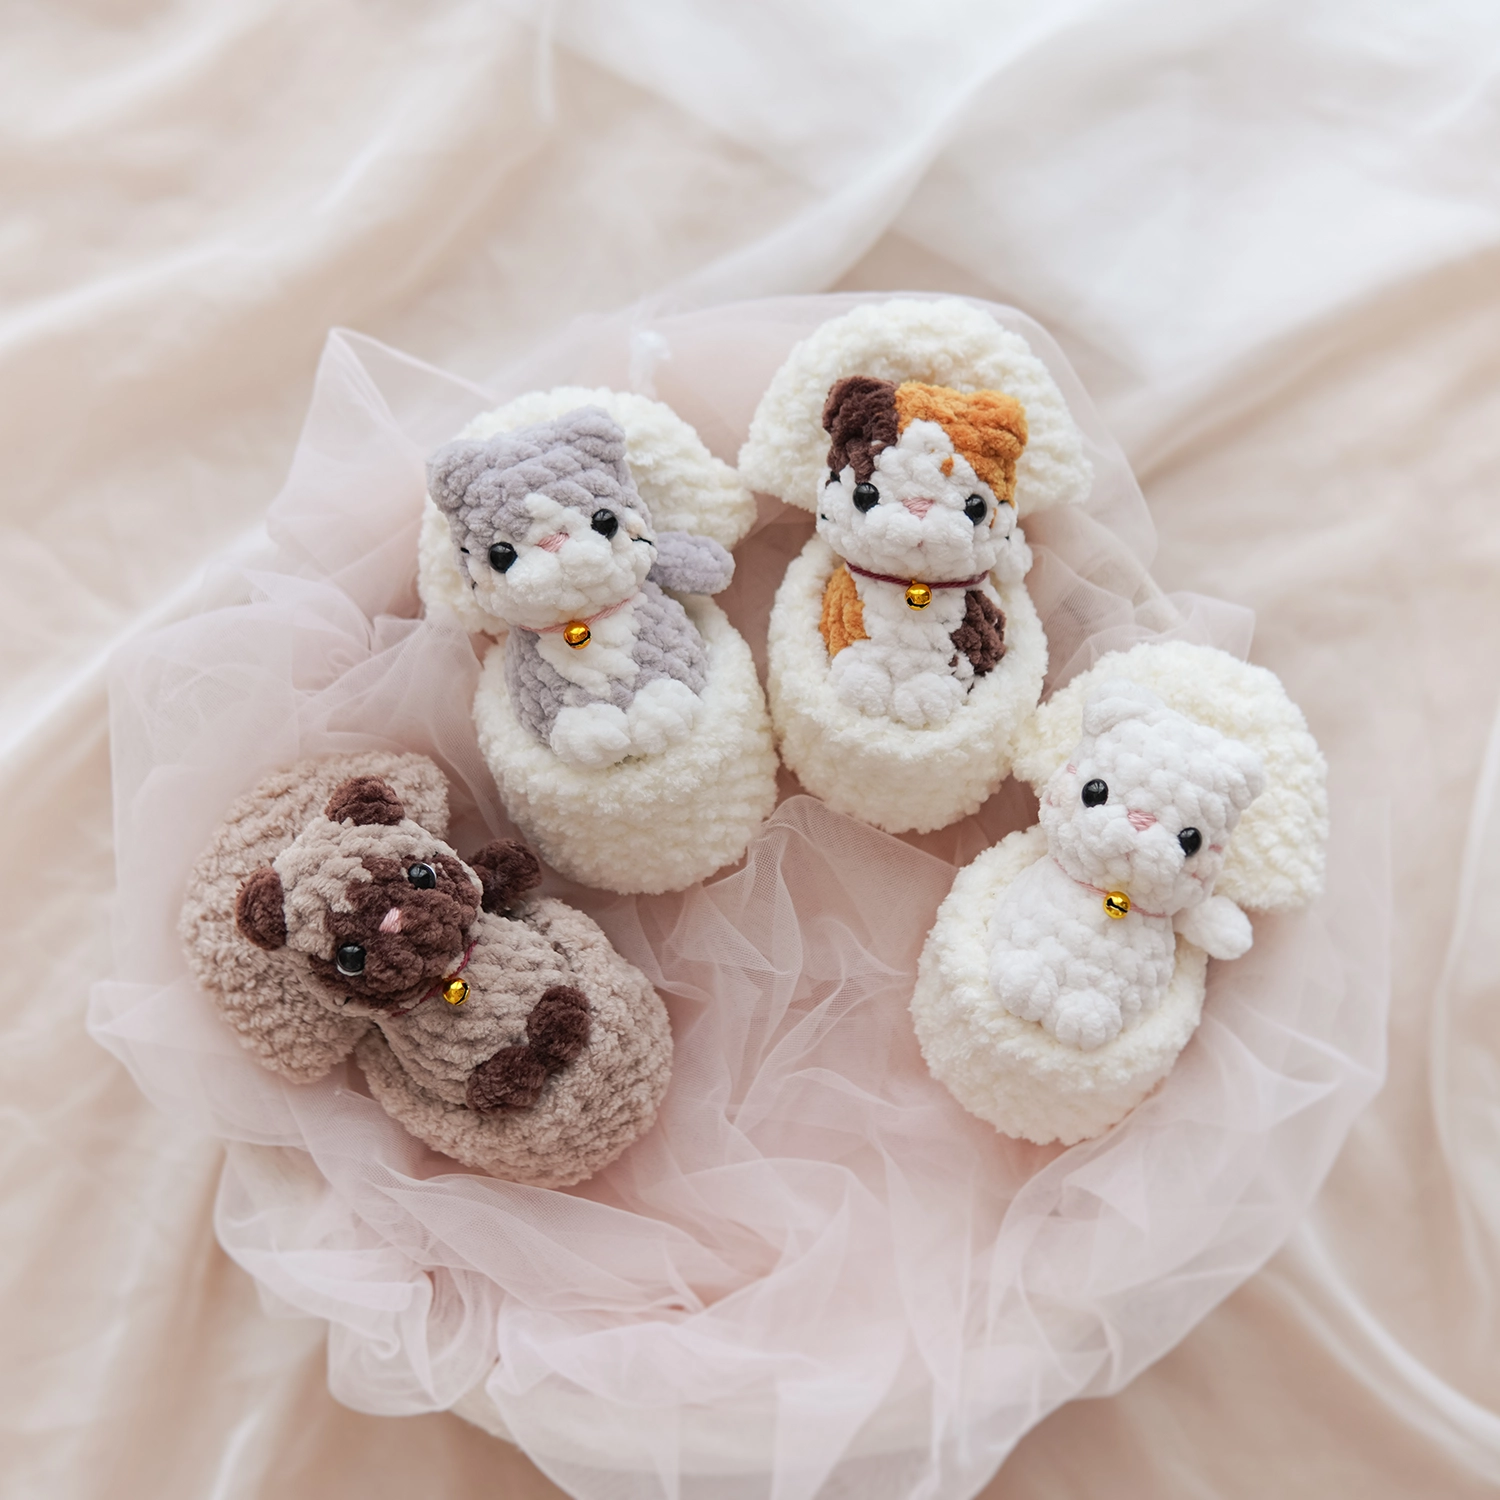
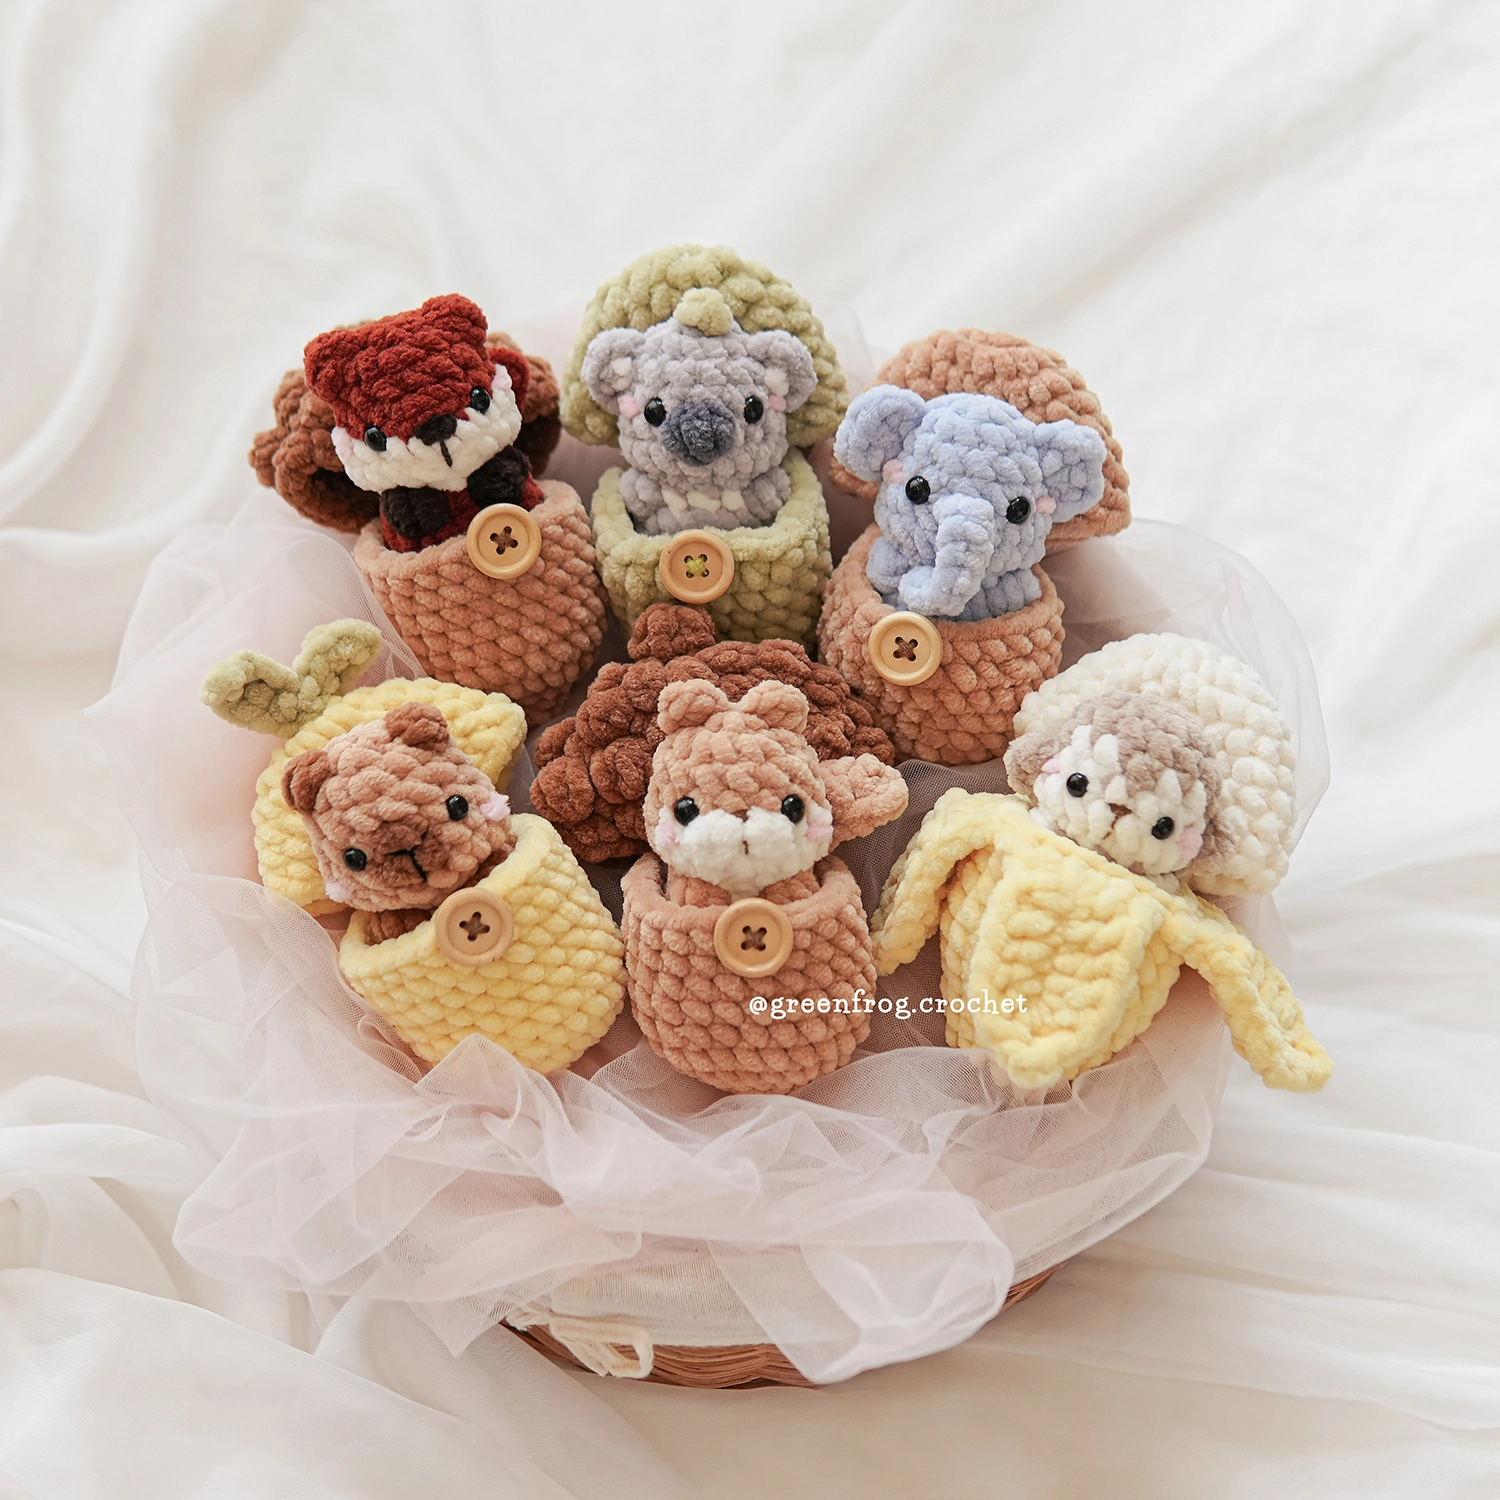
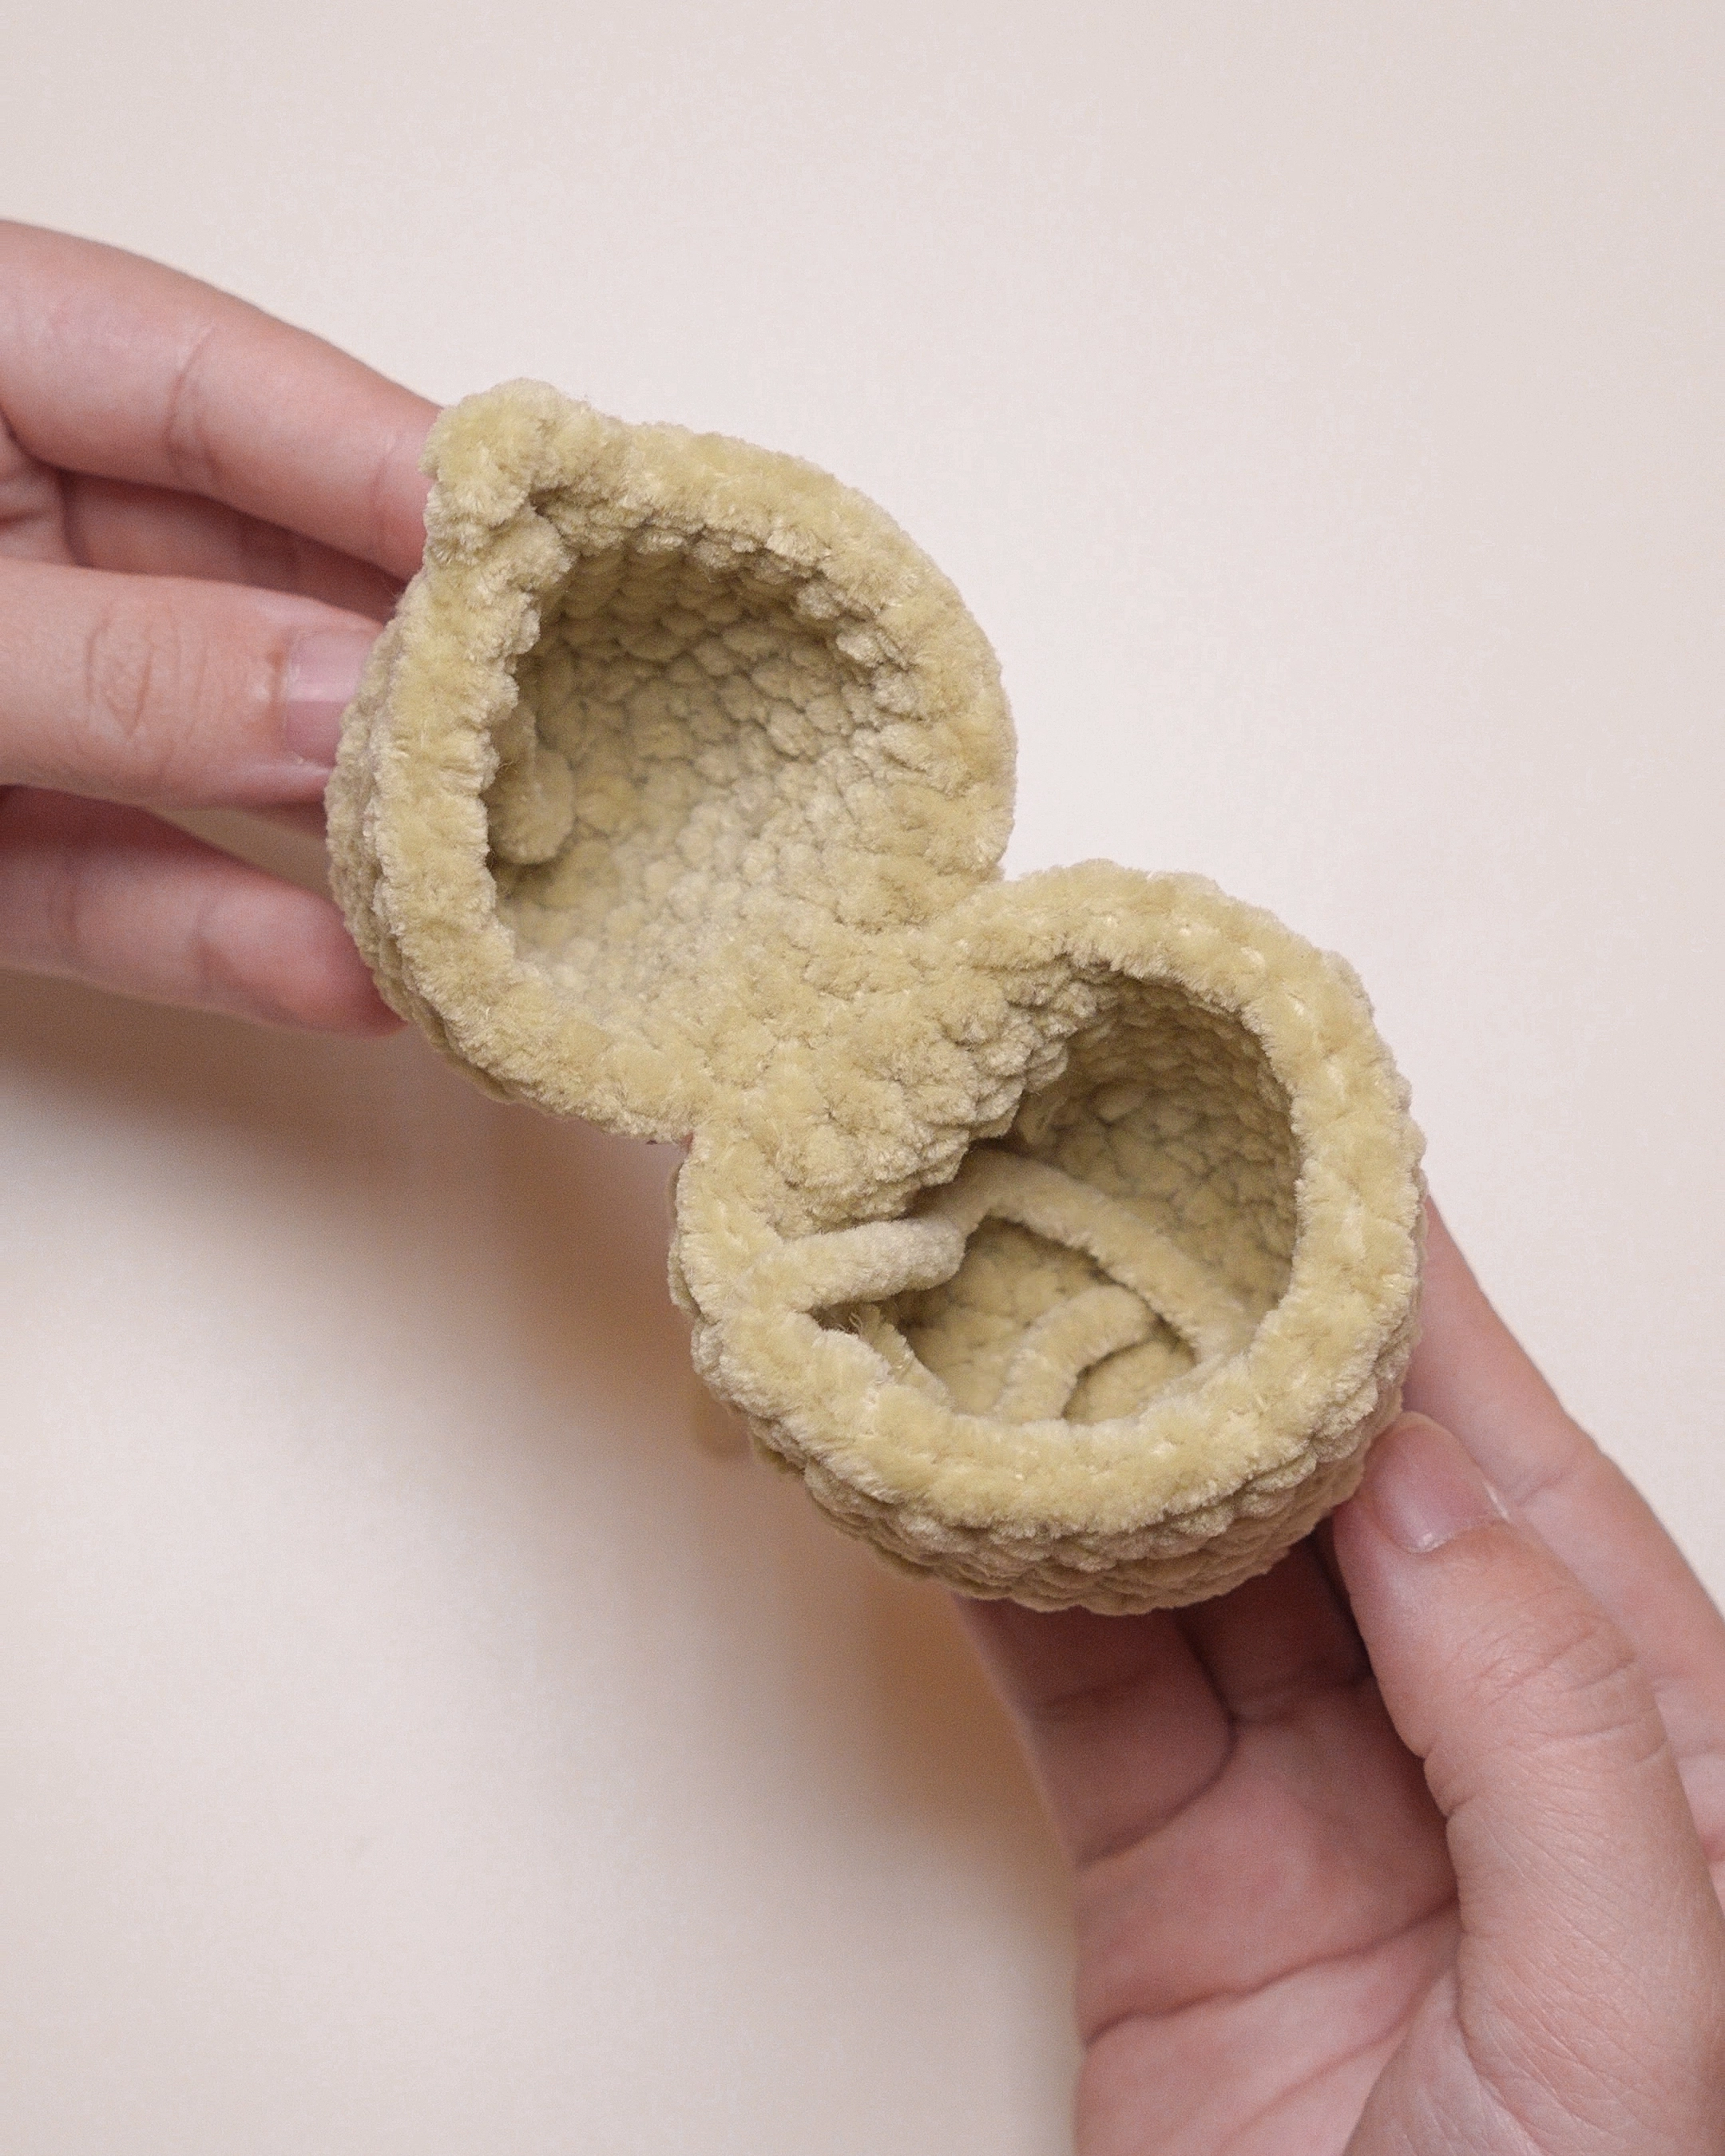
I’ve heard from so many makers that my Hatching Mini Animals and fantasy creatures inside these eggs are an absolute hit at craft fairs. Kids (and adults!) love the “surprise” element of opening the egg to find a tiny friend inside.
It’s the perfect combination of a toy and a collectible!
Expand Your Collection: The Hatching & Surprise Mini Series

While the egg shell pattern below is free, you can take your market prep to the next level with my full Hatching and Surprise Mini Animals Series!
Explore the complete collection:
The mini animals are designed to fit perfectly inside this egg, making them a high-value “surprise toy” set. Even better? These mini creatures are fantastic stand-alone keychain projects, perfect for quick, high-margin sales at any crochet craft fair!
Shop the PDF Patterns: Website Greenfrogcrochet.com, Etsy, and Ravelry.
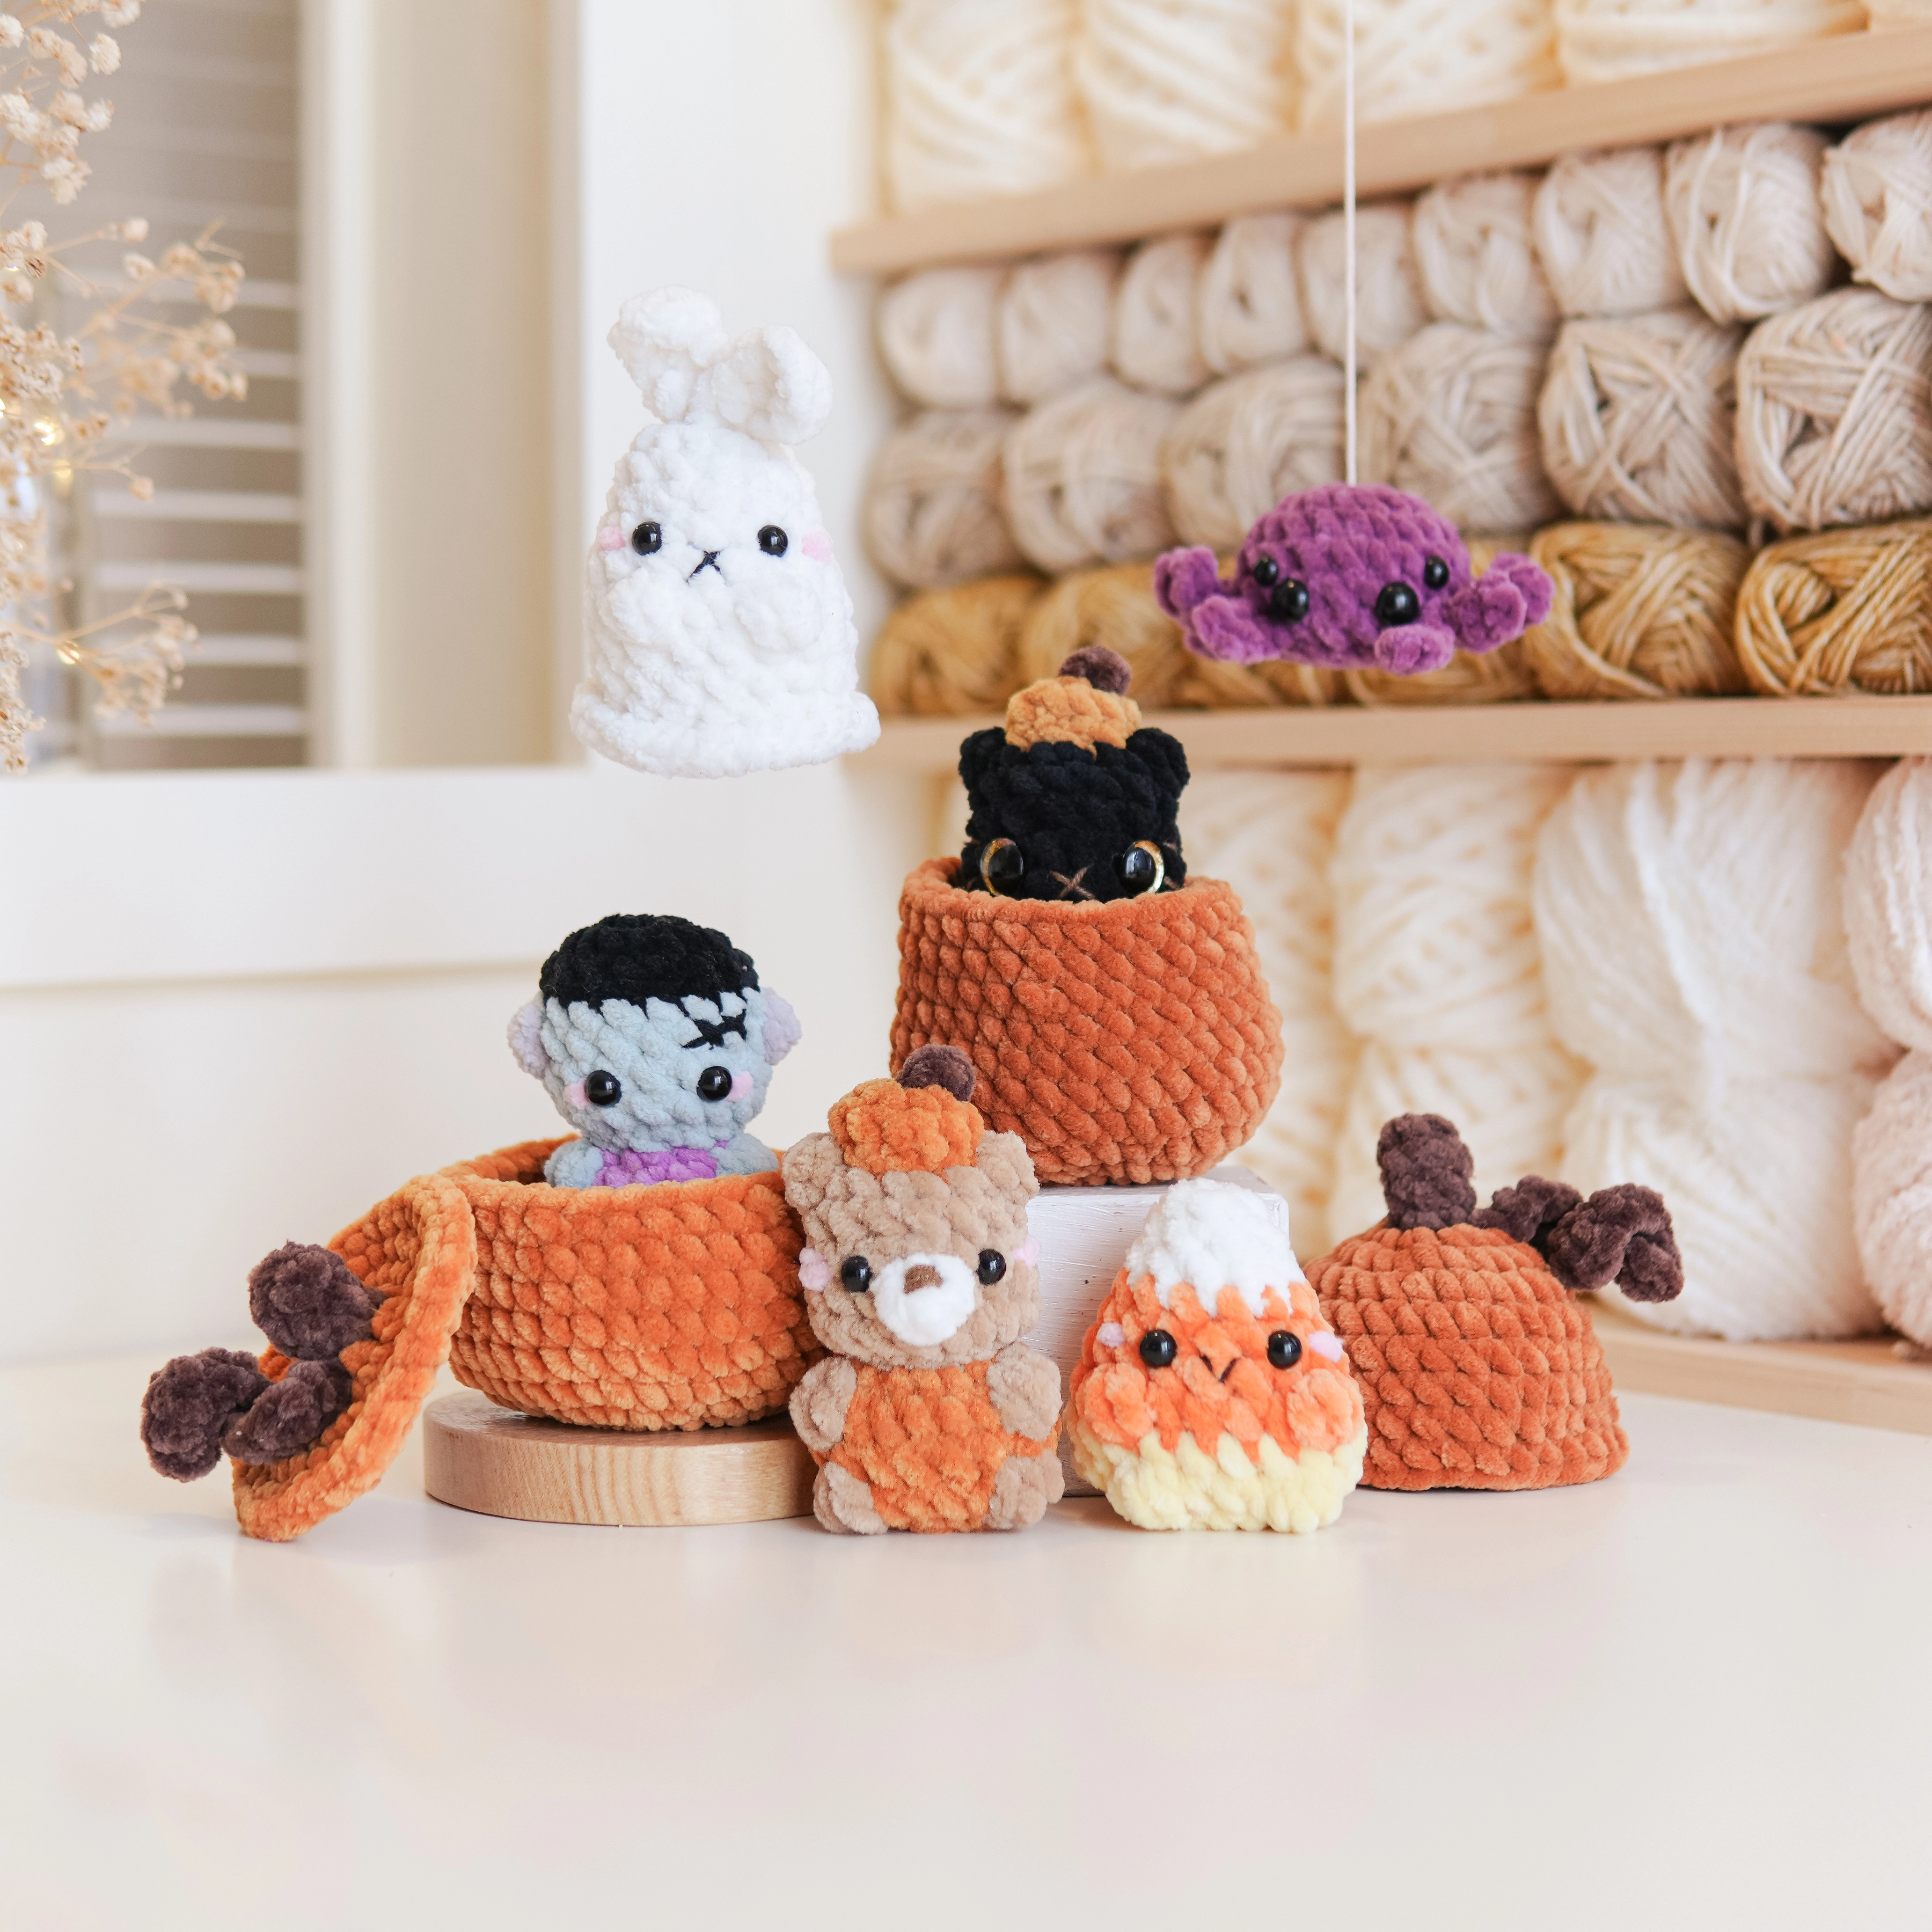
Don’t Miss a Single Mini Animal!
I’ll be updating my blog with even more mini animals that fit perfectly inside this egg shell. To ensure you’re the first to know when a new “hatching friend” drops, make sure to subscribe to my newsletter!
Get the latest updates, exclusive tips for Green Frog Crochet patterns, and more market-prep ideas delivered straight to your inbox.
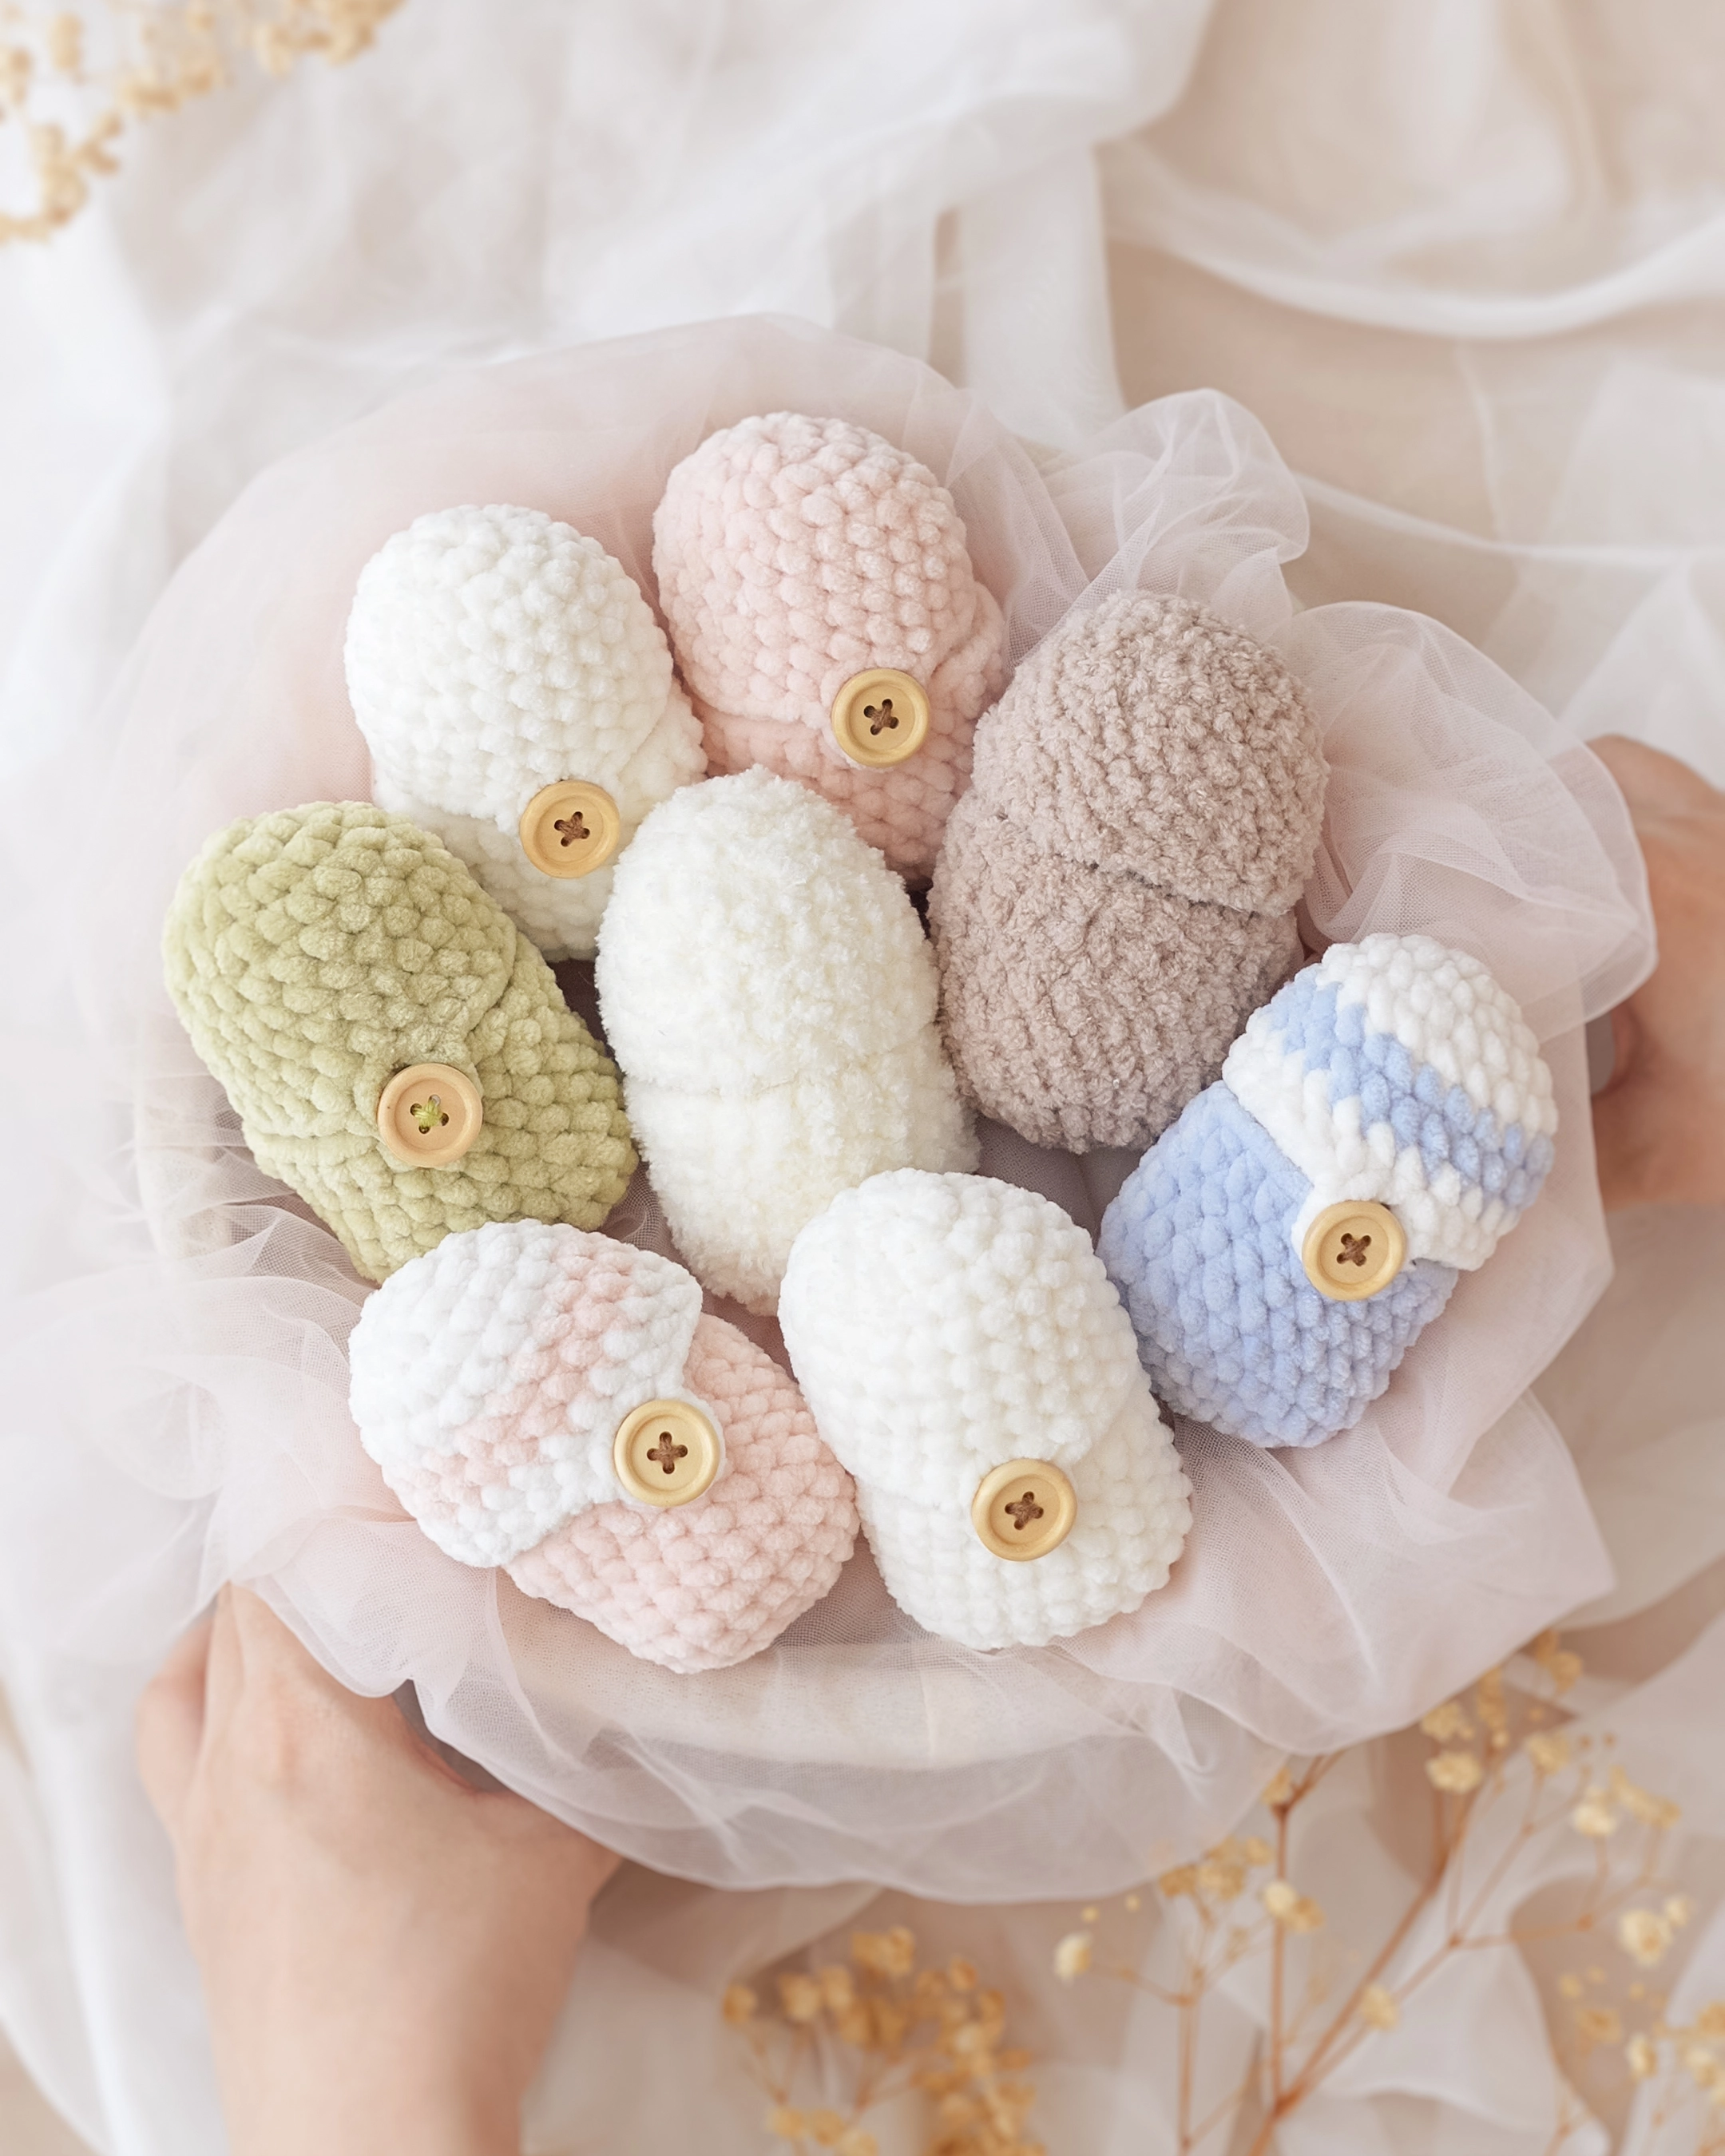
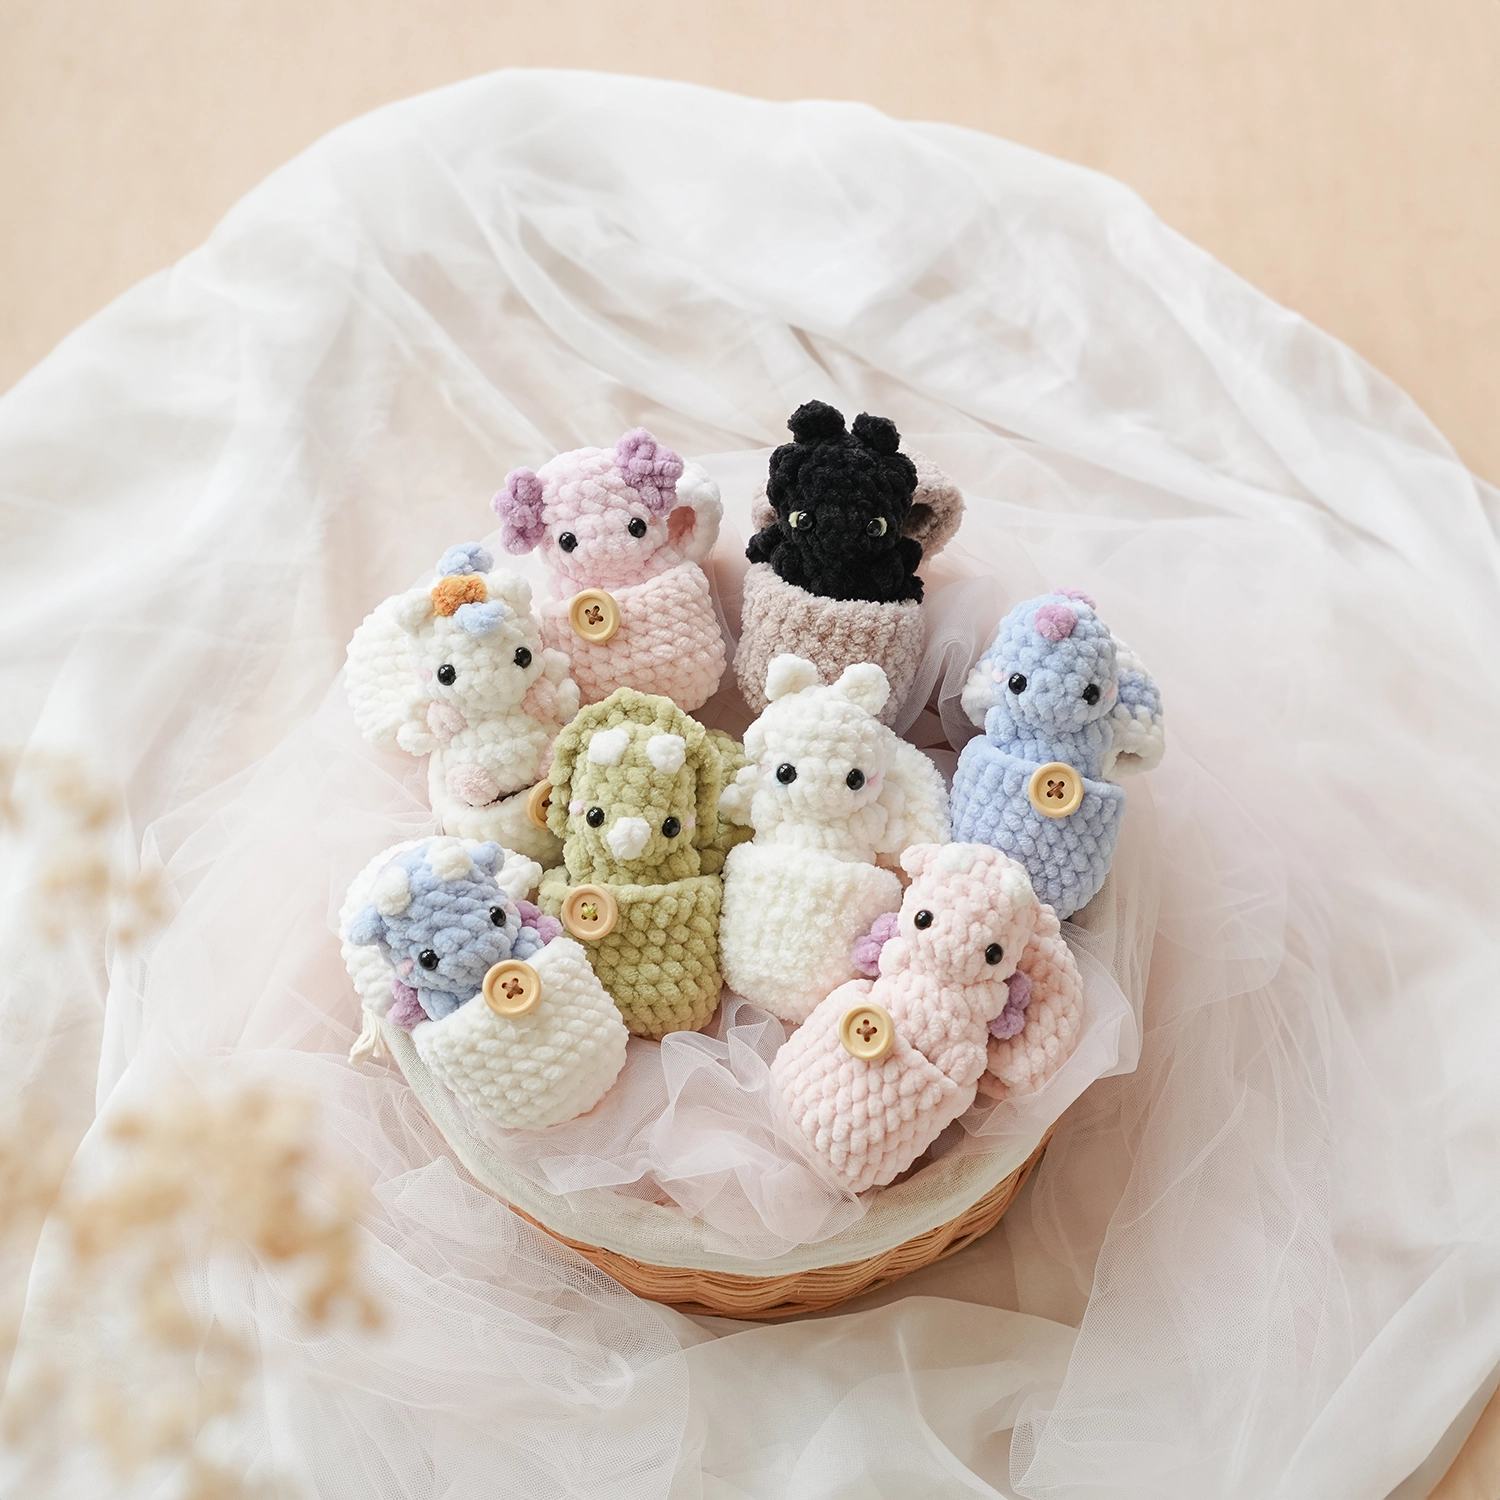
“Will It Fit?” Size Guide & Materials
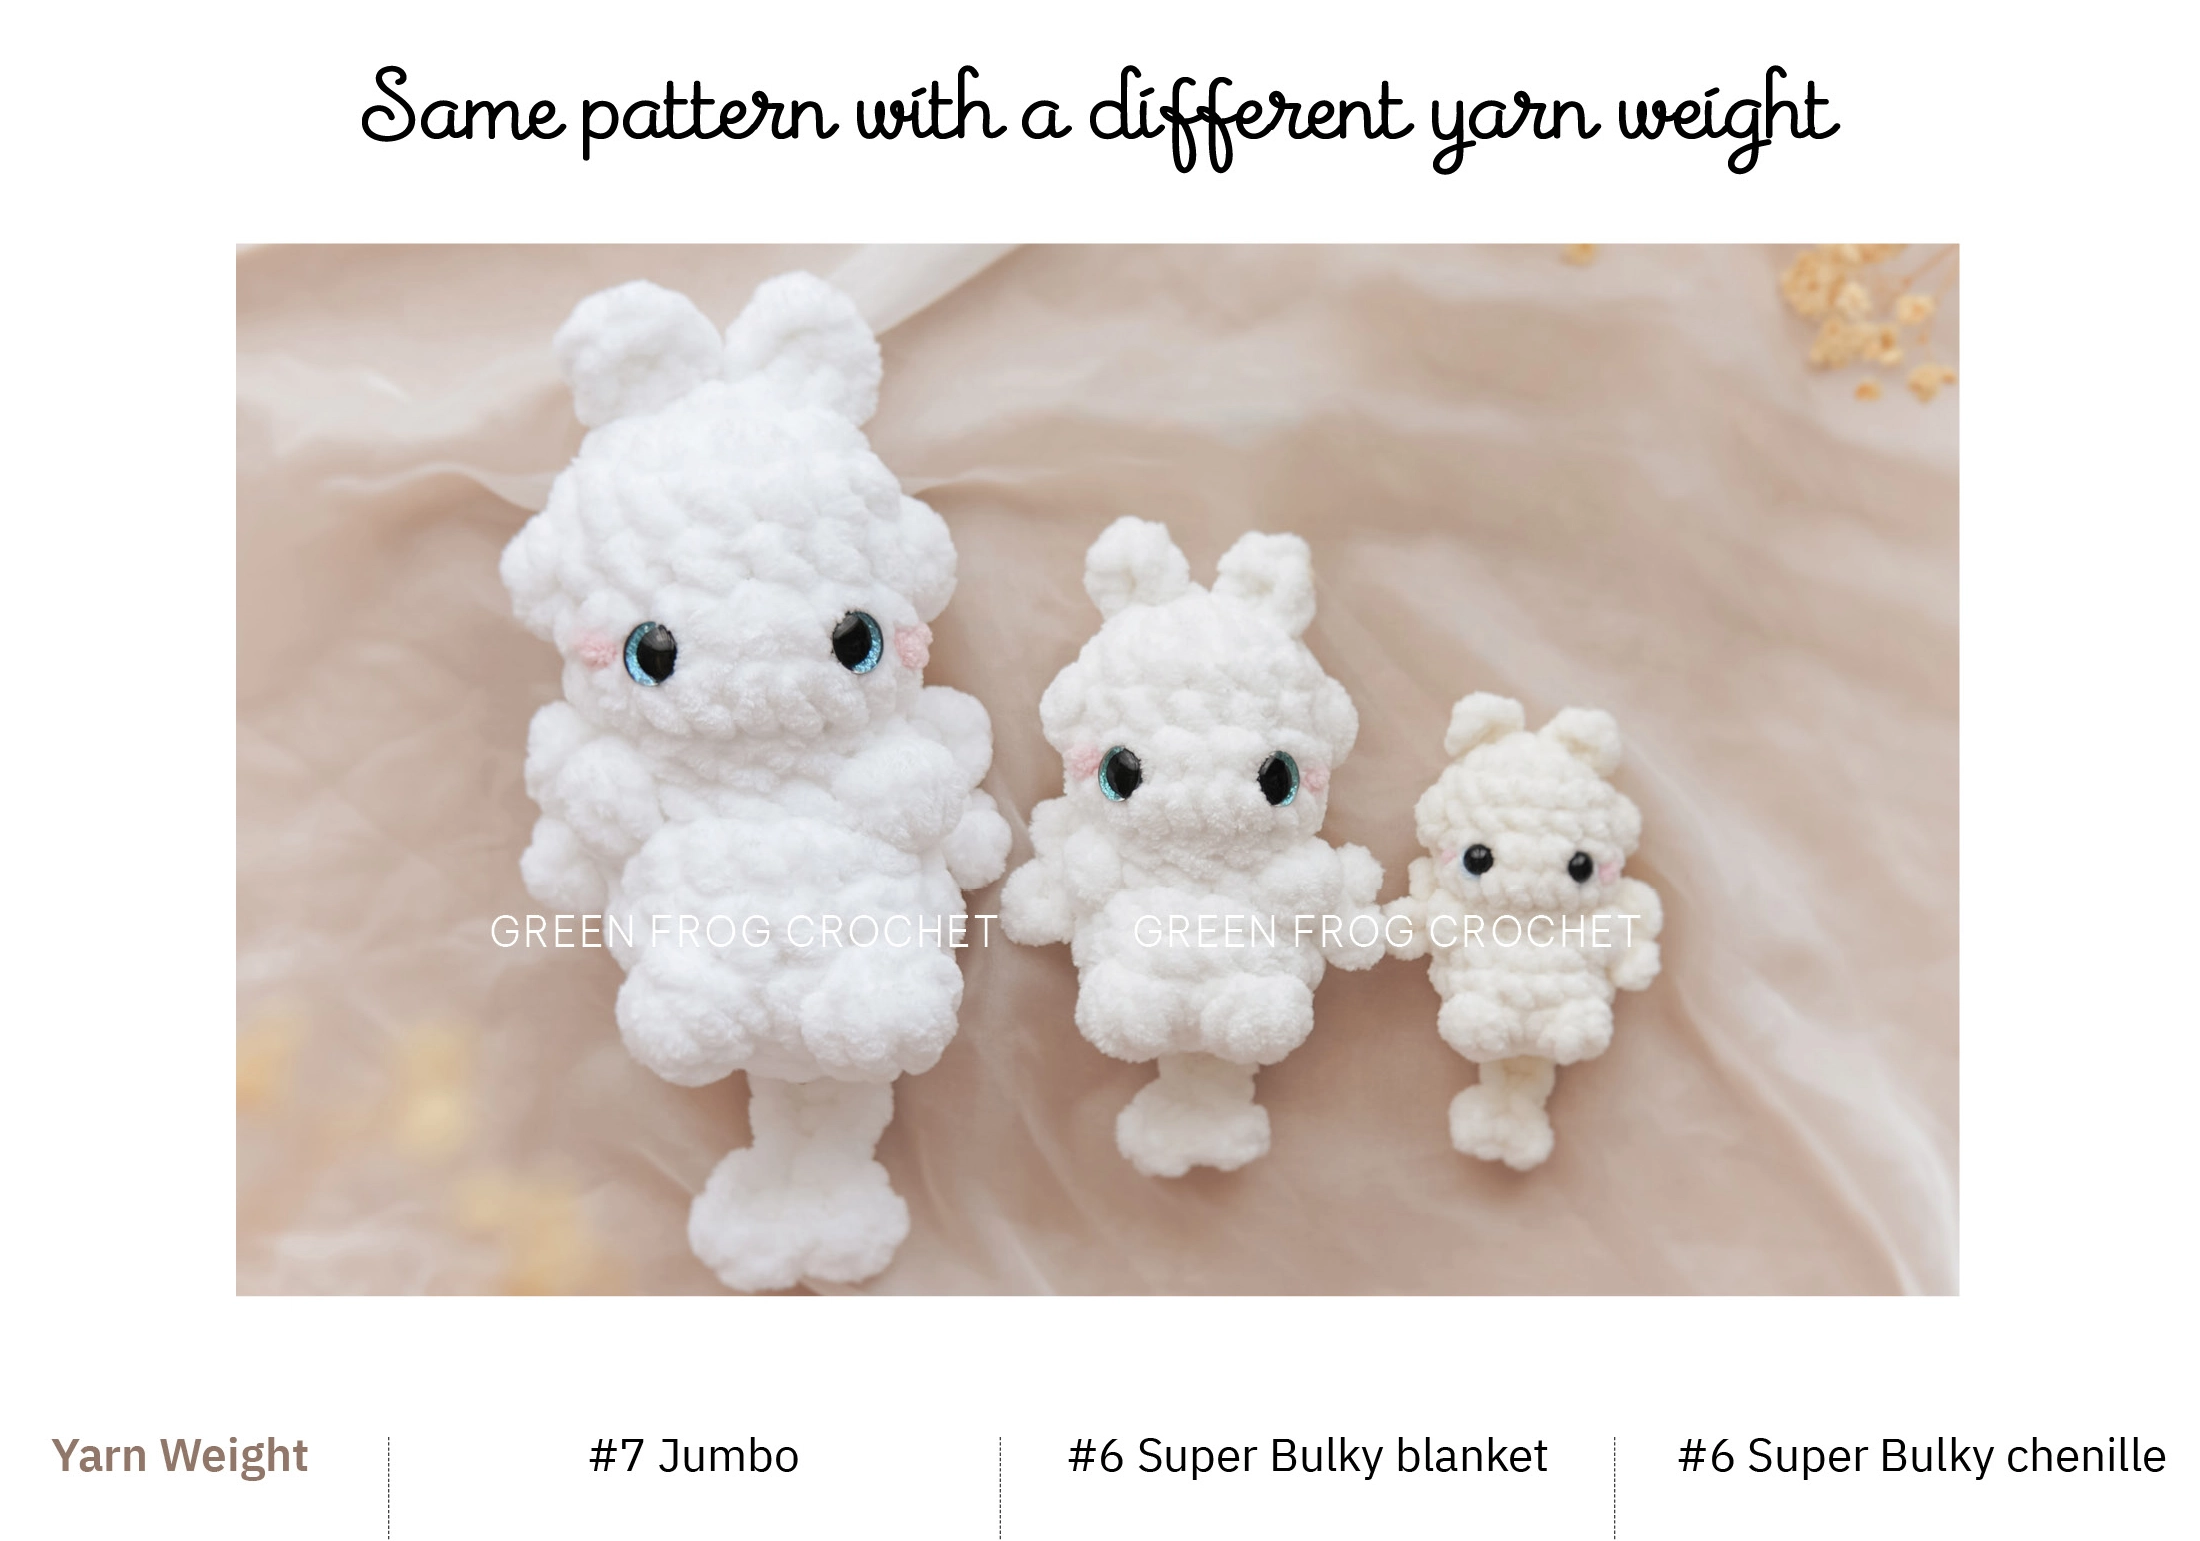
To ensure your hatching friends have a cozy home, here are the three most popular sizes for this pattern (From left to right):
Fits: Mini animals approximately 7.5 x 12.5 cm (3 x 5 inches).
- Yarn: #7 Jumbo (Premier Parfait XL).
- Hook: 8.0 mm – 10 mm.
- Recommended wooden button: 25 mm
Fits: Mini animals approximately 6.5 x 10 cm (2.5 x 4 inches).
- Yarn: #6 Super Bulky (Bernat Blanket, Premier Basix Chenille).
- Hook: 6.0 mm – 7 mm.
- Recommended wooden button: 20 mm
Fits: Mini animals approximately 5 x 7.5 cm (2 x 3 inches).
- Yarn: #6 Super Bulky / Chunky Chenille (Premier Parfait Chunky, Himalaya Dolphin Baby).
- Hook: 4.5 – 5.0 mm.
- Recommended wooden button: 18 mm
Why You’ll Love This Pattern:
- Market-Tested: These are proven best-sellers for professional makers at craft fairs.
- Beginner-Friendly: Easy-to-understand instructions, perfect for those new to amigurumi.
- Multi-Purpose: Use them as reusable Easter basket fillers to hold candy, chocolate eggs, or other small toys.
- Perfect for Gifting: A interactive toy that provides hours of fun for kids.
Copyright
This pattern is for personal use only. Please do not copy, translate, share, or resell this pattern or any part of it. Thank you so much for supporting Green Frog Crochet!
Skills and Abbreviations
This pattern is written in US crochet terminology.
Rnd: round
slst: slip stitch
sc: single crochet stitch
hdc: half double crochet stitch
st, sts: stitch, stitches
dec: single crochet decrease
inc: single crochet increase
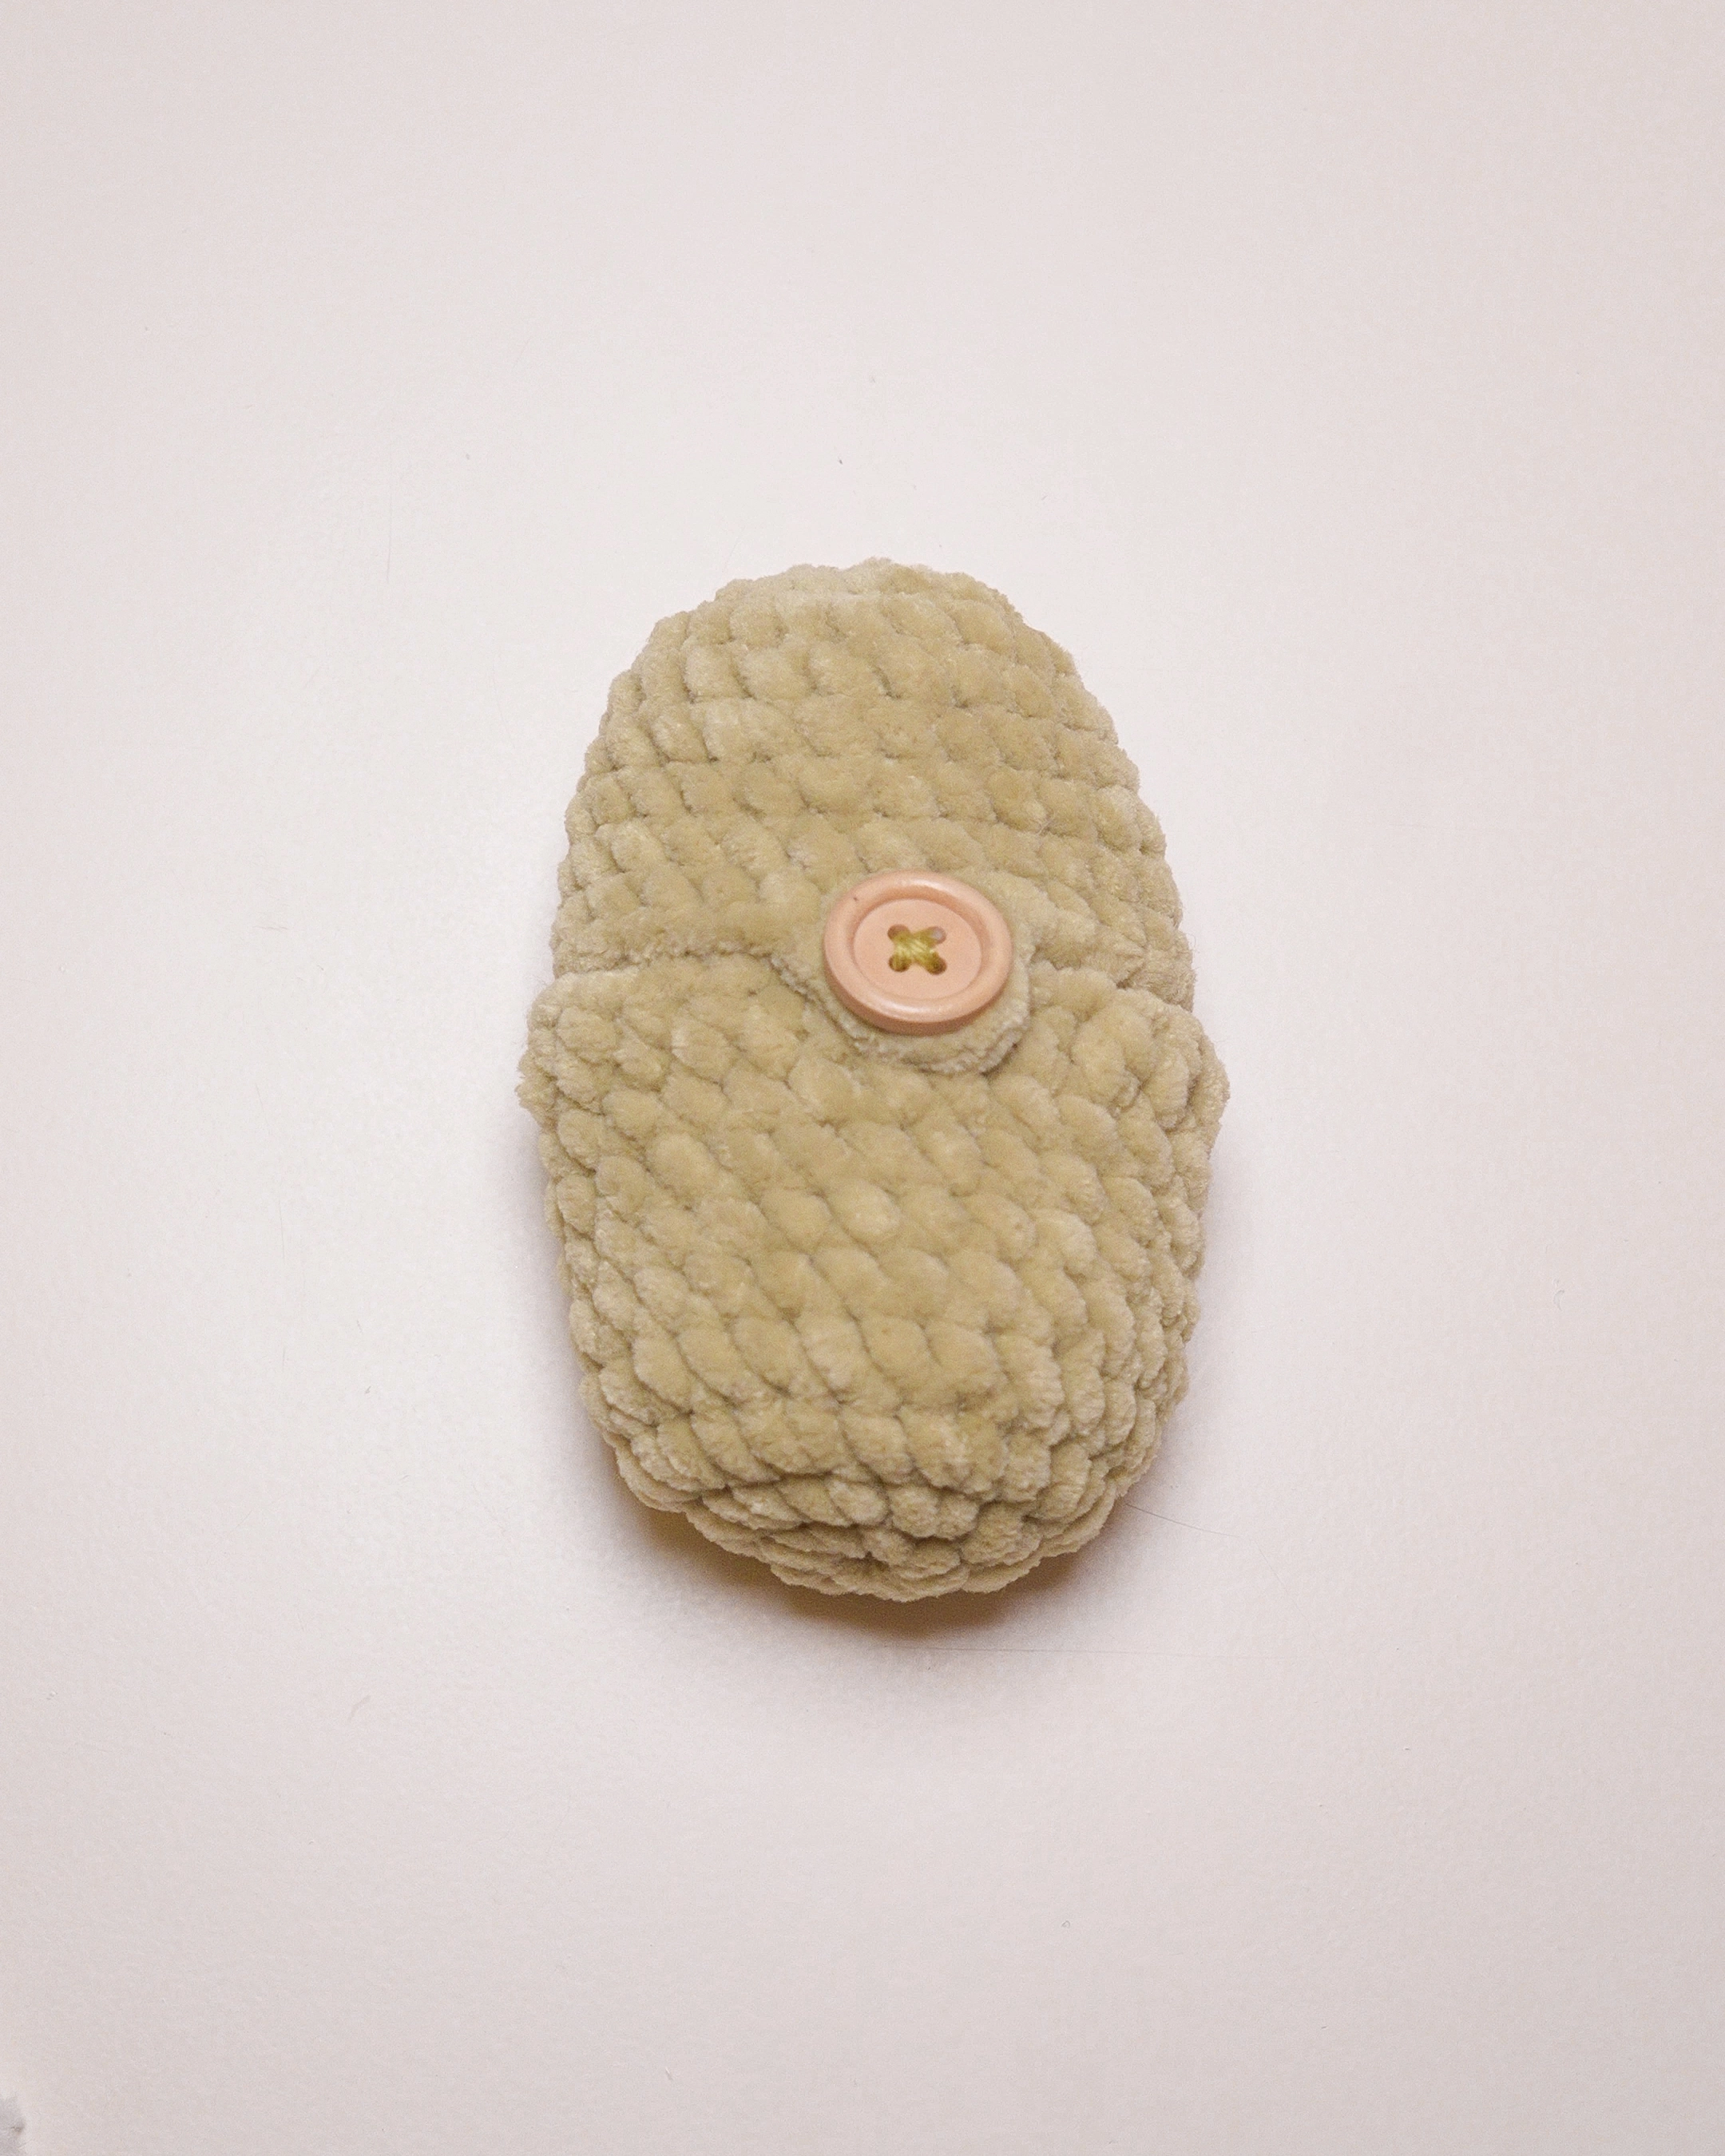
Free Pattern: The Colorful Hatching Egg Shell
For the best fit, always use a hook slightly larger than the one you used for the mini animals themselves. This ensures the egg slides on and off easily!

Bottom part of the eggshell
Work in spiral rounds.
Rnd 1: 8 sc in the magic ring [8]
Rnd 2: 8 inc [16]
Rnd 3: (1 sc, 1 inc) * repeat 8 times [24]
Rnd 4 – Rnd 8: 24 sc [24] [5 Rounds]
Rnd 9: 24 hdc, slst and fasten off. [24]
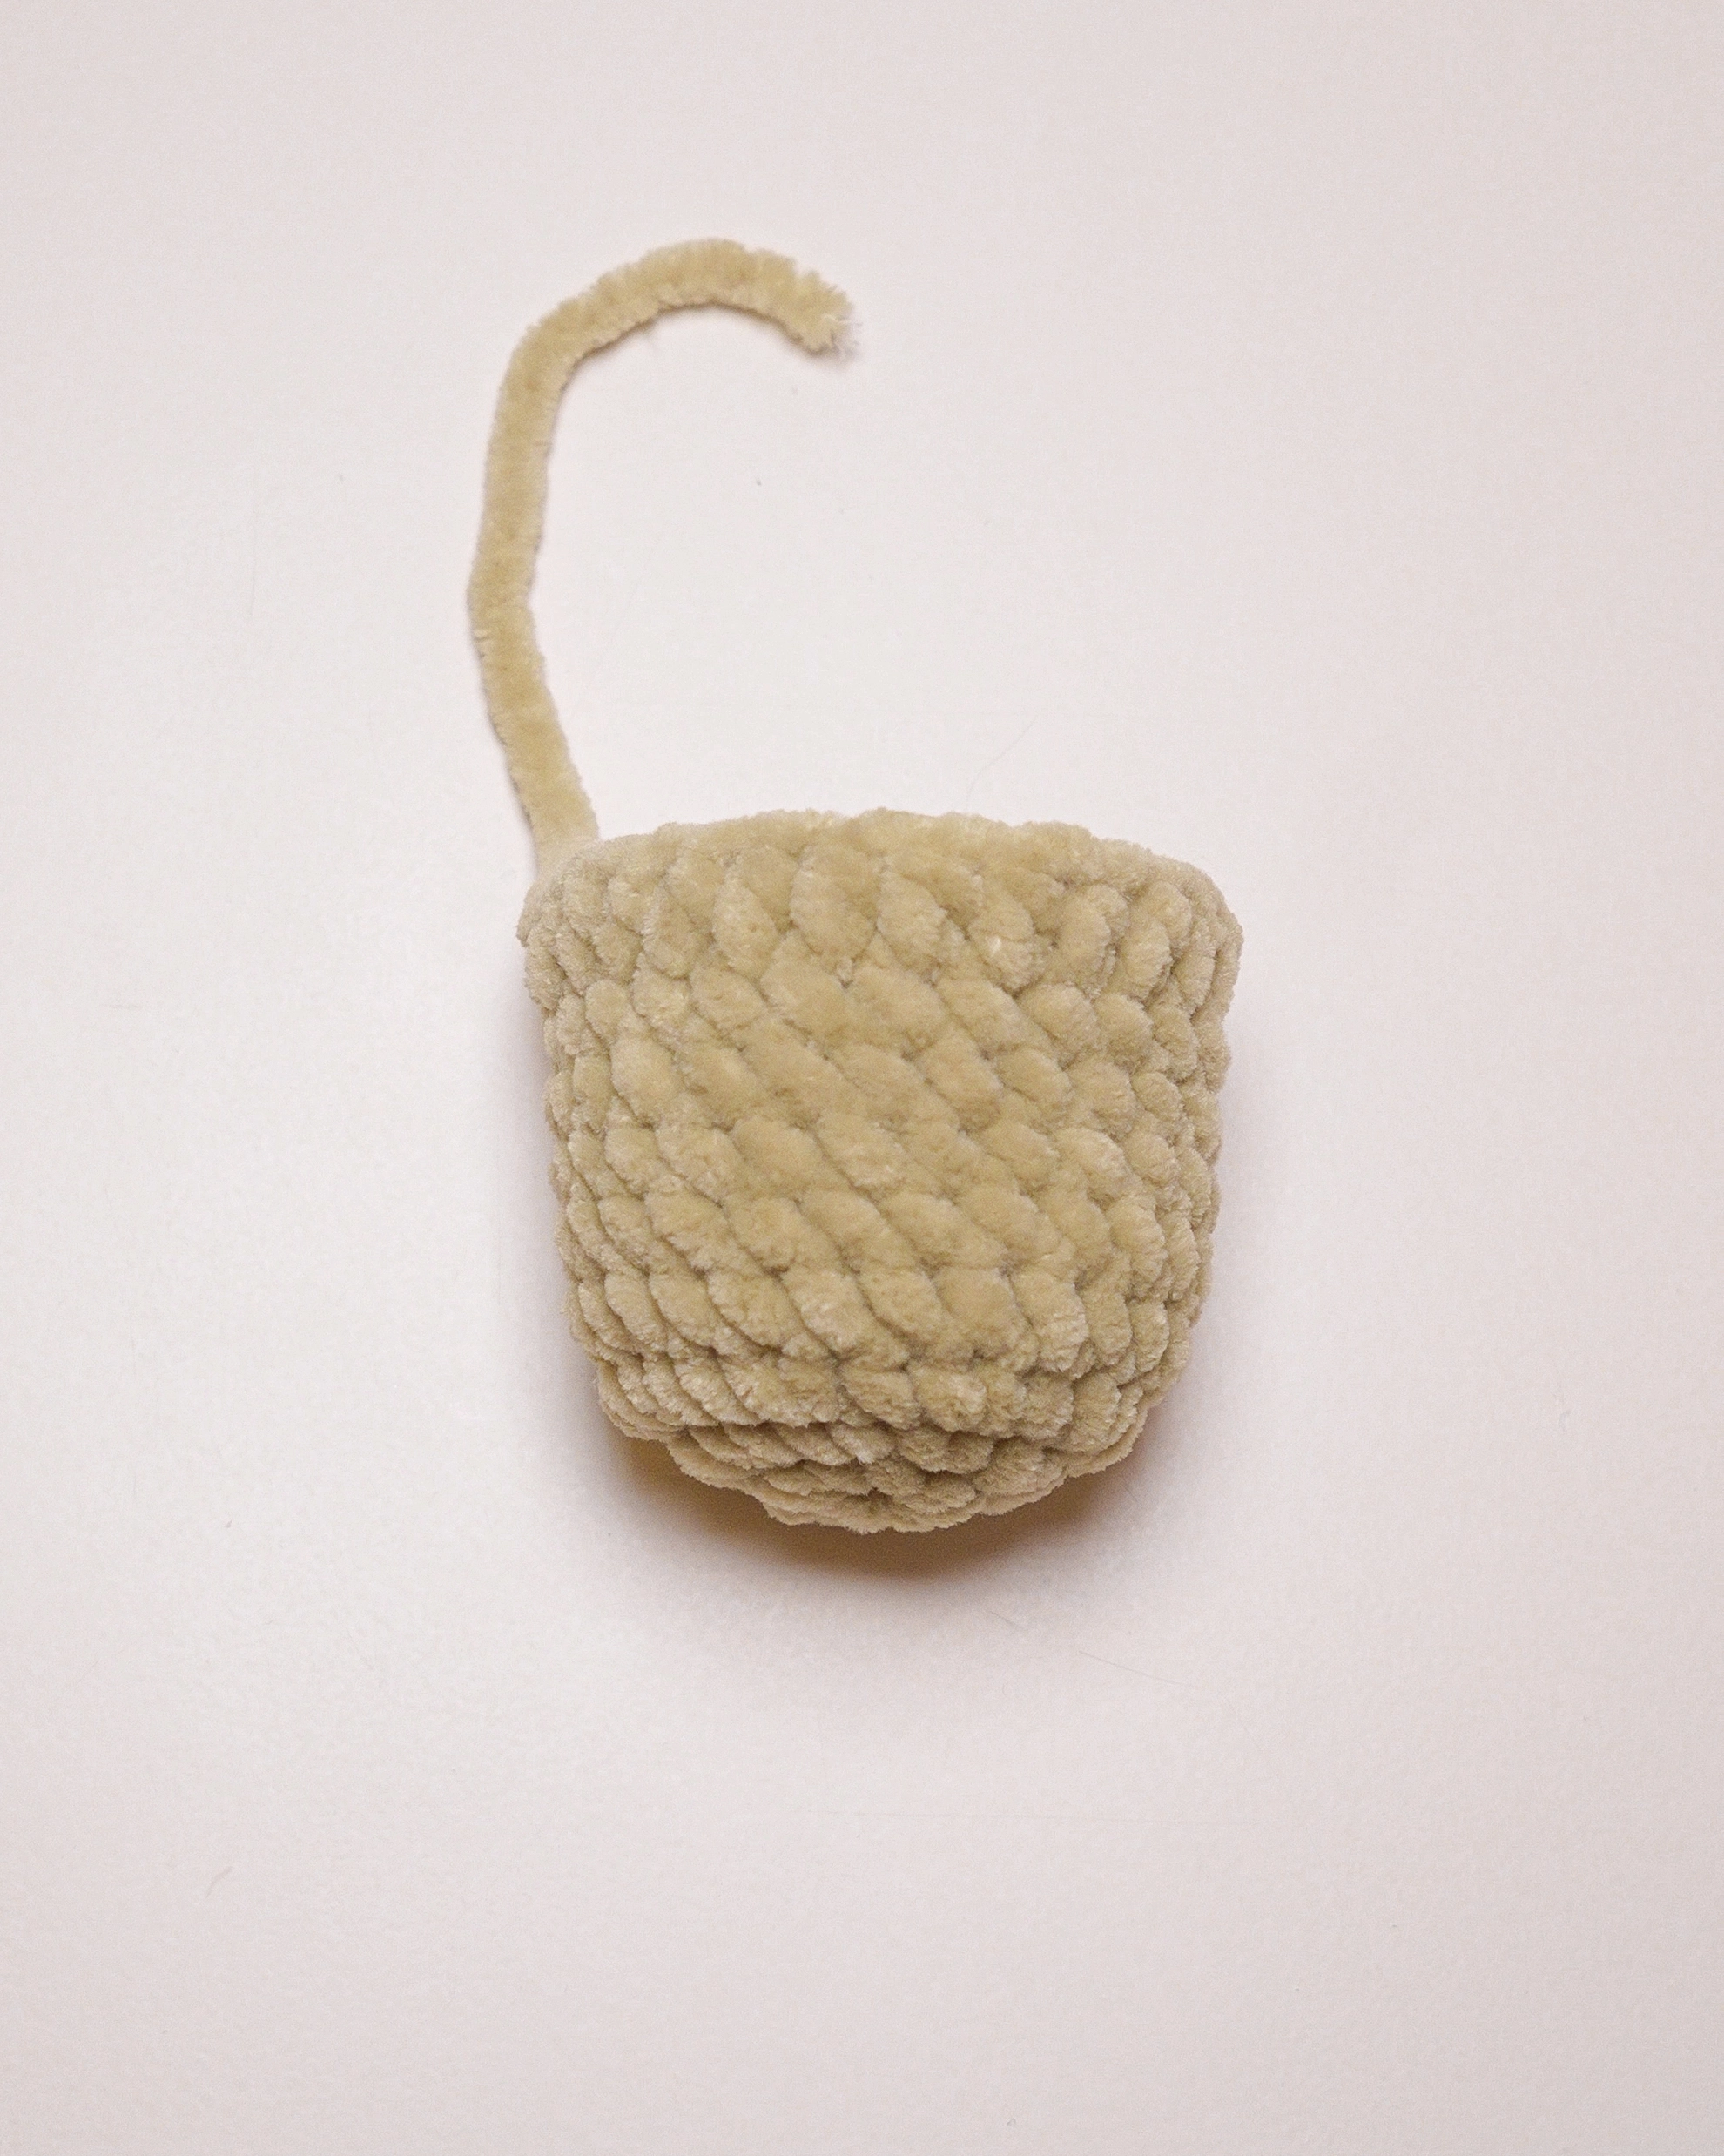
Upper part of the eggshell
Work in spiral rounds.
Rnd 1: 8 sc in the magic ring [8]
Rnd 2: 8 inc [16]
Rnd 3: (3 sc, 1 inc) * repeat 4 times [20]
Rnd 4: 20 sc [20]
Rnd 5: (4 sc, 1 inc) * repeat 4 times [24]
Rnd 6 – Rnd 7: 24 sc [24] [2 Rounds]
Rnd 8: 14 sc, chain 4, continue to crochet on Rnd 7: 10 sc [24]
(Modification: If you want a regular egg and prefer not to use a wooden button, crochet Round 8 as follows: 24 sc [24])

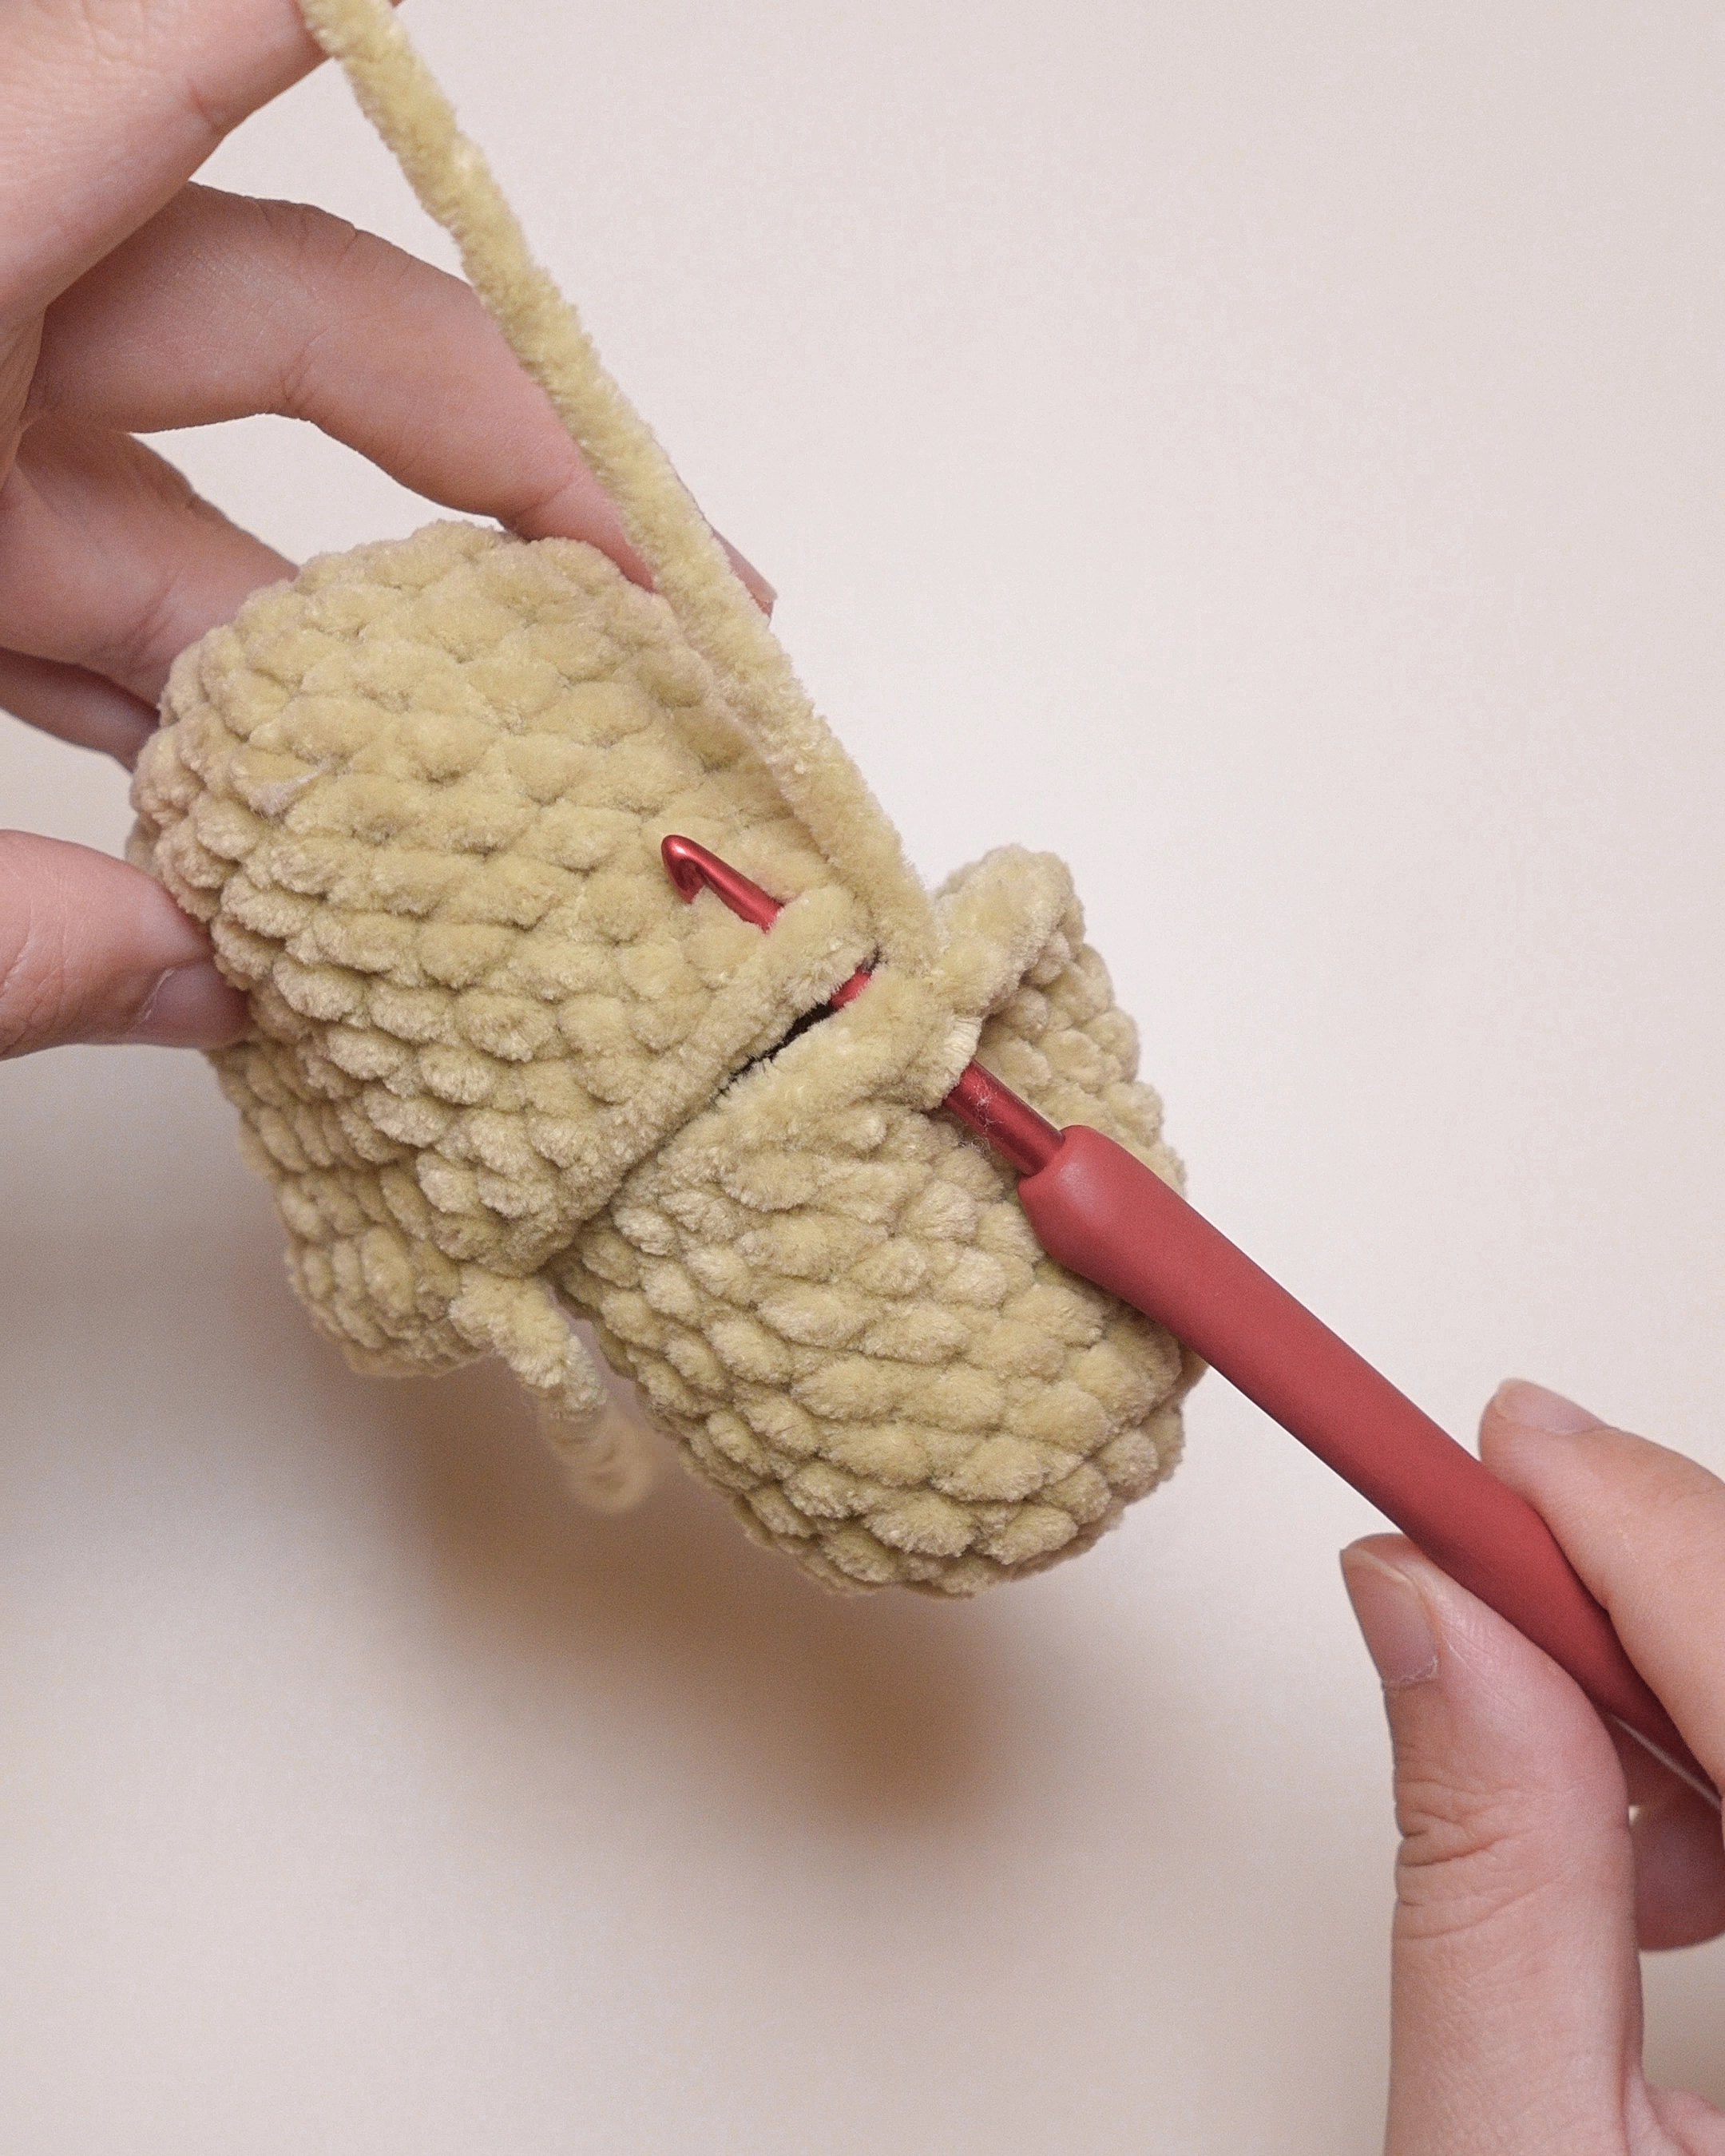
Now, attach both parts of the eggshell by crocheting through both pieces.
The upper part should be closer to the hook handle, while the bottom part is positioned underneath.
Slip stitch into the next 4 stitches, working through both layers of the shell, then fasten off.
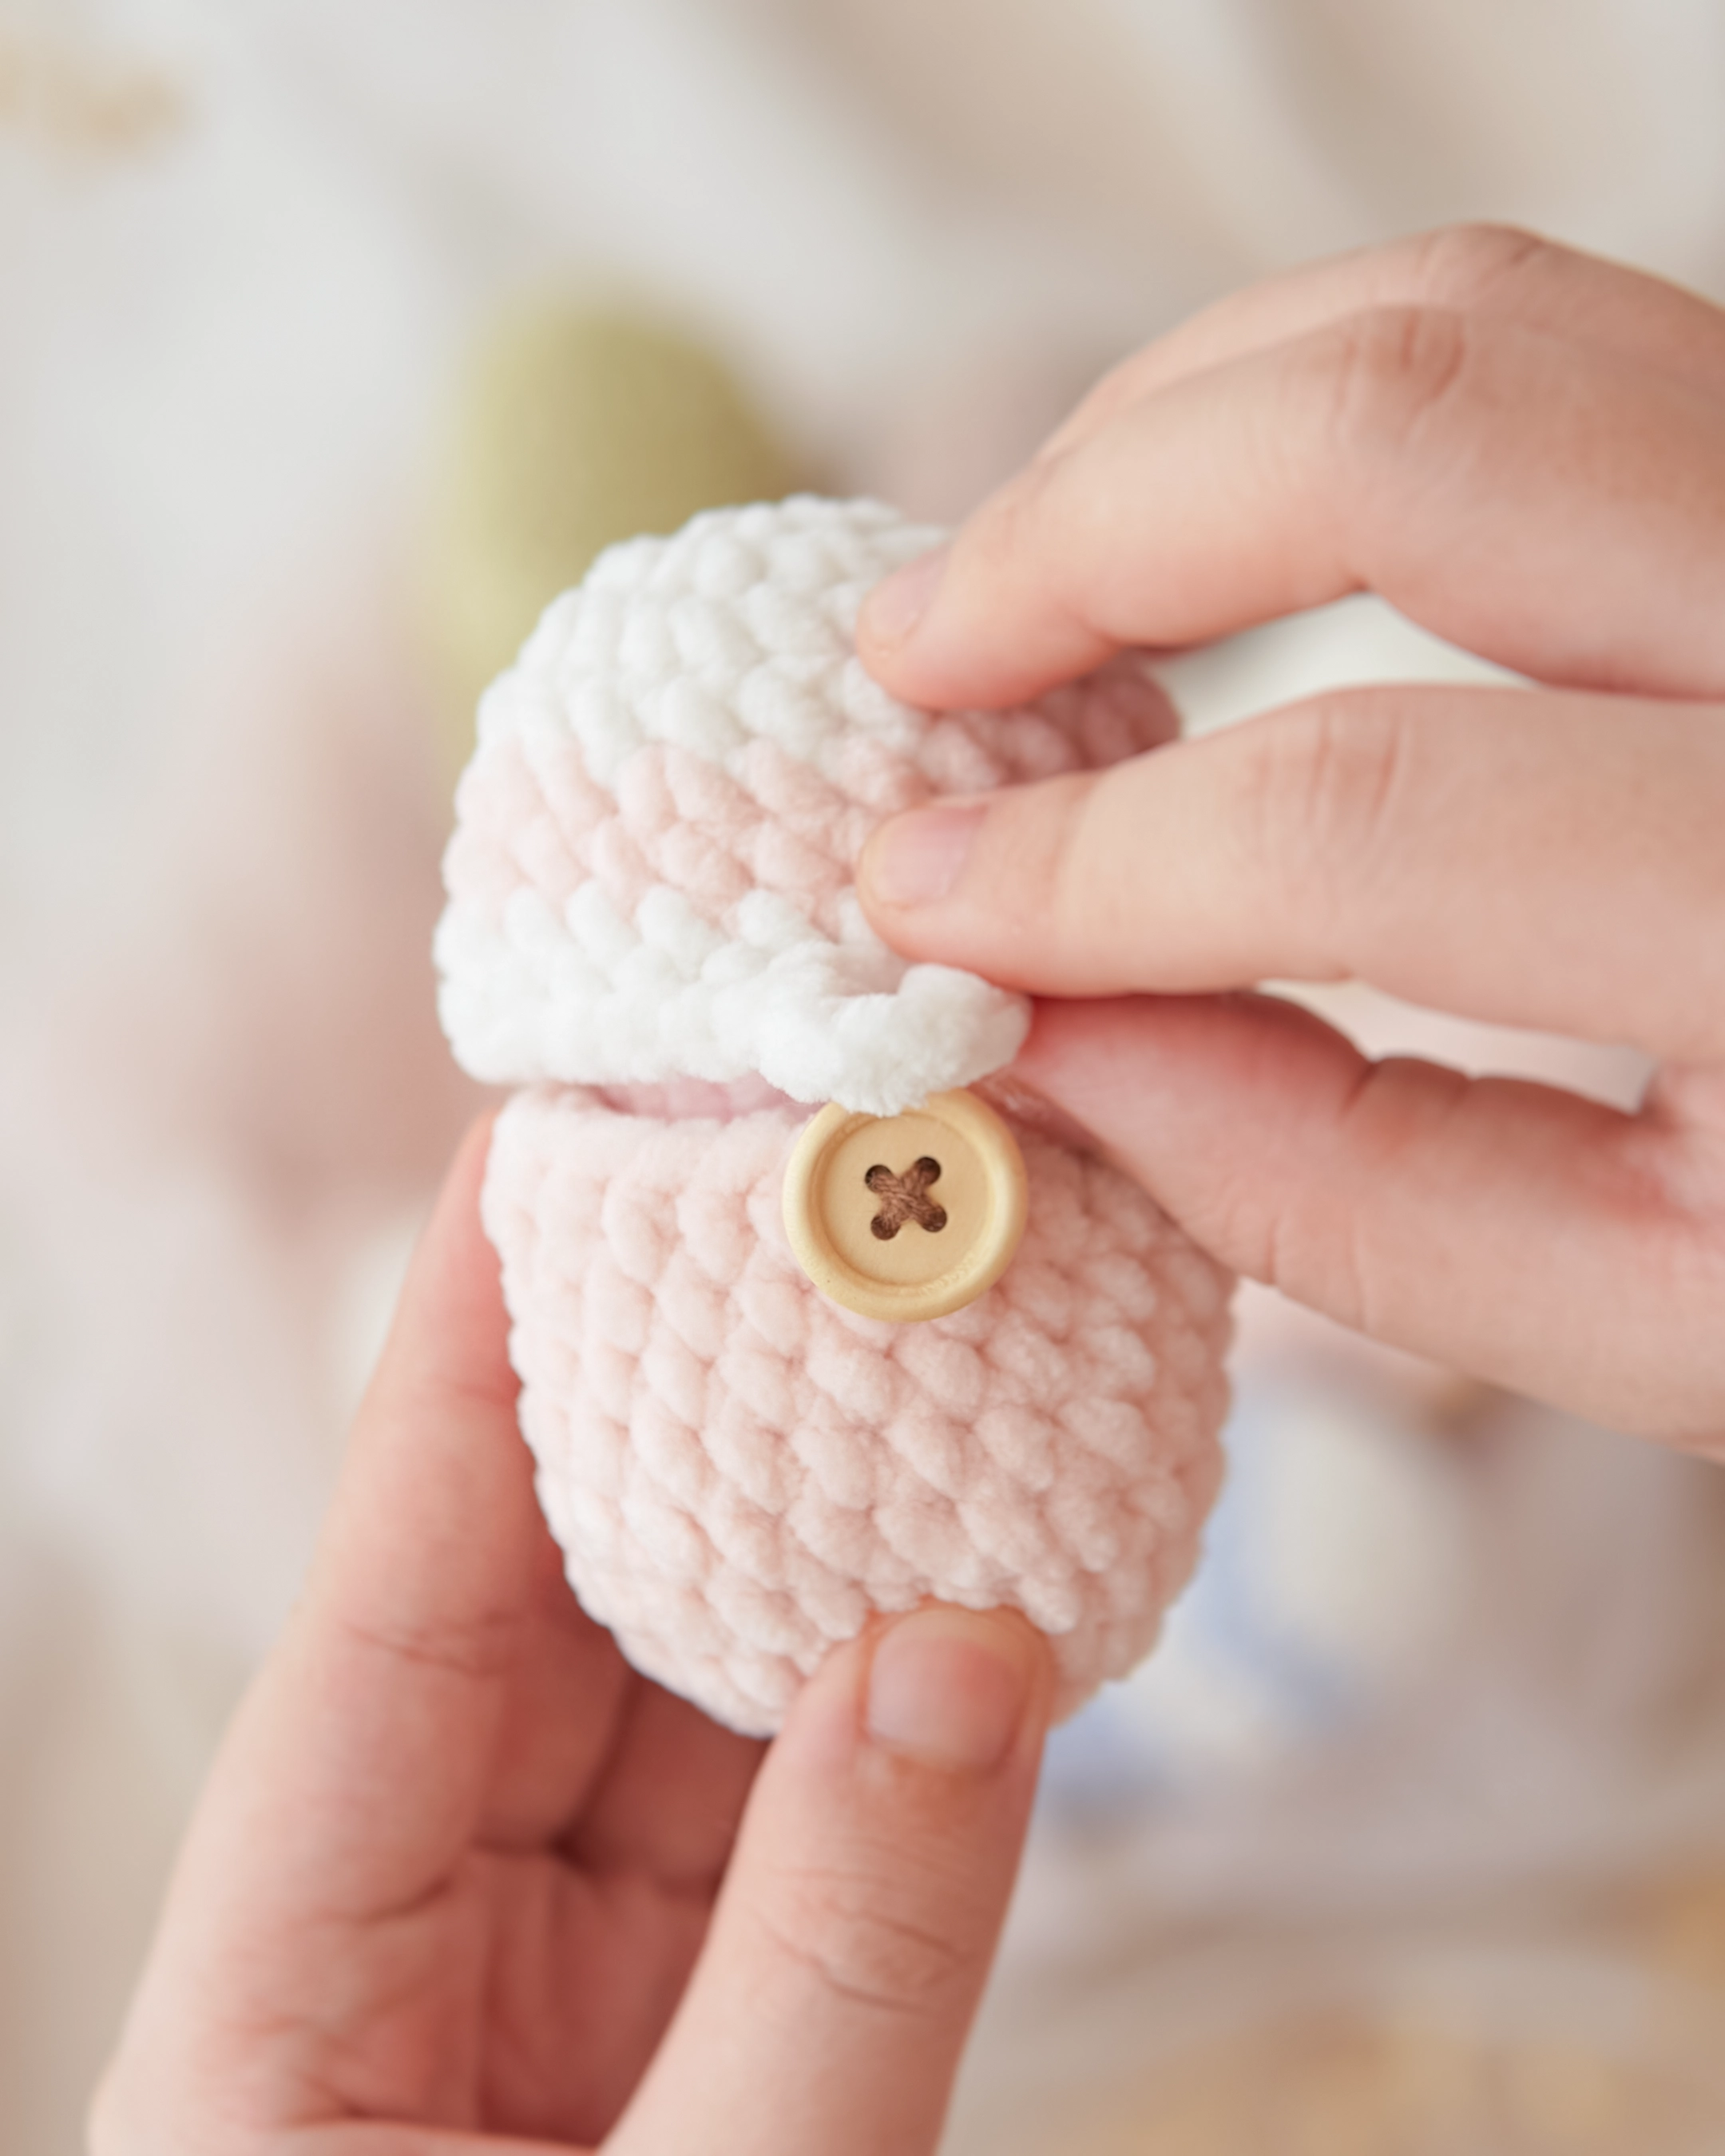
Sew an 18mm wooden button in the center of the bottom part of the eggshell.
Color Options: Solid vs. Two-Colored Eggs
While you can crochet the egg in a classic solid color, you can make your Easter collection even more eye-catching with a Two-Colored Hatching Egg. This is a great way to add a “cracked” aesthetic or a decorative stripe.
To make the two-colored version, follow the same pattern above with these simple modifications:
Bottom Part: Crochet entirely in your Main Color.
Upper Part:
Rnd 1 – Rnd 4: Crochet in White.
Rnd 5 – Rnd 6: Switch to your Main Color.
Rnd 7 – Rnd 8: Switch back to White.
Thank you for crocheting with me today! If you love cute crochet patterns like this one, make sure to join my newsletter for crochet tips, and new pattern updates delivered straight to your inbox. I can’t wait to crochet with you again!
You can find more crochet patterns in our Etsy and Website shops.
For more inspiration and behind-the-scenes contents, join me over on Facebook or Instagram!
Happy Crocheting!