
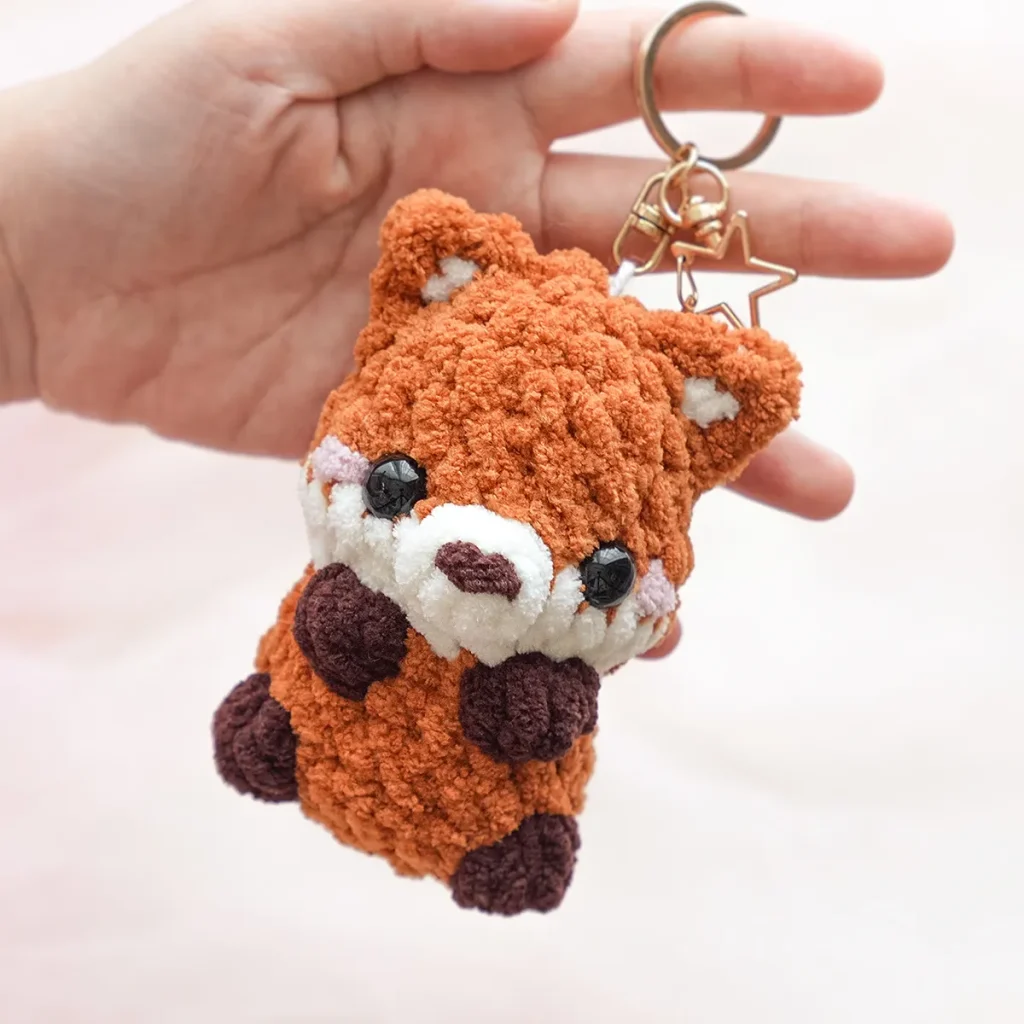
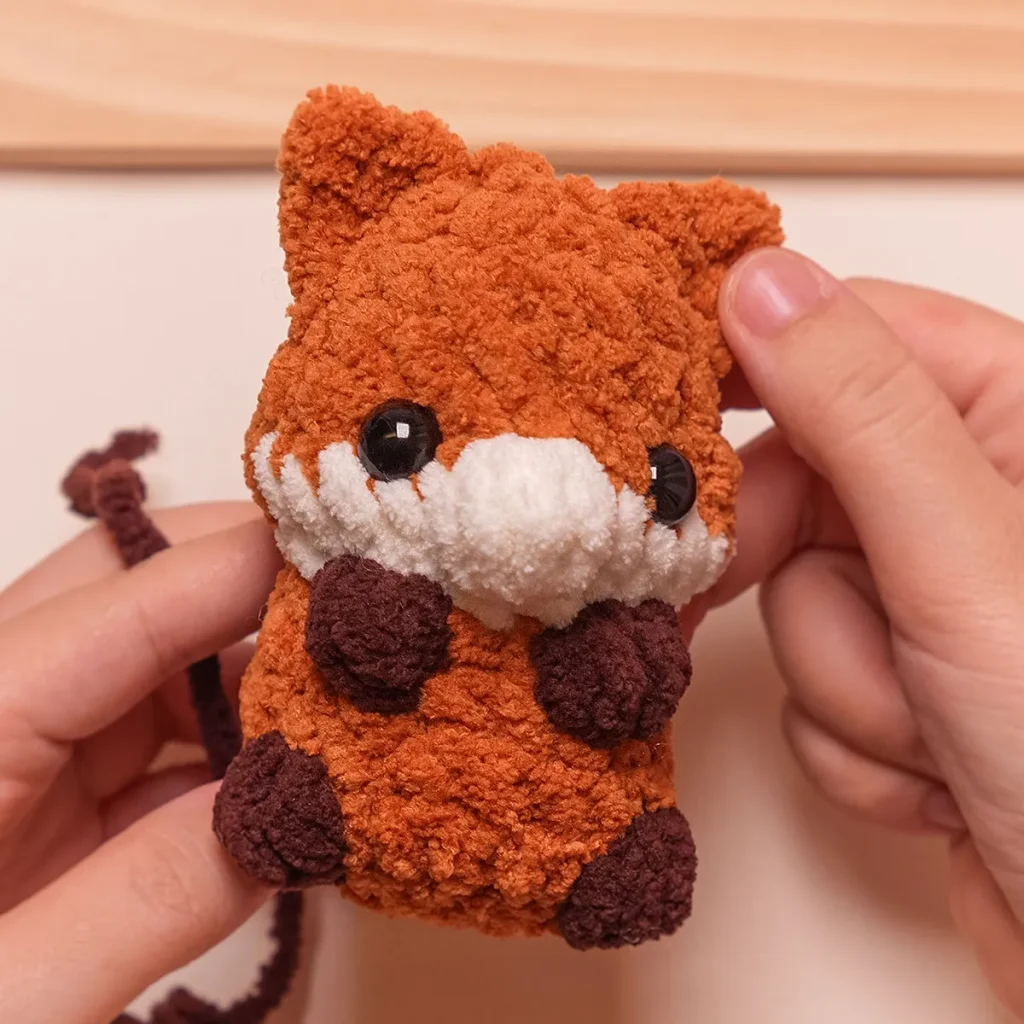
Are you looking for a quick, cute, and FREE crochet pattern? You’ve come to the right place! I’m sharing my latest design for these adorable Baby Foxes today.
This project is specifically beginner-friendly and works perfectly with plush yarn, making it a fast and satisfying make for anyone.
If you’d like the printable PDF version of this pattern, you can purchase it with the bunny keychain pattern at a very reasonable price in my website shop HERE.
Let’s grab our hooks and start creating together! Scroll down to find the free pattern below!
Copyright
This pattern is for personal use only. Please do not copy, translate, share, or resell this pattern or any part of it. Thank you so much for supporting Green Frog Crochet!
Skills and Abbreviations
This pattern is written in US crochet terminology.
slst: slip stitch
sc: single crochet stitch
hdc: half double crochet stitch
dc: double crochet stitch
st, sts: stitch, stitches
dec: single crochet decrease
inc: single crochet increase
Rnd: round
FLO: crochet through front loops only
BLO: crochet through back loops only
inc3: crochet 3 single crochet stitches in same stitch
Bobble-4-dc: Bobble stitch made of 4 incomplete double crochet stitches
Finished size: 10 cm~4 inches.
Now, let’s get started!
Pattern Overview
This is a no-sew pattern. First, we’ll crochet the tail. Then, we’ll crochet from the top of the head down to the body. We’ll create the arms and legs with bobble stitches, and we’ll attach the tail as we go.
The first part of this pattern includes the instructions for the Natural Fox. The second part covers the modifications for the Cartoon Fox.
You can also find my video tutorial here on Youtube:
Baby Fox (Nature color)

Material & Tools
Hook: 5.5 mm/ I-9 hook
Safety eyes: 12 mm black safety eyes
Yarn: Weight #6 Yarn in colors:
- Premier Basix Chenille Bright in colors: 06 Rust, 42 Chocolate
- Bernat Blanket in colors: Vintage White
Other materials and tools: yarn needle, scissors, fiberfill, stitch marker.
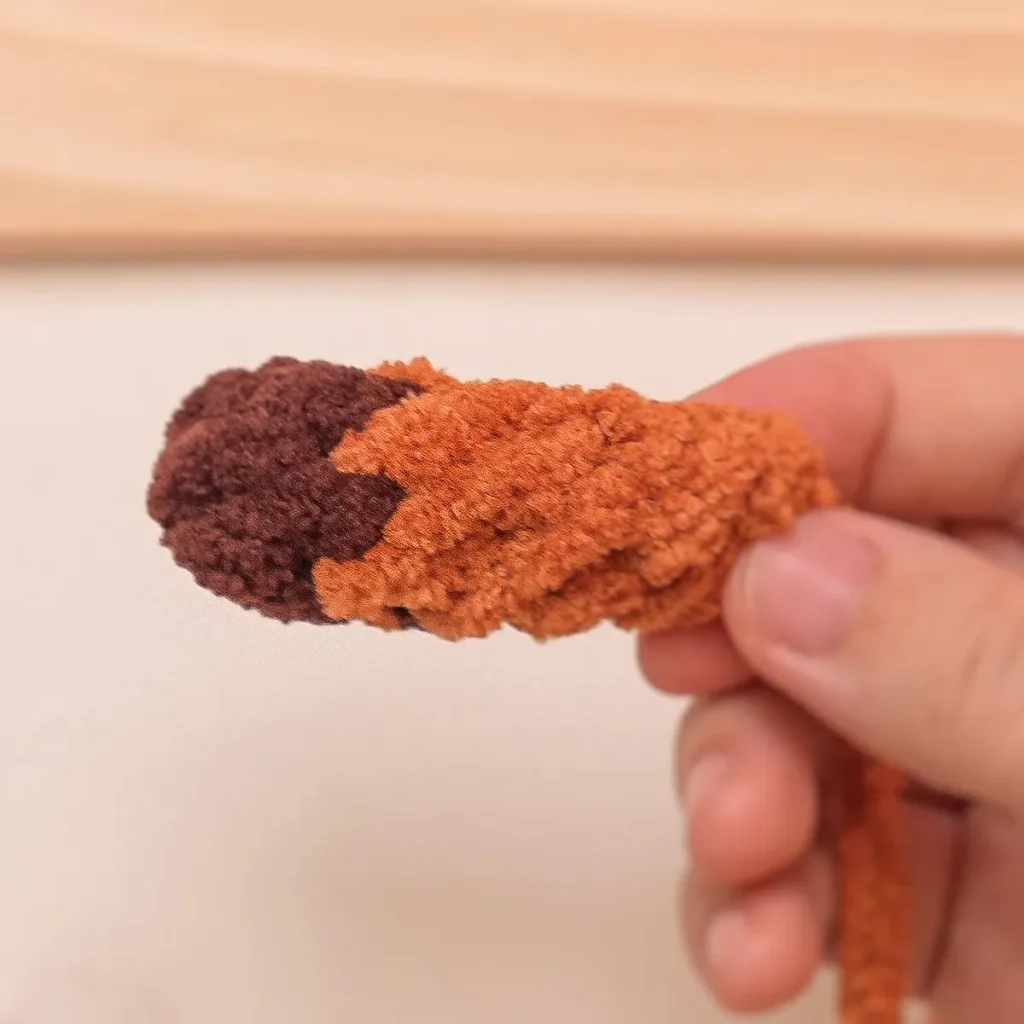
Tail
Begin with dark brown. Work in spiral rounds.
Rnd 1: 5 sc in the magic ring [5]
Rnd 2: 5 sc [5]
Change to orange yarn.
Rnd 3 – Rnd 5: 5 sc [5] [3 Rounds]
Rnd 6: 1 sc, 1 dec, 2 sc [4]
Fasten off, do not close, do not stuff the tail.
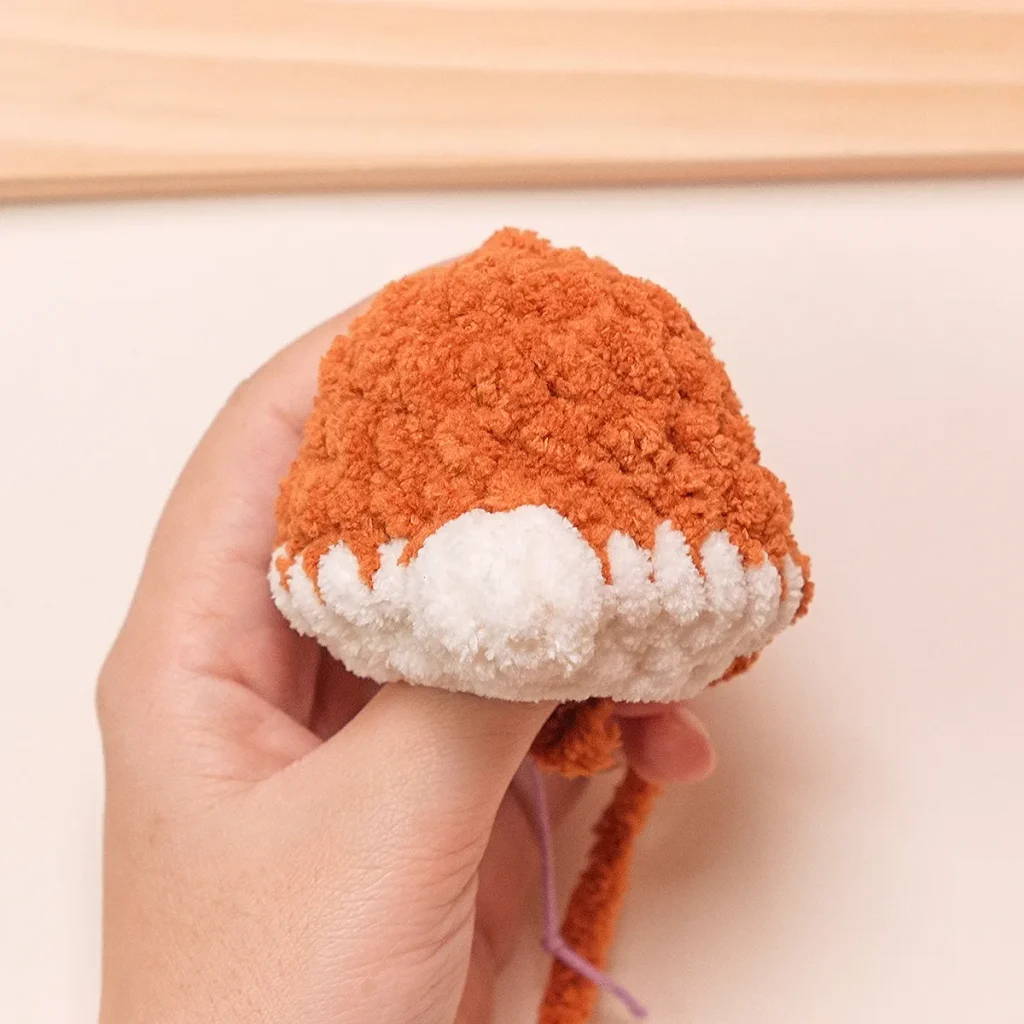
Head and Body
Begin with orange yarn. Work in spiral rounds.
Rnd 1: 8 sc in the magic ring [8]
Rnd 2: 8 inc [16]
Rnd 3 – Rnd 4: 16 sc [16] [2 Rounds]
Rnd 5: 3 sc, 2 inc3, 2 sc, 1 inc, 2 sc, 2 inc3, 4 sc [25]
(Note: inc3 = crochet 3 sc in the same stitch)
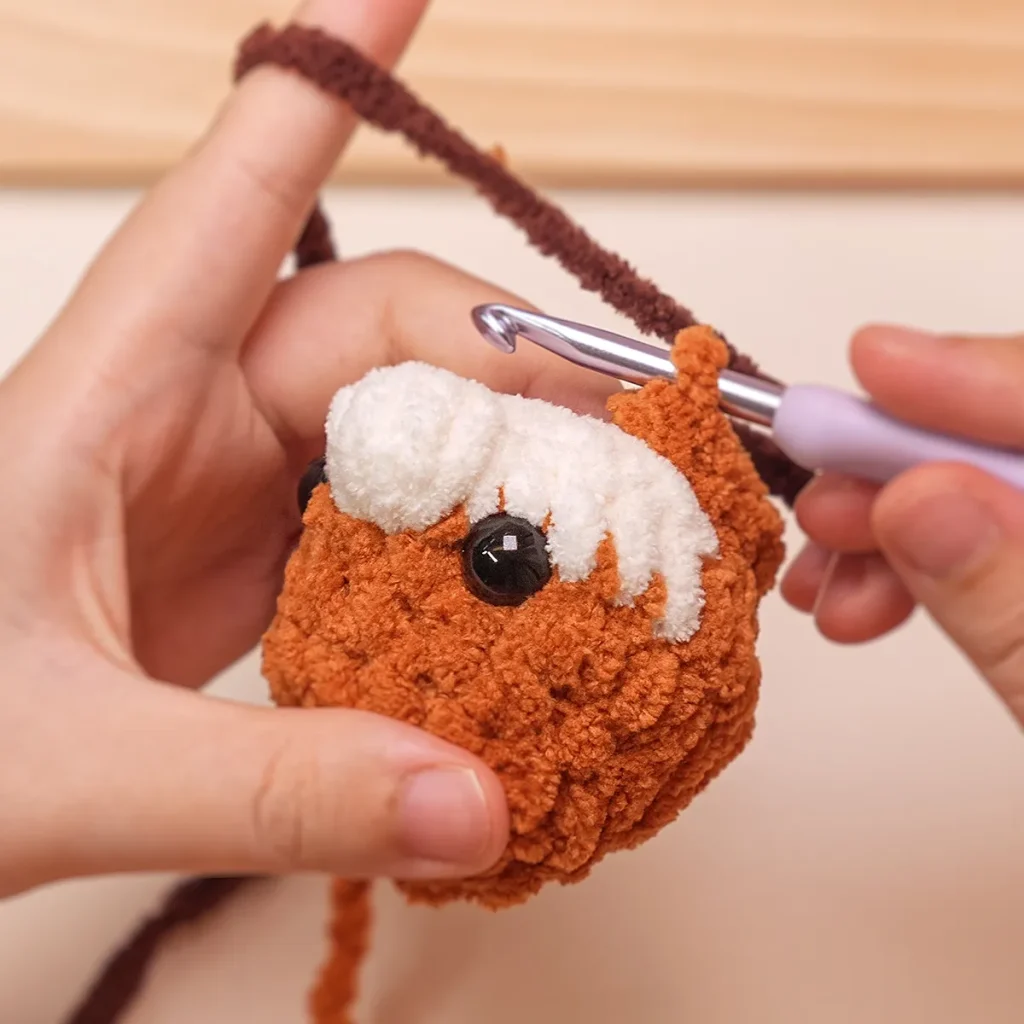
Rnd 6: 6 sc, crochet in cream: 5 sc, 1 bobble-4-dc, 6 sc, continue to crochet in orange: 5 sc, 1 dec [24]
Rnd 7: 3 dec, crochet in cream: 6 dec, continue to crochet in orange: 3 dec [12]
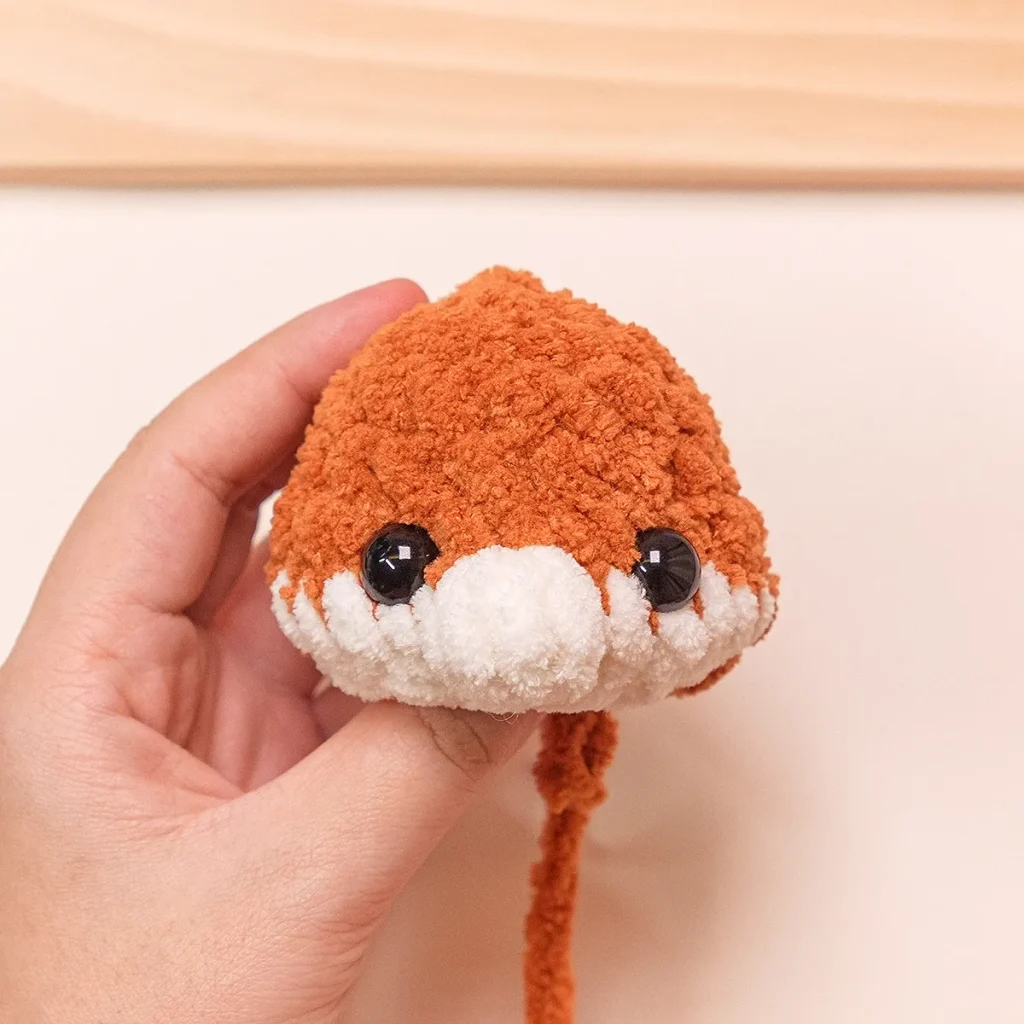
Place the safety eyes between Rnd 5 and Rnd 6 with 5 sts apart. Stuffing the head.
Continue to crochet the body.
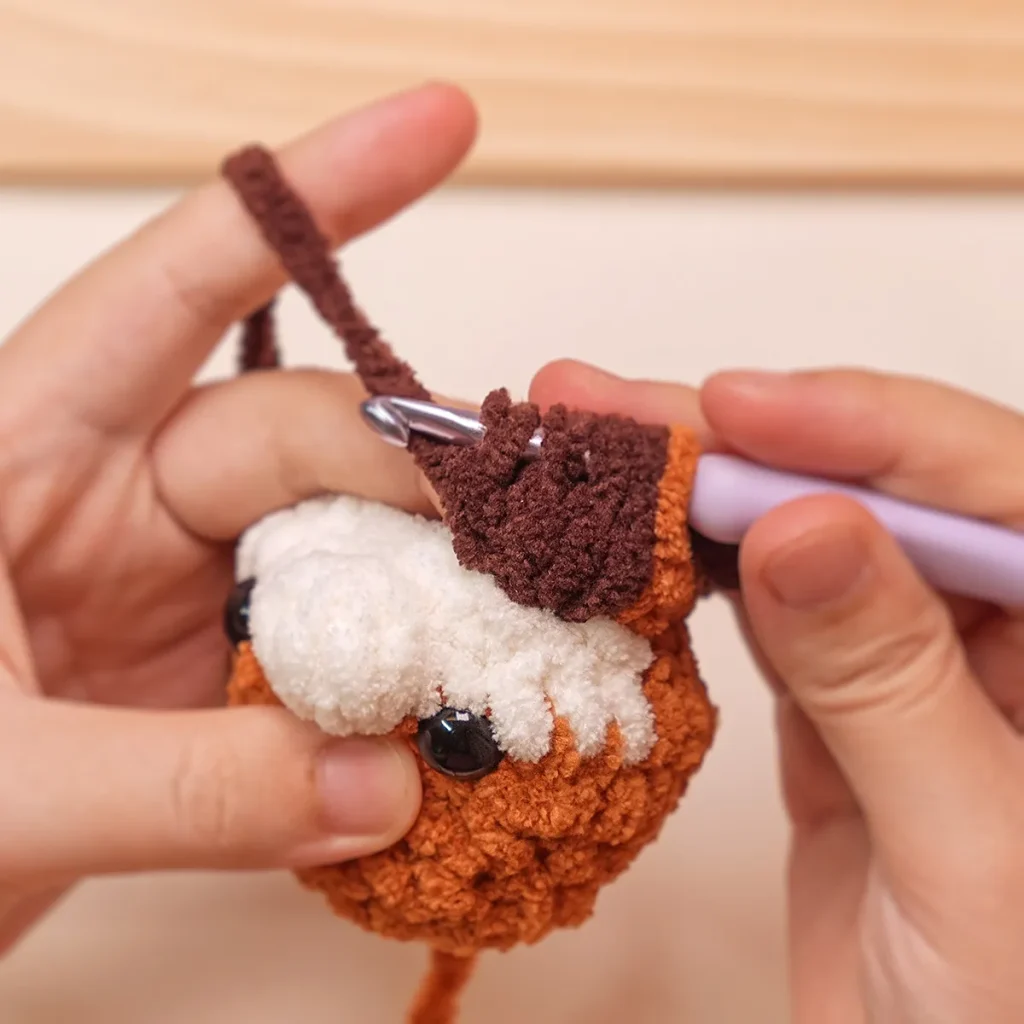
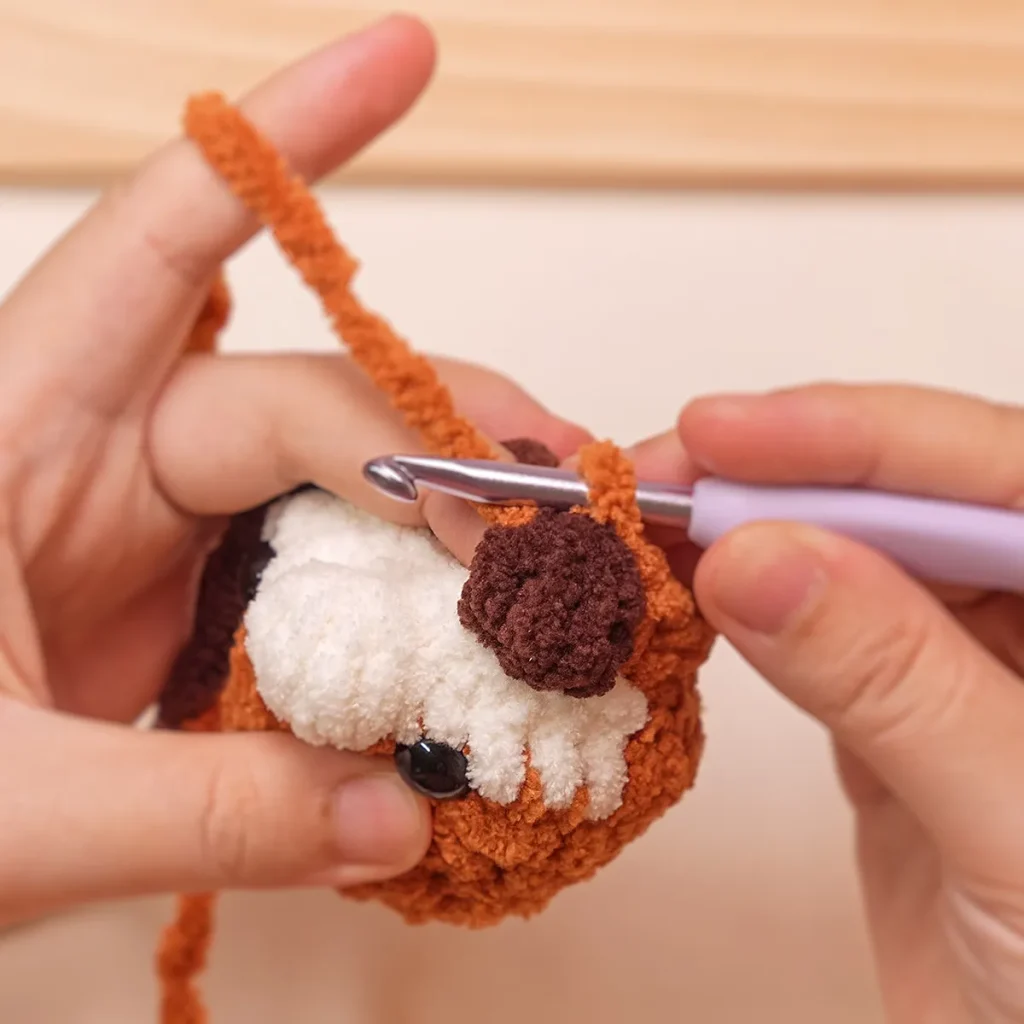
Rnd 8: 1 inc, 2 sc, 1 inc, 1 bobble-4-dc in dark brown, 2 sc, 1 bobble-4-dc in dark brown, 1 inc, 2 sc, 1 inc [16]
Rnd 9: 4 sc, 1 inc, 6 sc, 1 inc, 4 sc [18]
Rnd 10: 18 sc [18]
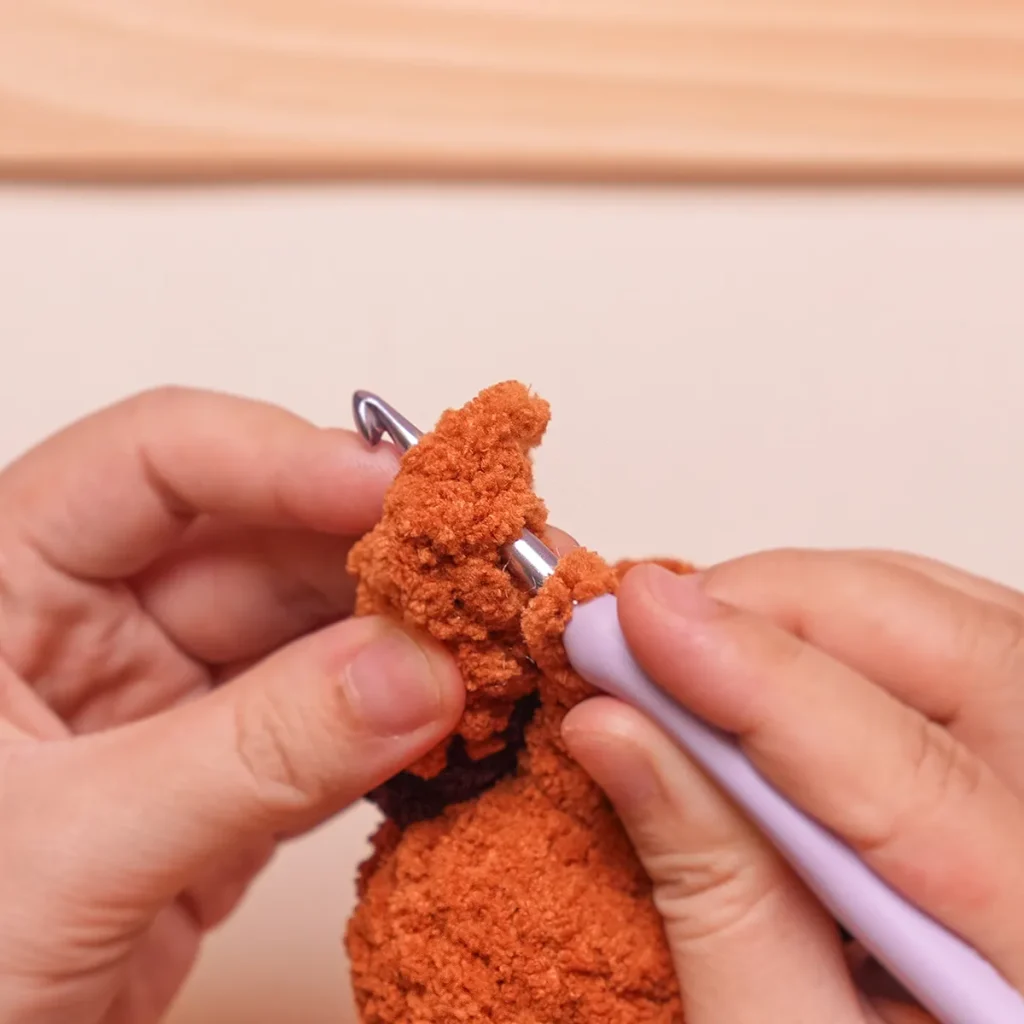
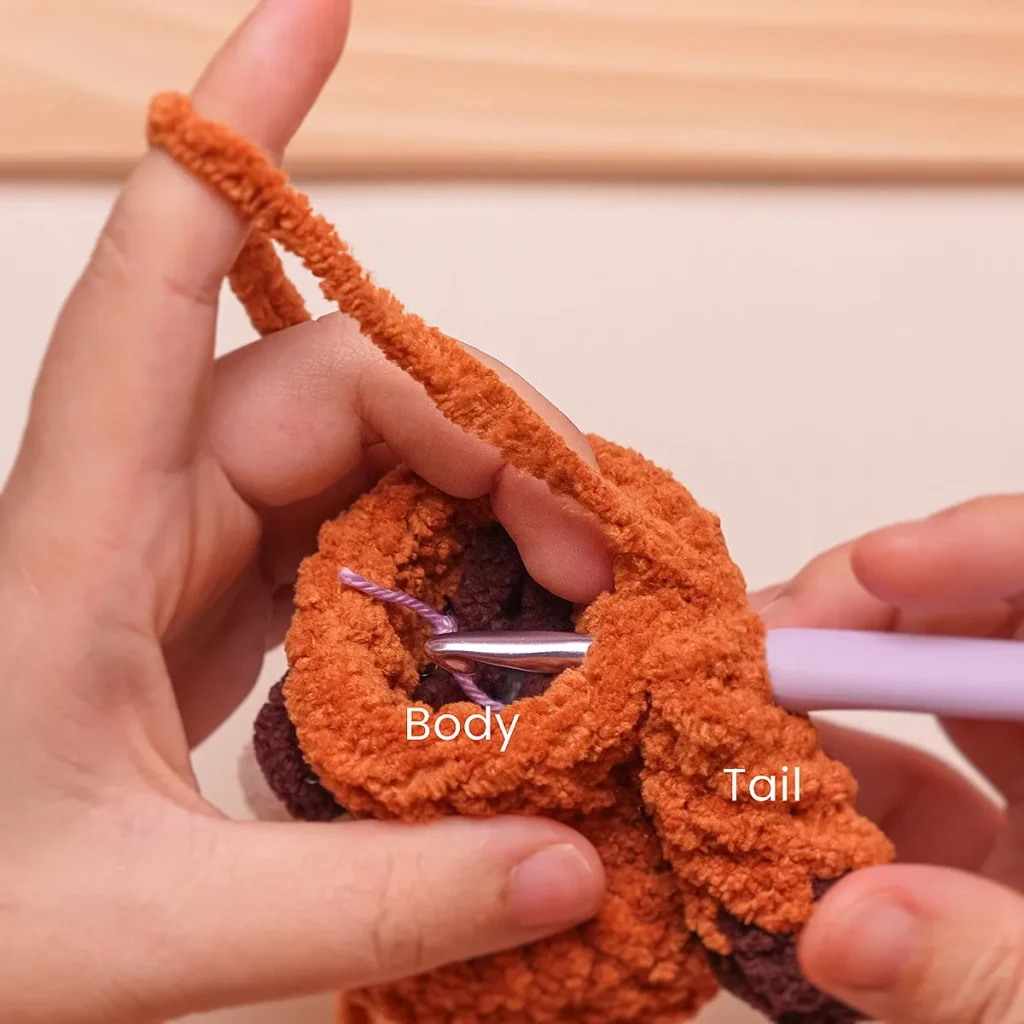
On Rnd 11, you will crochet to attach the tail to the body.
Rnd 11: Attach the tail by crochet through both sides of the tail and the body: 2 sc, continue to crochet on the body: 4 sc, 1 bobble-4-dc in dark brown, 5 sc, 1 bobble-4-dc in dark brown, 5 sc [18]
Rnd 12: 9 dec [9]
Stuffing the body.
Crochet 2 dec and fasten off, leave a long tail for sewing.
Weave the yarn tail through the front loops of the last round and pull it tight to close the hole. Make a knot to make it more secure and hide the yarn tail inside the body.
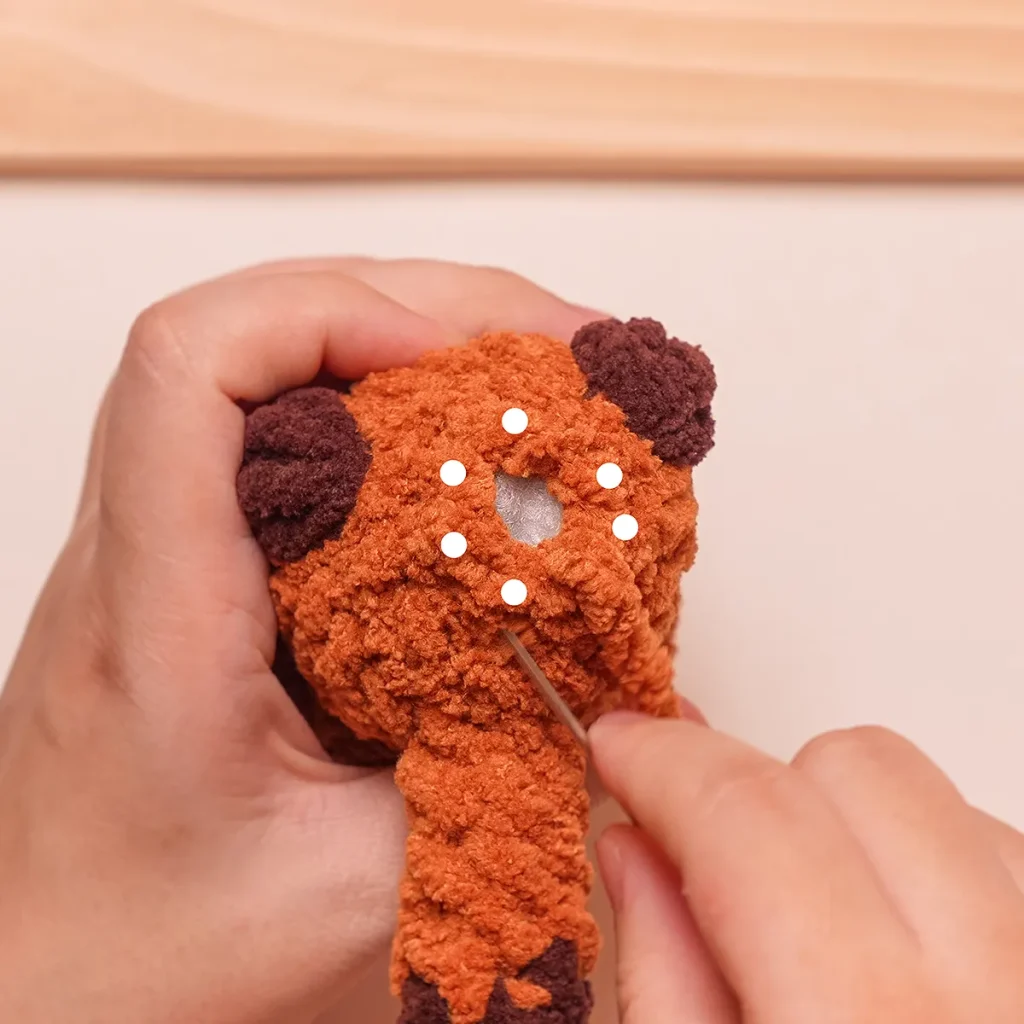
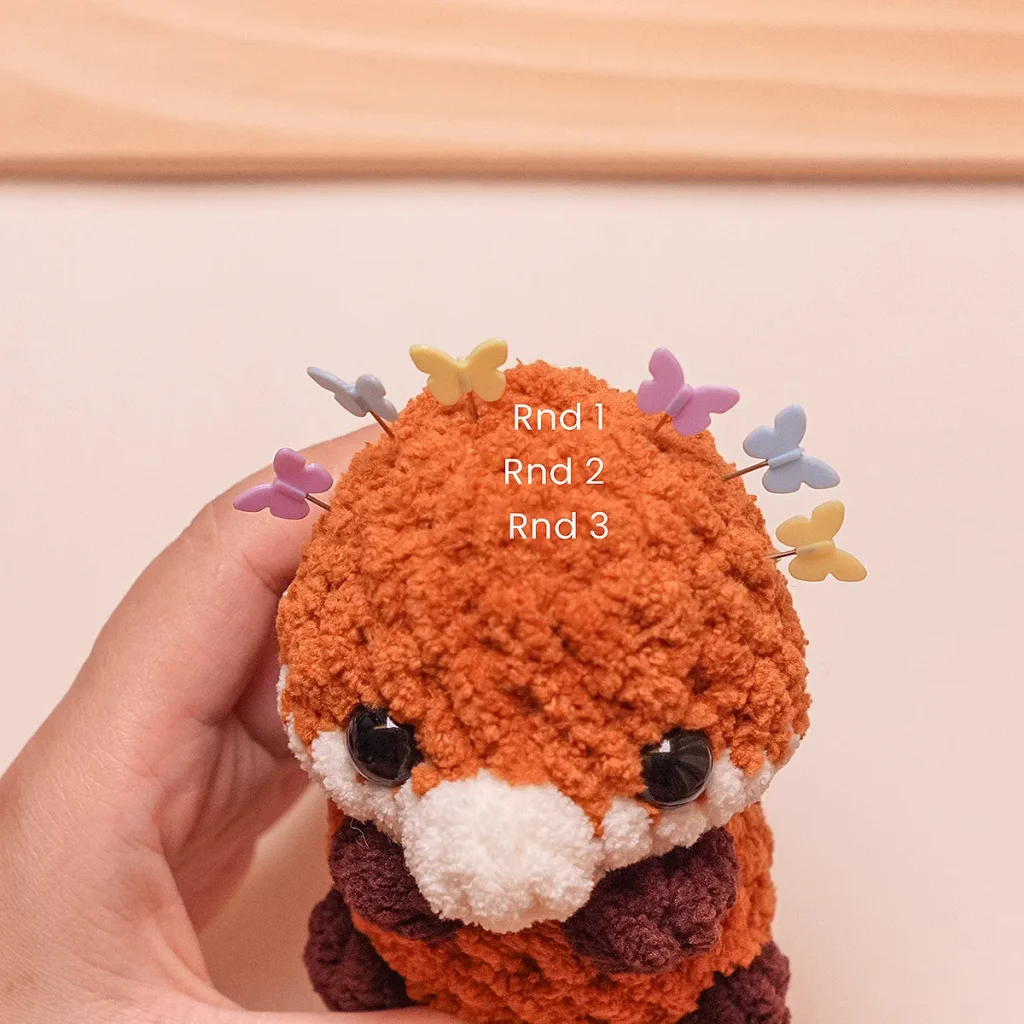
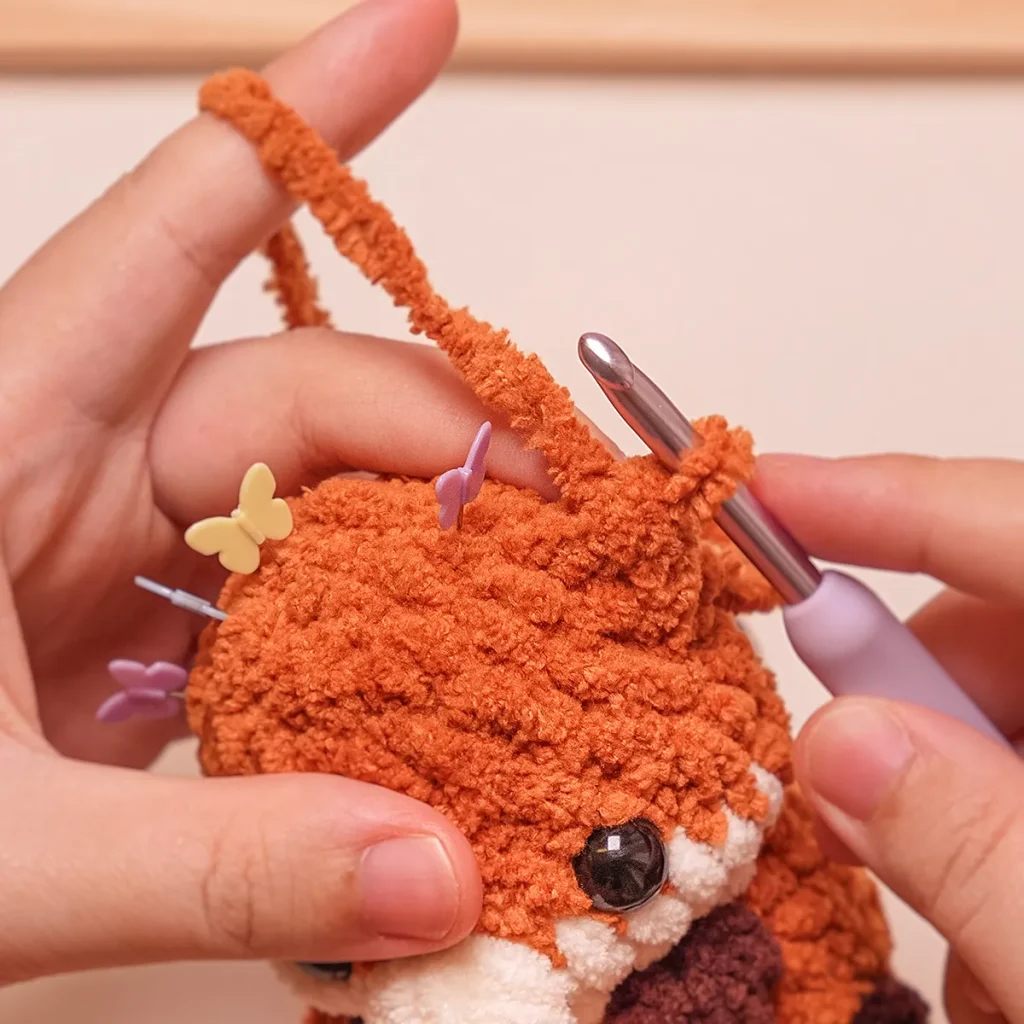
Ears
Mark the stitches on Round 1, Round 2, Round 3, we will crochet the ears on these stitches. Each ear will be crocheted follow the direction of the arrows.
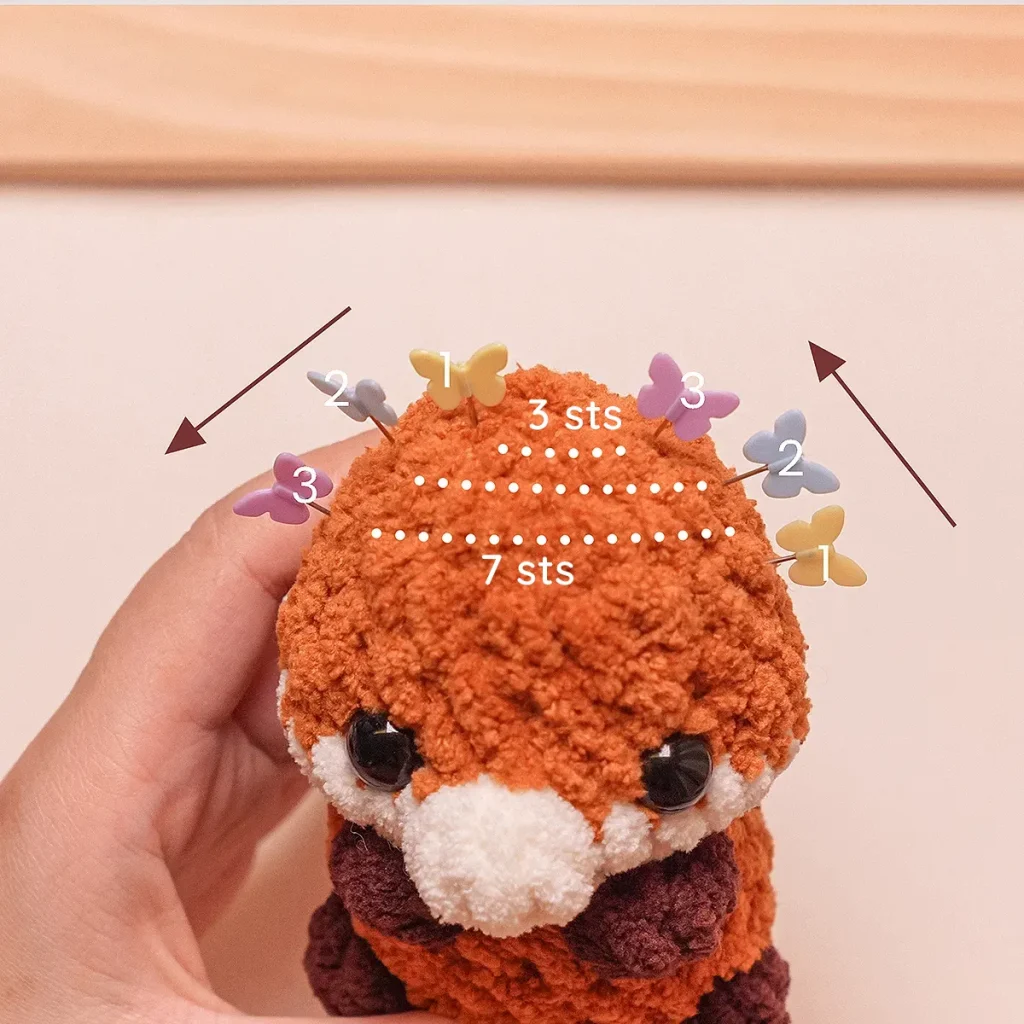
- Join new orange yarn on the stitch number 1, pull up a loop on your hook then chain 1.
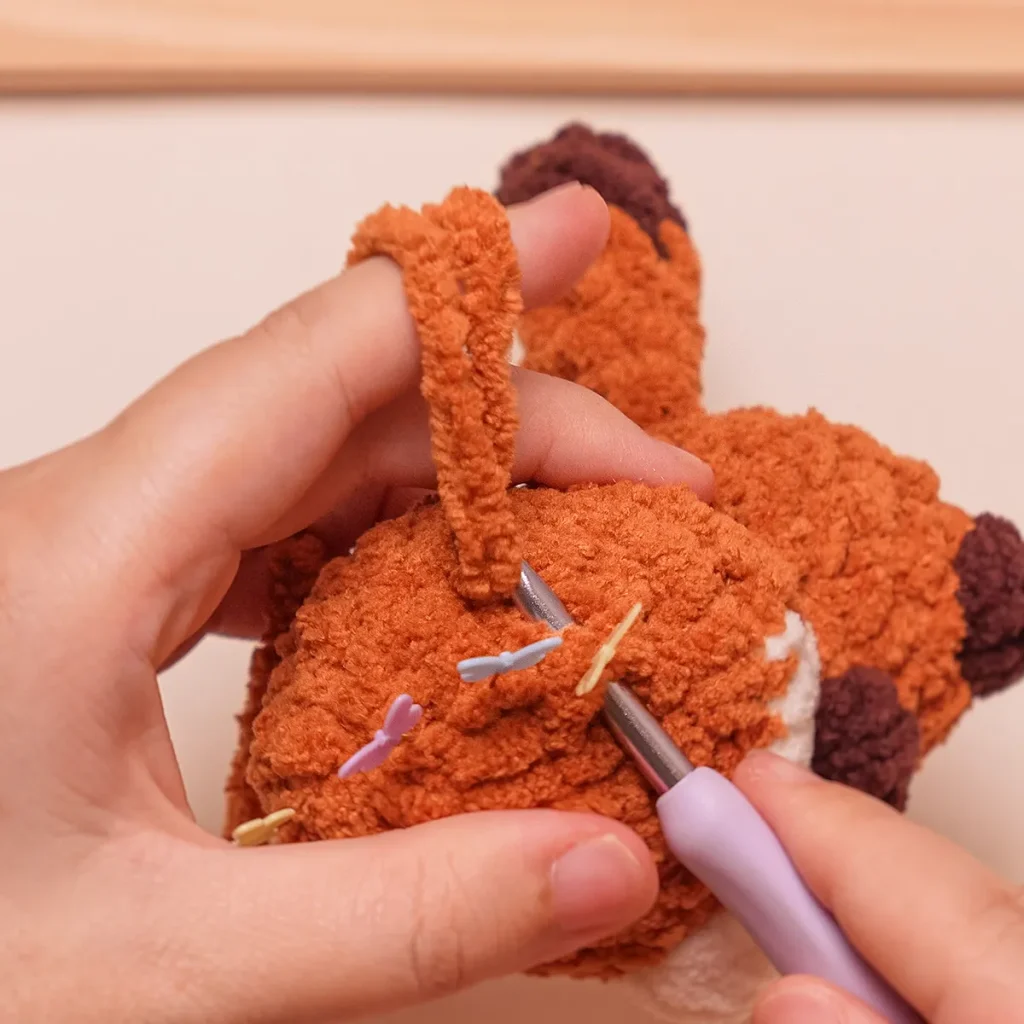
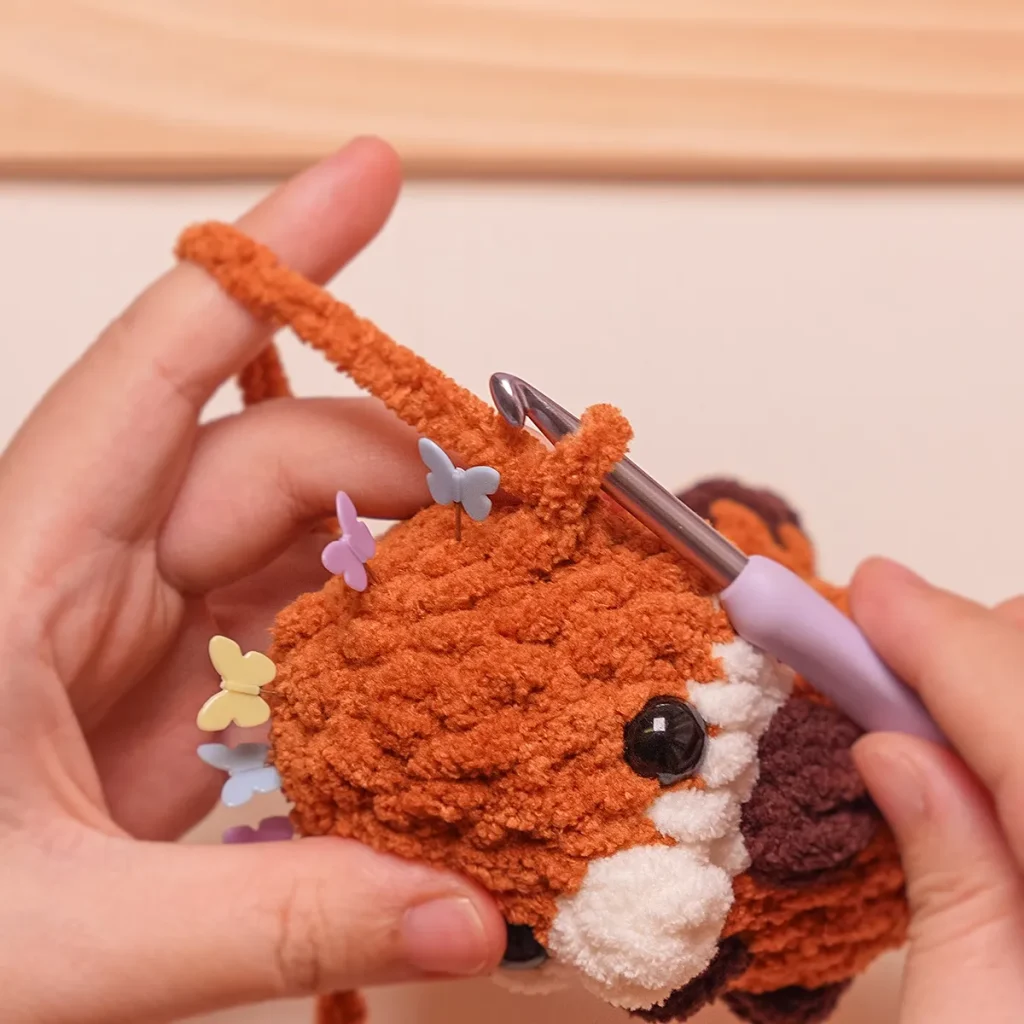
2. Crochet 1 hdc into the stitch number 2.
3. Chain 2 and slst in the second chain from the hook to create a little pointy ear.

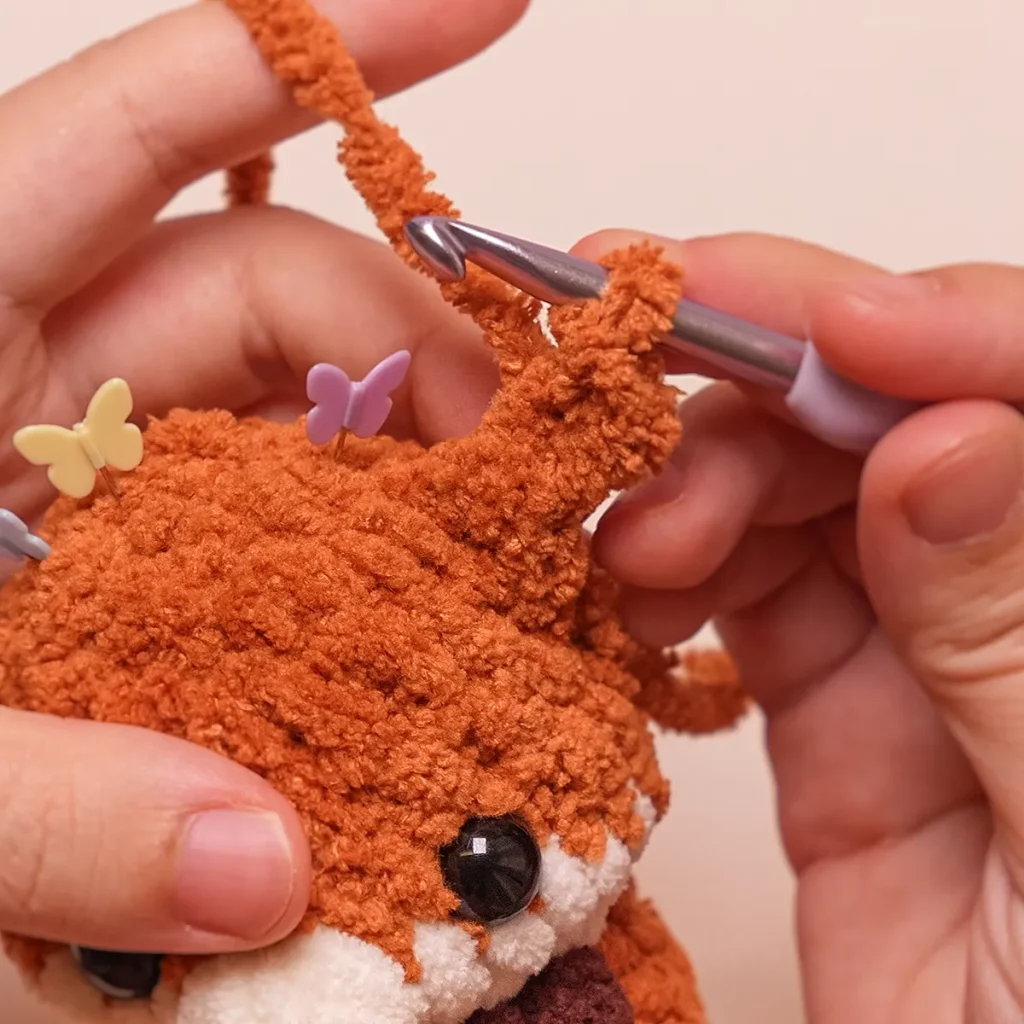
4. Next crochet 1 hdc into the stitch number 2.
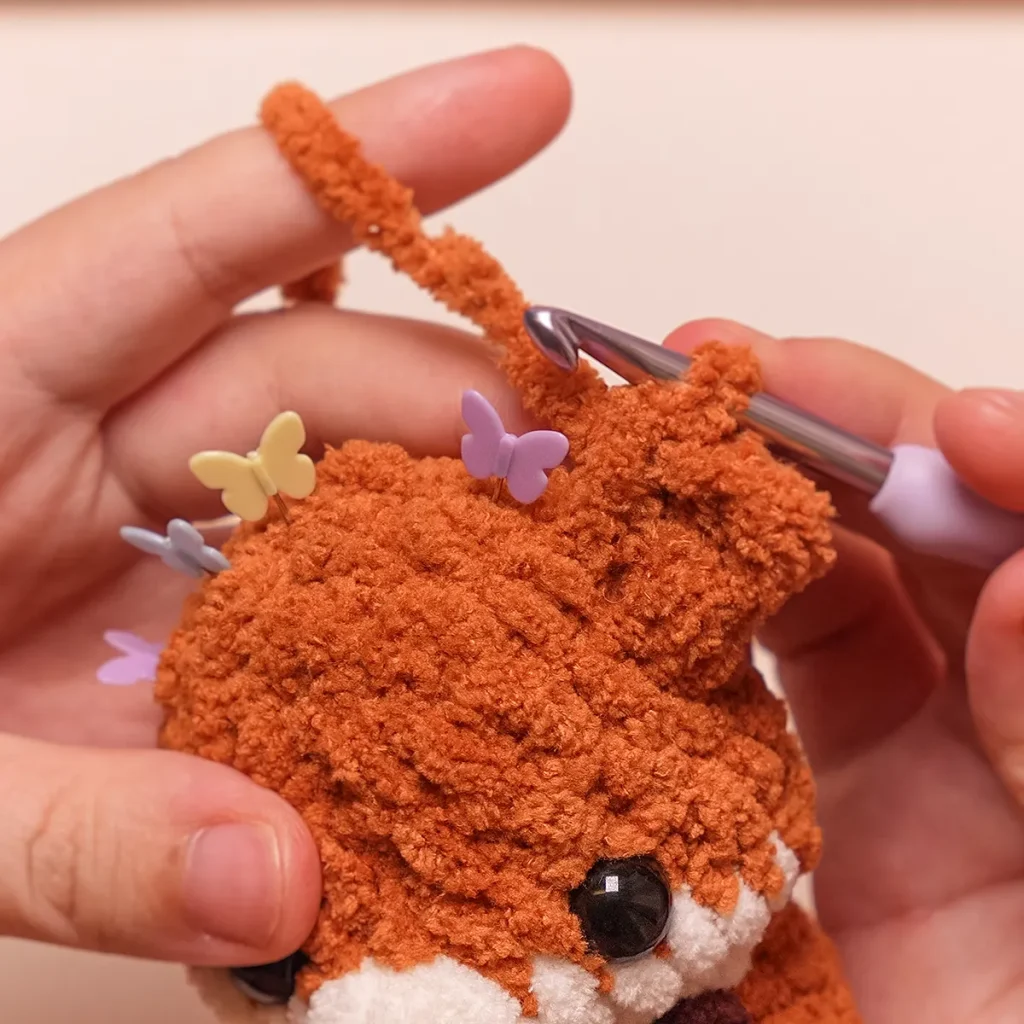
5. Slst into stitch number 3. Fasten off and weave the yarn tails.
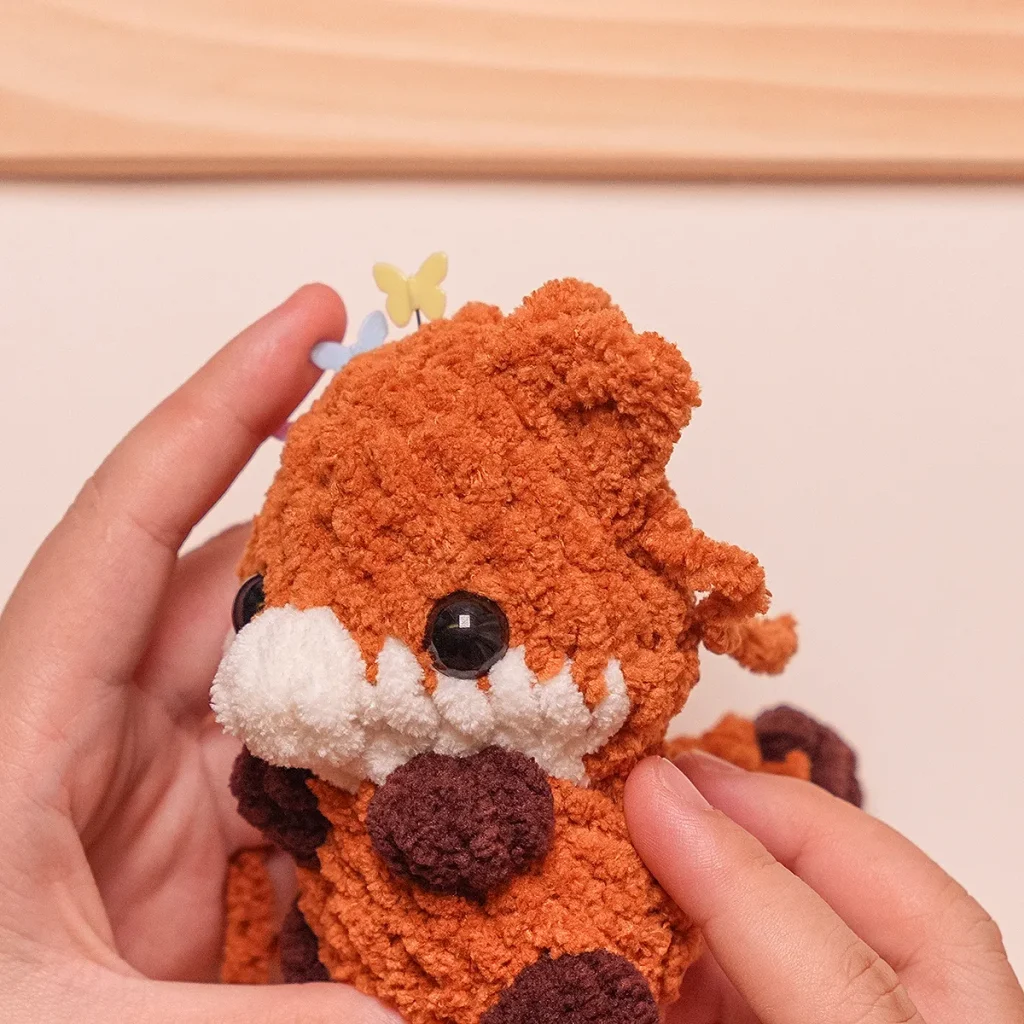
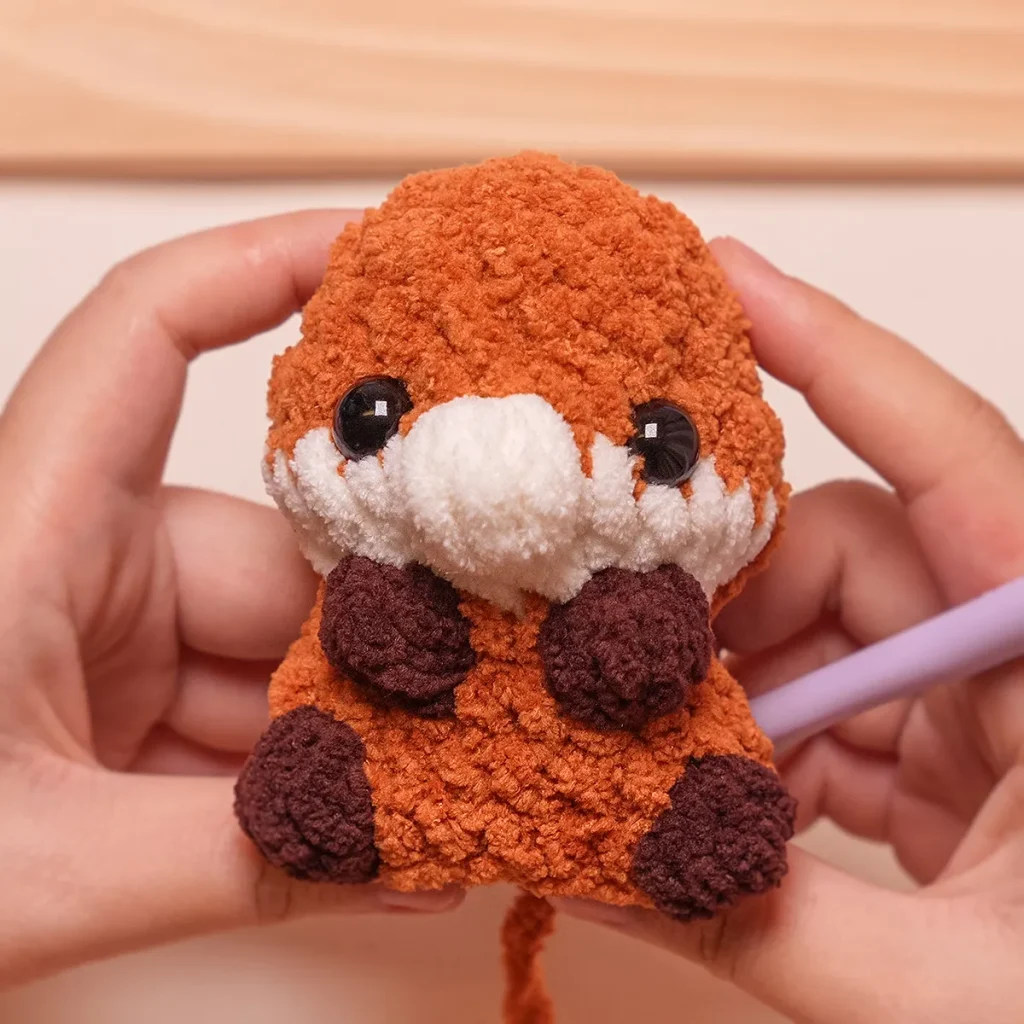
Assembling
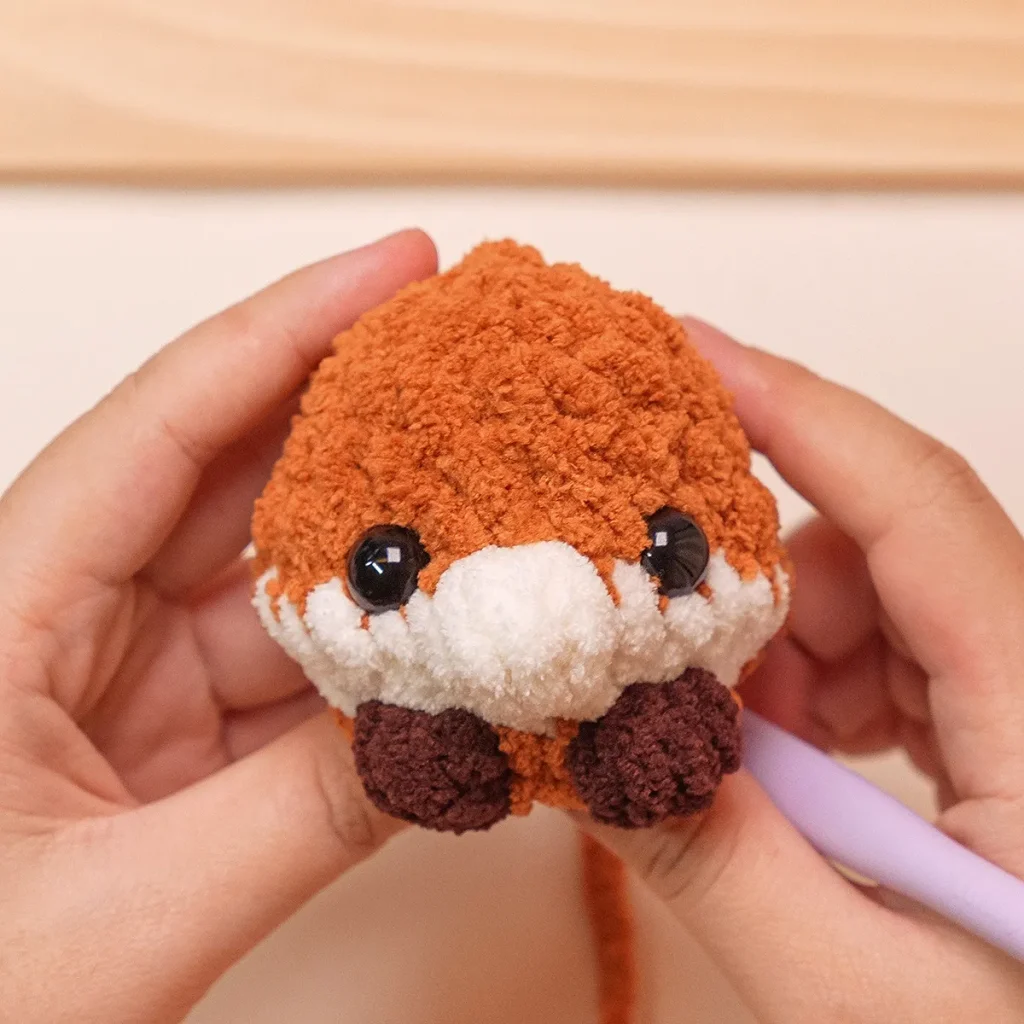
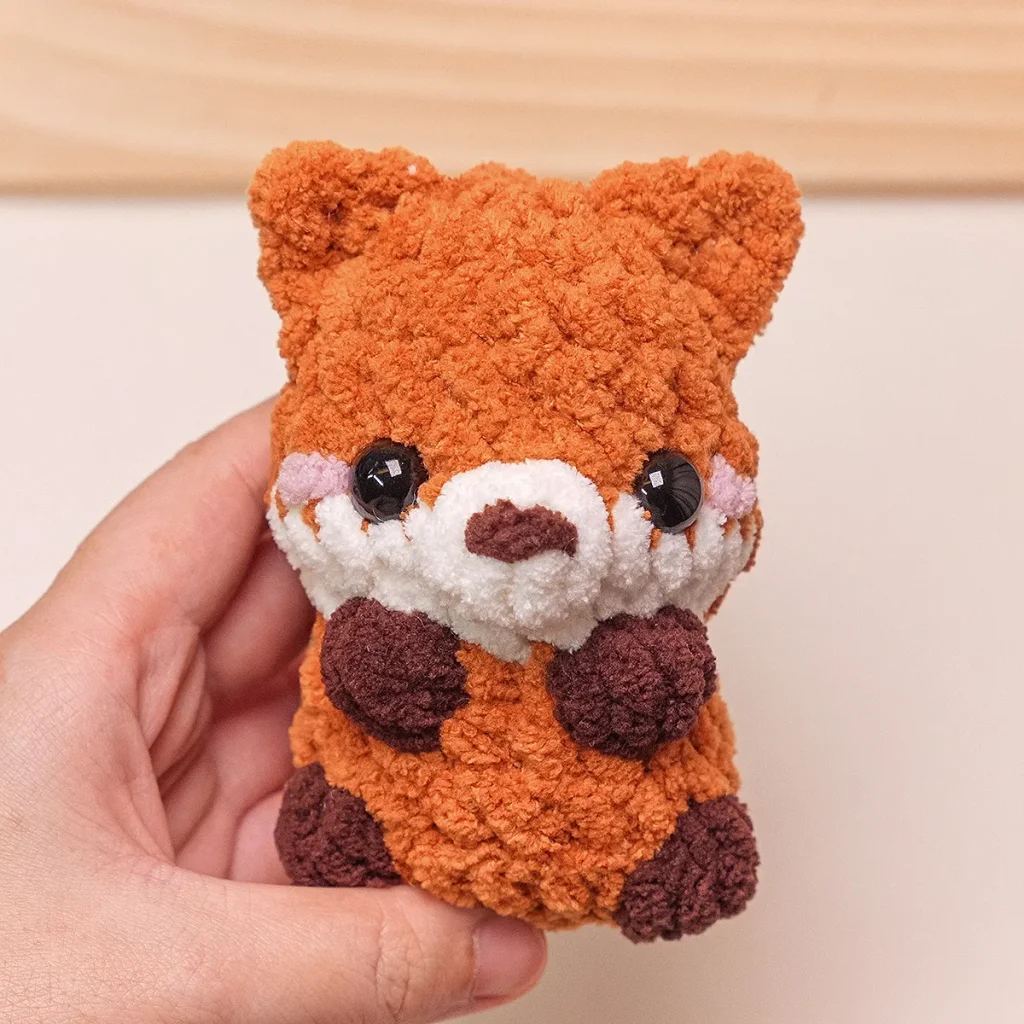
Embroider the nose with dark brown yarn on 2 stitches of the cream bobble on round 5 of the head.
Embroider the cheeks with pink yarn between round 5 and round 6 of the head.
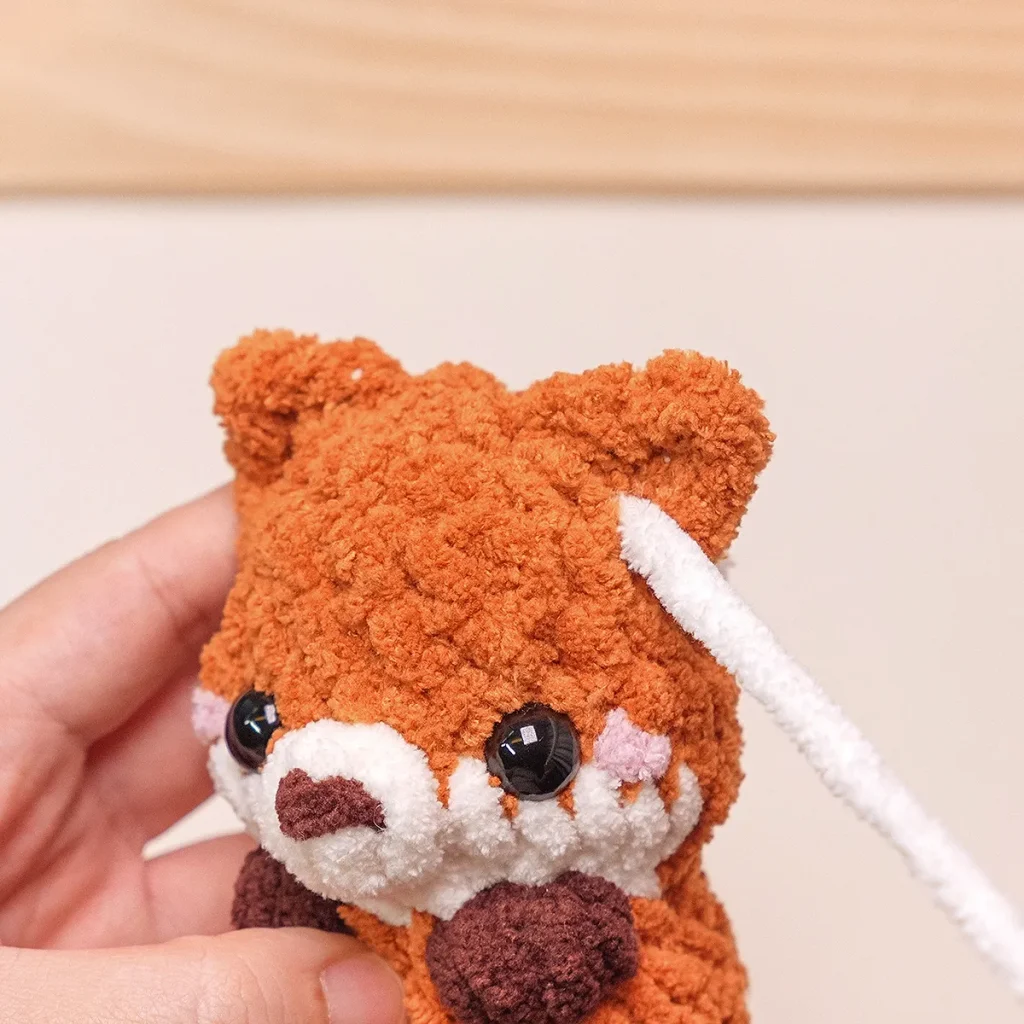
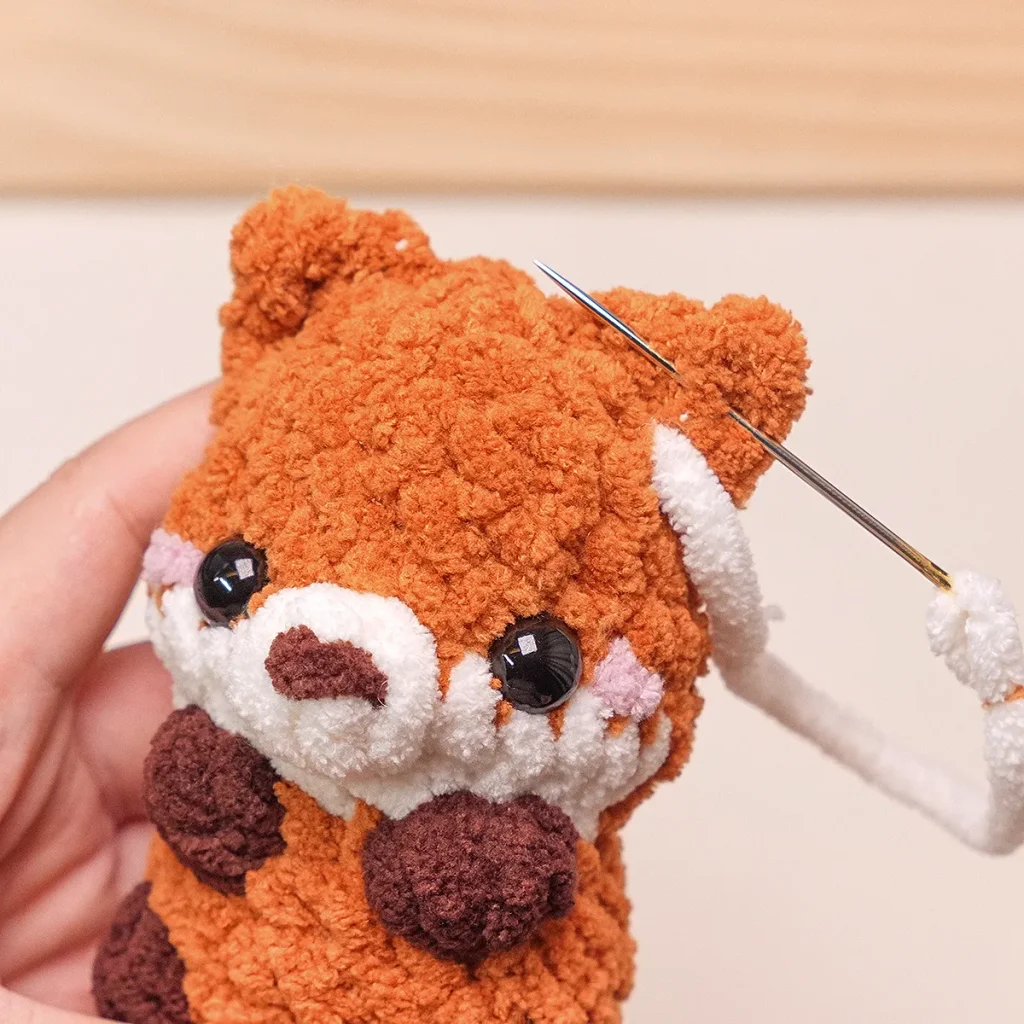
Embroider cream yarn on the ears.
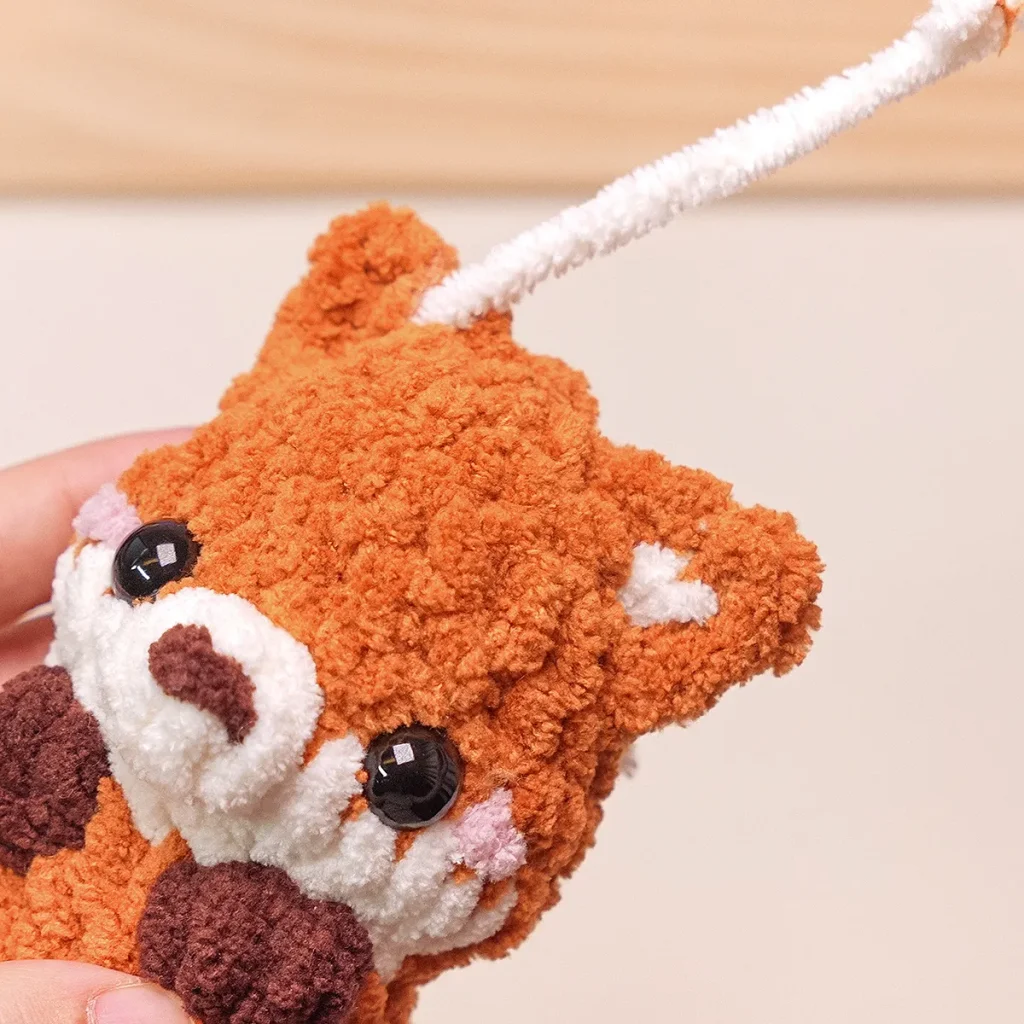
Attach the keychain onto the top of the head and your little fox keychain is done!
Thank you for visiting my blog today! If you love cute crochet patterns like this one, make sure to join my newsletter for free gifts, crochet tips, and new pattern updates delivered straight to your inbox. I can’t wait to crochet with you again!
You can find more crochet patterns in our Etsy and Website shops.
For more inspiration and behind-the-scenes contents, join me over on Facebook or Instagram!
Happy stitching!


