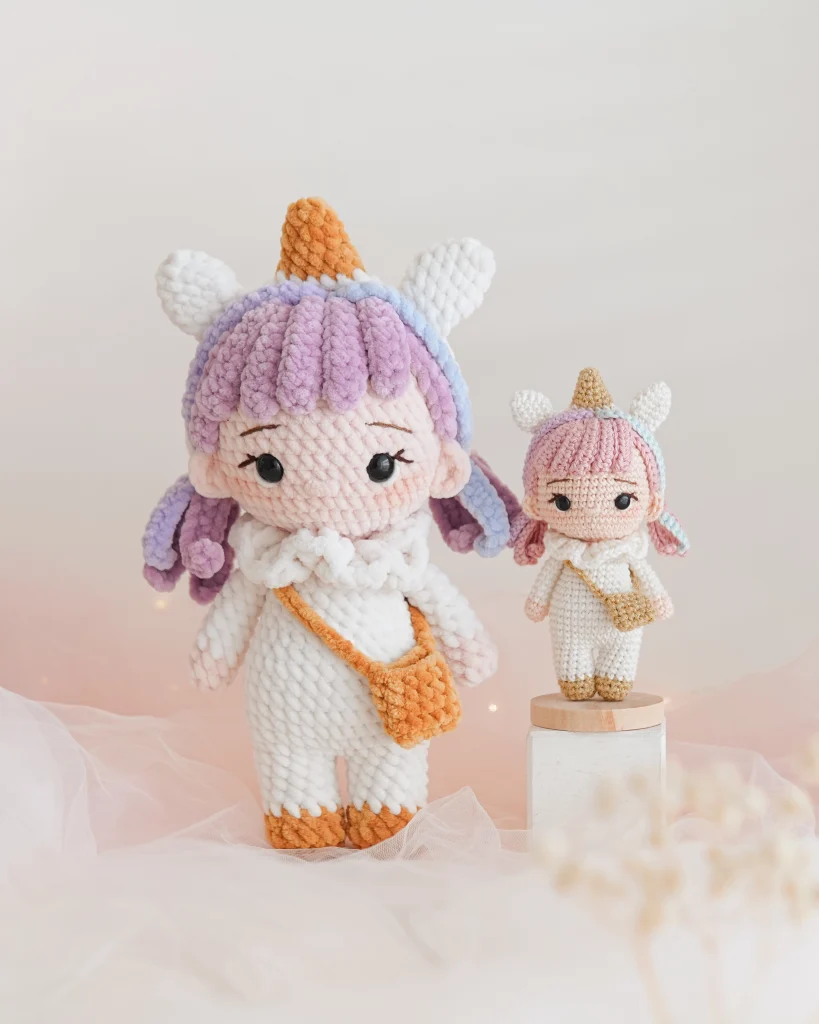
Have you ever finished a beautiful crochet doll, only to find that her head wobbles or leans to one side? The “floppy neck syndrome” is a common heartbreak for many amigurumi makers, especially when creating dolls with large, detailed hair or oversized heads.
I believe the secret to a professional-looking doll isn’t just in the stitches, but in the structural support inside. Today, I’m sharing my methods to ensure your doll stands tall and proud.
The Foundation: The “Internal Tube” Method
Before we talk about materials, let’s discuss the Inner Tube. Think of this as the “spine” of your doll. Instead of just stuffing the neck with fiberfill (which eventually compresses), we create a dedicated structural sleeve.
Crochet the Tube: Use the same yarn as the doll’s body. Crochet a small cylinder that is 2 or 3 stitches smaller in diameter than the actual neck.
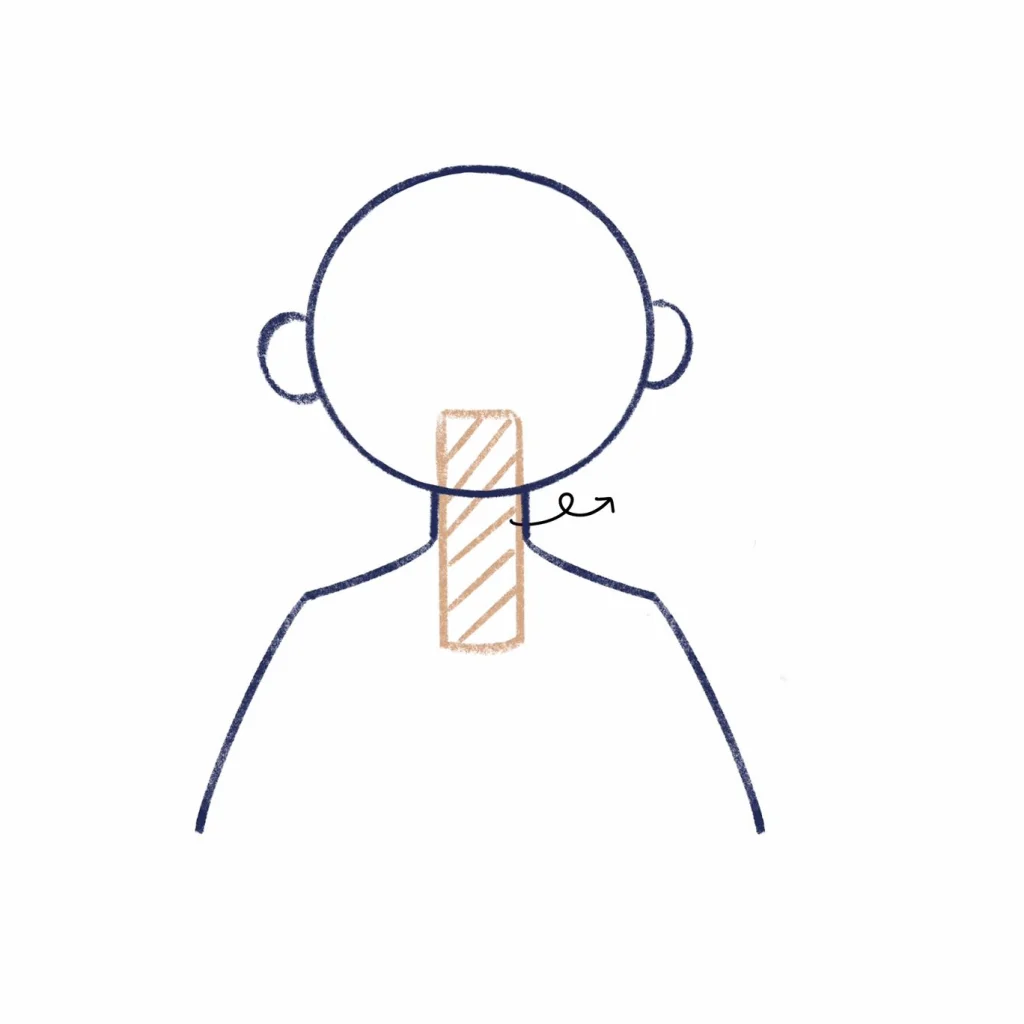
Measure the Length: It should be long enough to extend from the mid-chest area up to at least the bottom 1/3 of the head. This distribution of weight is crucial for balance.
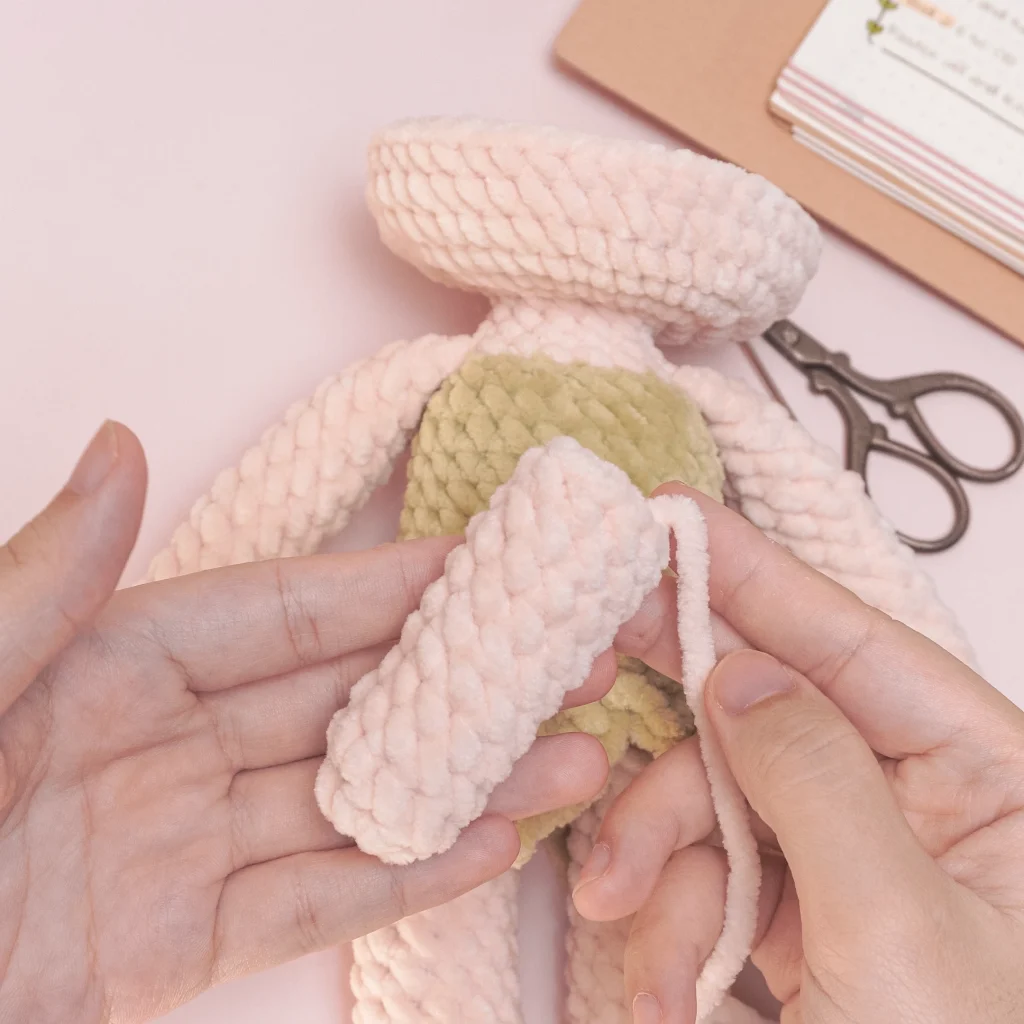
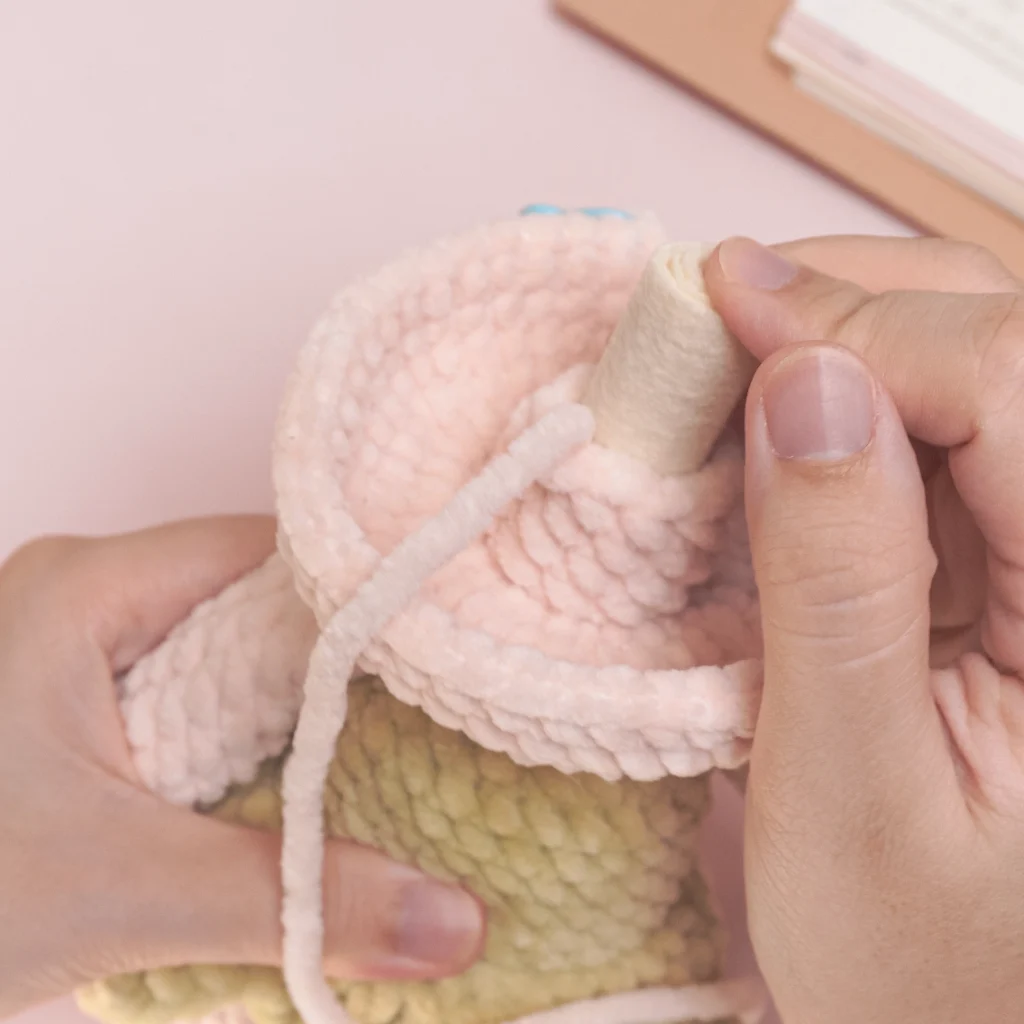
Placement: Insert this tube into the neck. You can use the hook handle or a chopstick to insert the tube easier.
The Tube
Choosing the Right Support Material
Once your tube is ready, you need to fill it with something rigid. Depending on the size of your doll and who it is for, you have three main options:
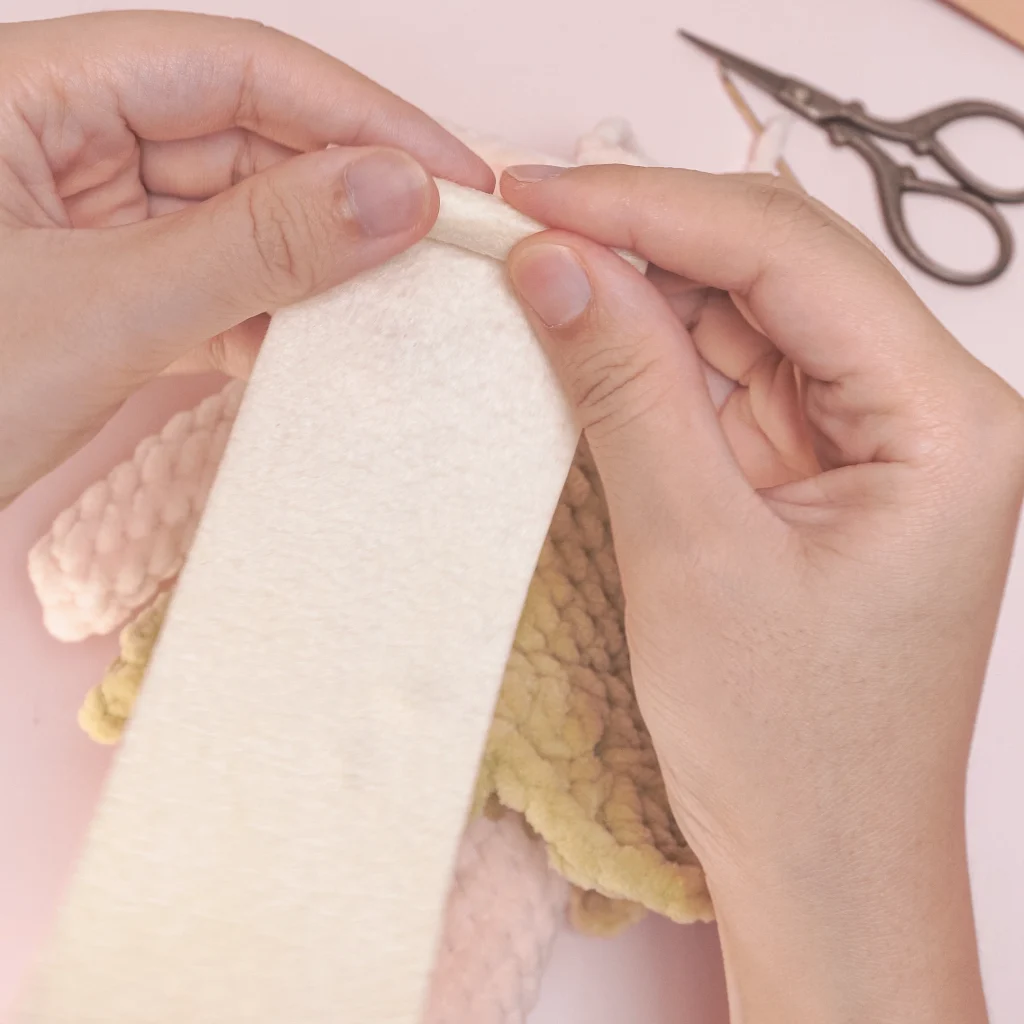
Option 1: The Felt Fabric Roll (Best for Soft Play)
- The Method: Roll a piece of stiff felt fabric very tightly and insert it into the tube.
- Pros: 100% safe for toddlers, washable, and won’t poke through the stitches.
- Cons: Only works for dolls with thicker necks. It doesn’t provide enough support for tiny dolls with very heavy heads.
Option 2: The Hot Glue Stick
- The Method: Use a standard hot glue stick (1-2 cm diameter). If your doll’s neck is wide, you can tape or tie 3 small glue sticks together.
- Pros: It provides a perfect balance of flexibility and firmness while remaining extremely durable.
- Cons: Avoid high heat! If you use a tumble dryer after washing the doll, the hot glue may melt.

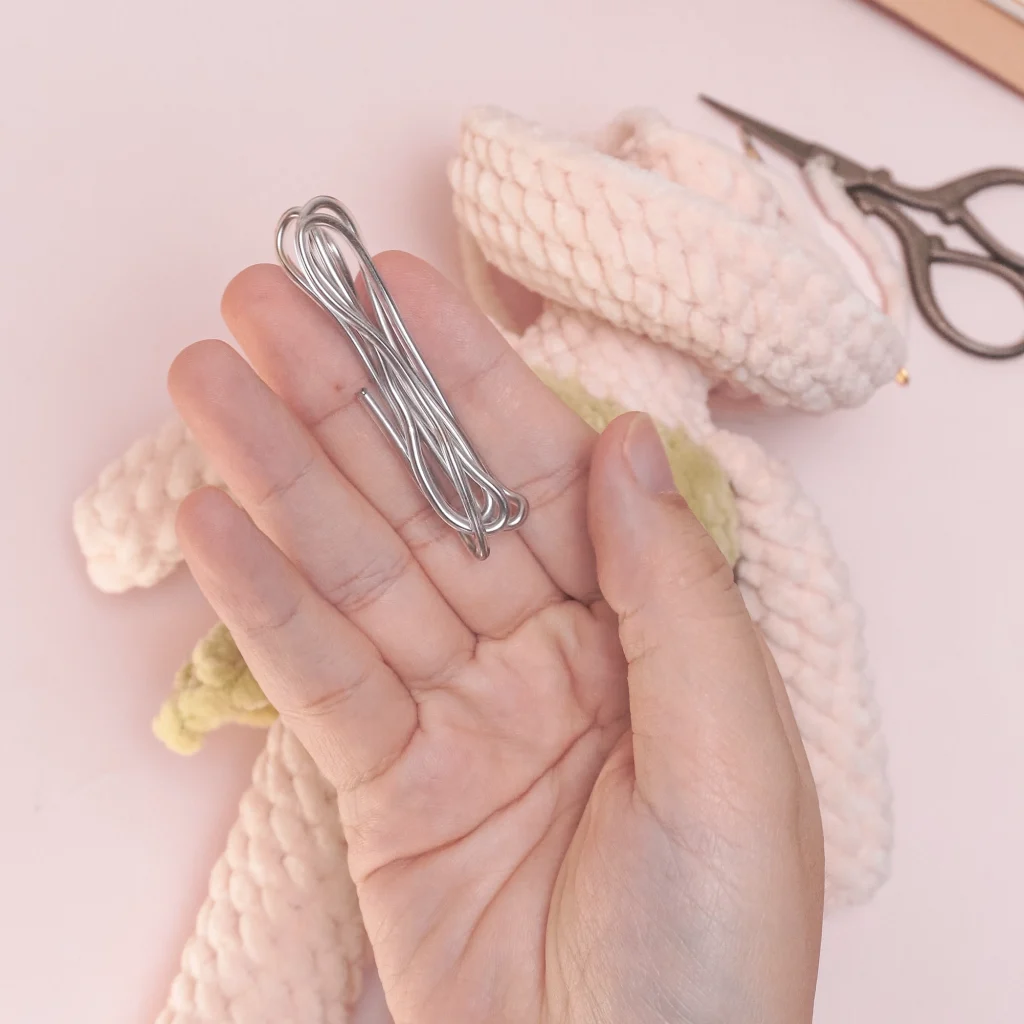
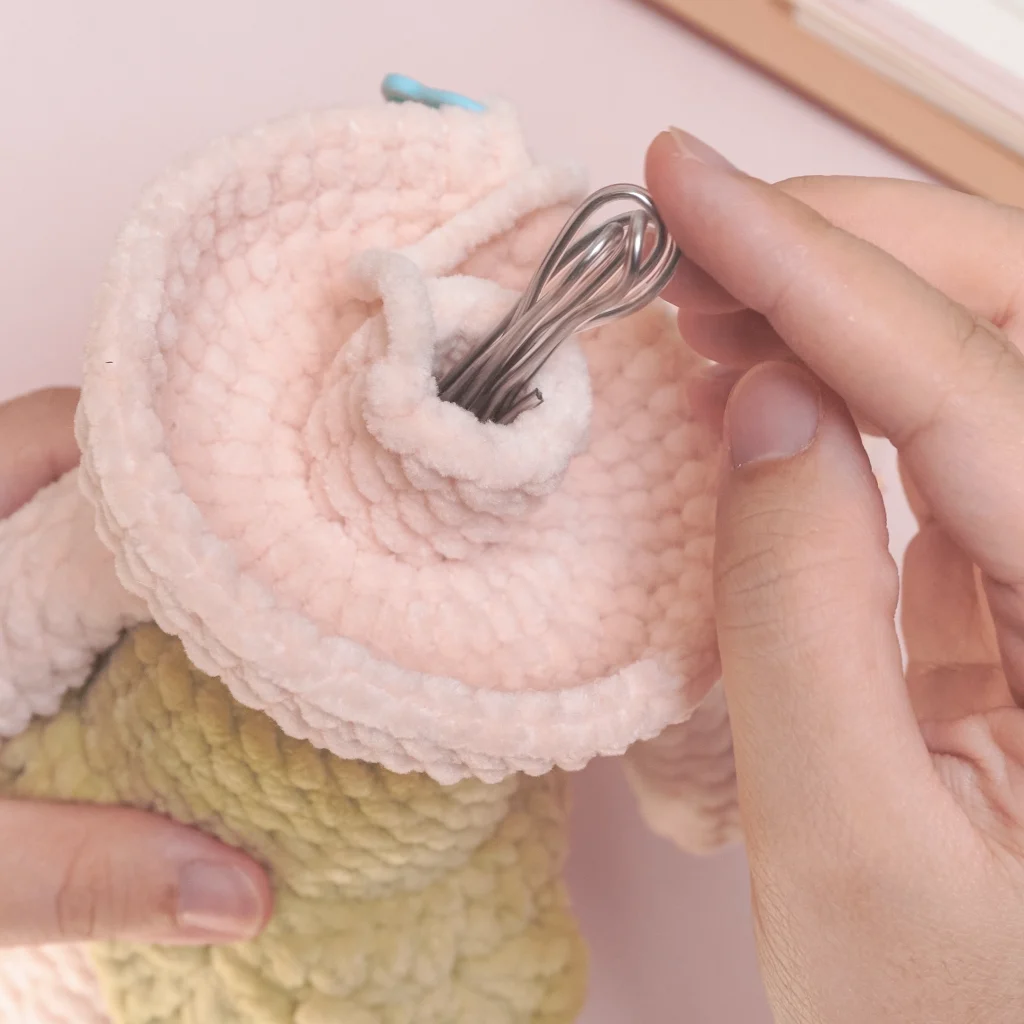
Option 3: Twisted Soft Wires (Best for Poseable Dolls)
- The Method: Take soft craft wire and twist it several times to increase tension.
- Important: Always fold the ends over and wrap them in electrical tape or a bit of hot glue to prevent sharp edges from poking out.
- Pros: The best for maximum sturdiness. Allows the doll’s head to tilt for cute photos!
- Cons: Not recommended for small children.
The Finishing Touch: Securing the Structure
Sometimes, whenn the head and body is not stuffed firmly will leave the support tube “floating.” If it moves, the head will eventually tilt.
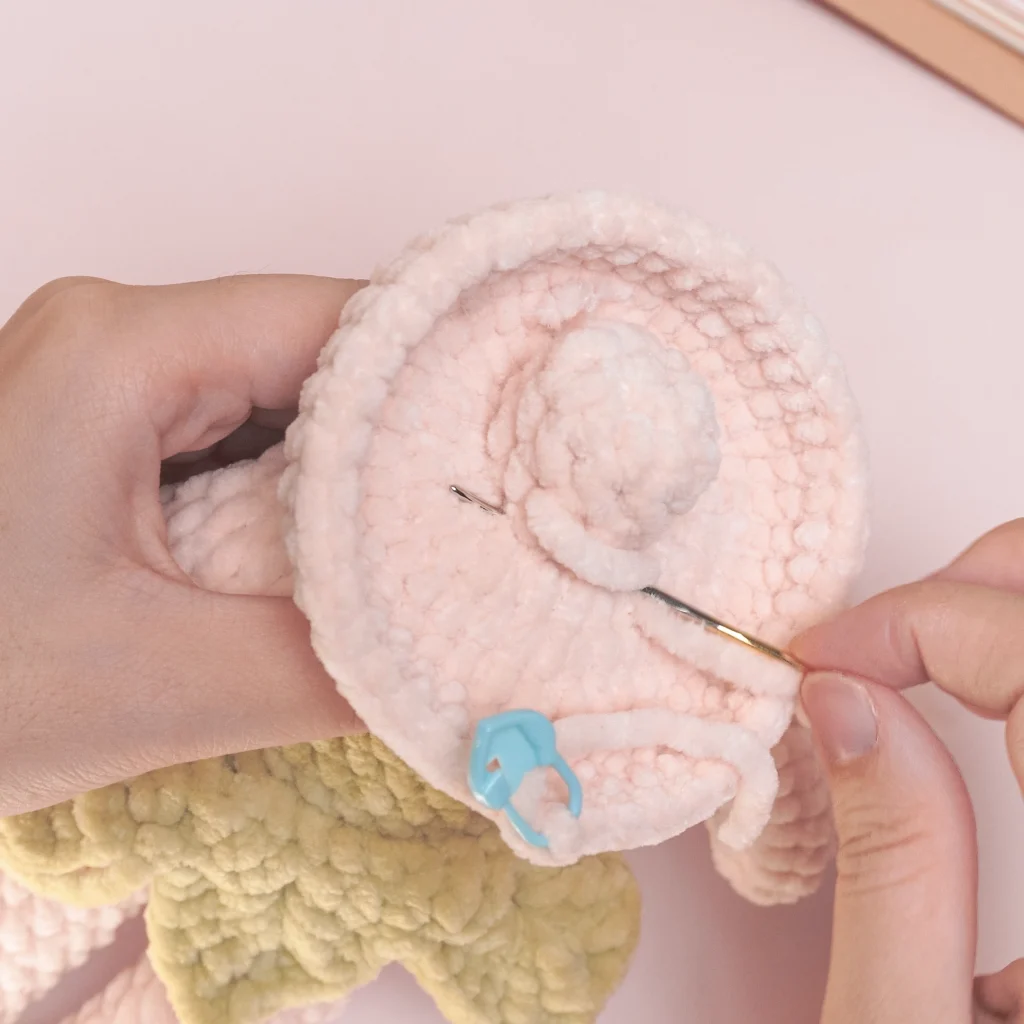
- Seal the Tube: Use a yarn needle to weave through the front loops of the last round of your tube to close it tightly.
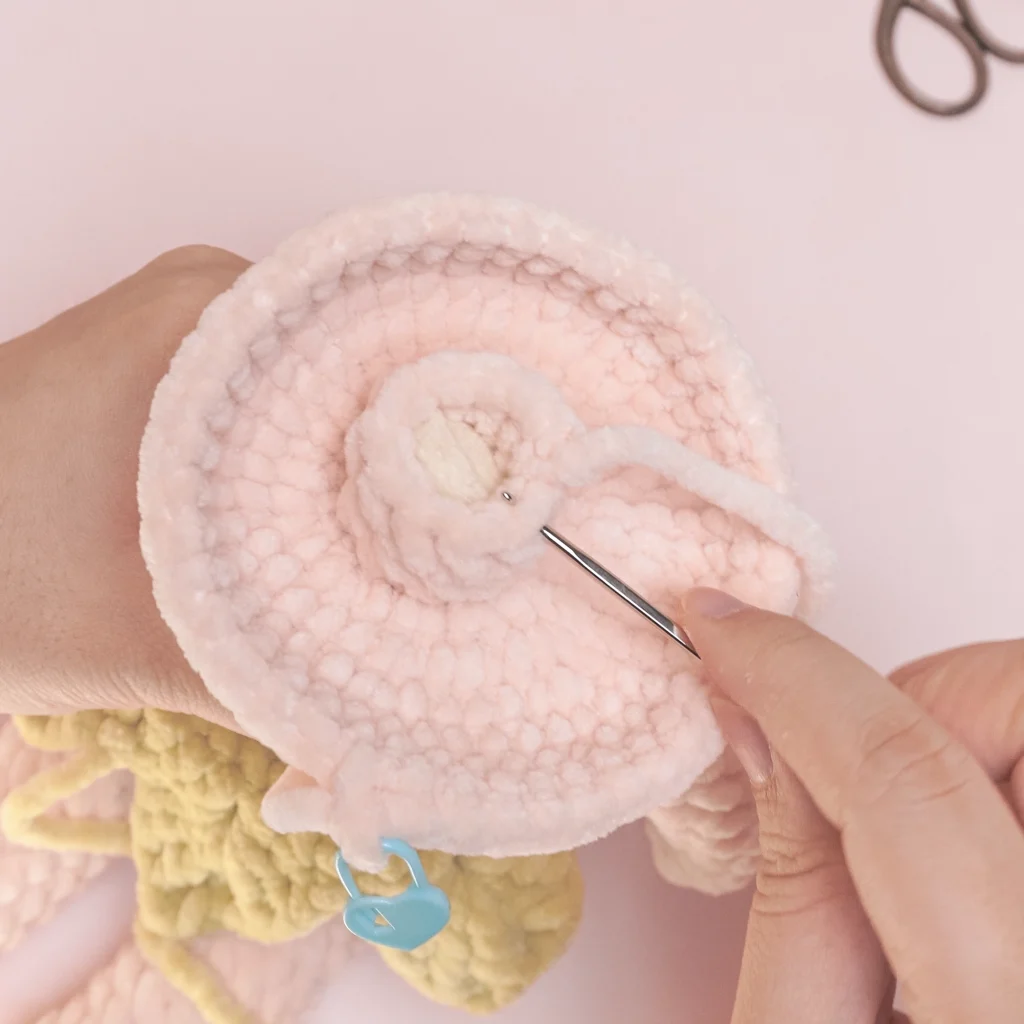

- The “Anchor” Stitch: Use a long yarn tail to sew the top of the tube to 1 or 2 stitches inside the head, in the back part of the head. This “anchors” the spine in place, ensuring it doesn’t shift when the doll is played with or washed.
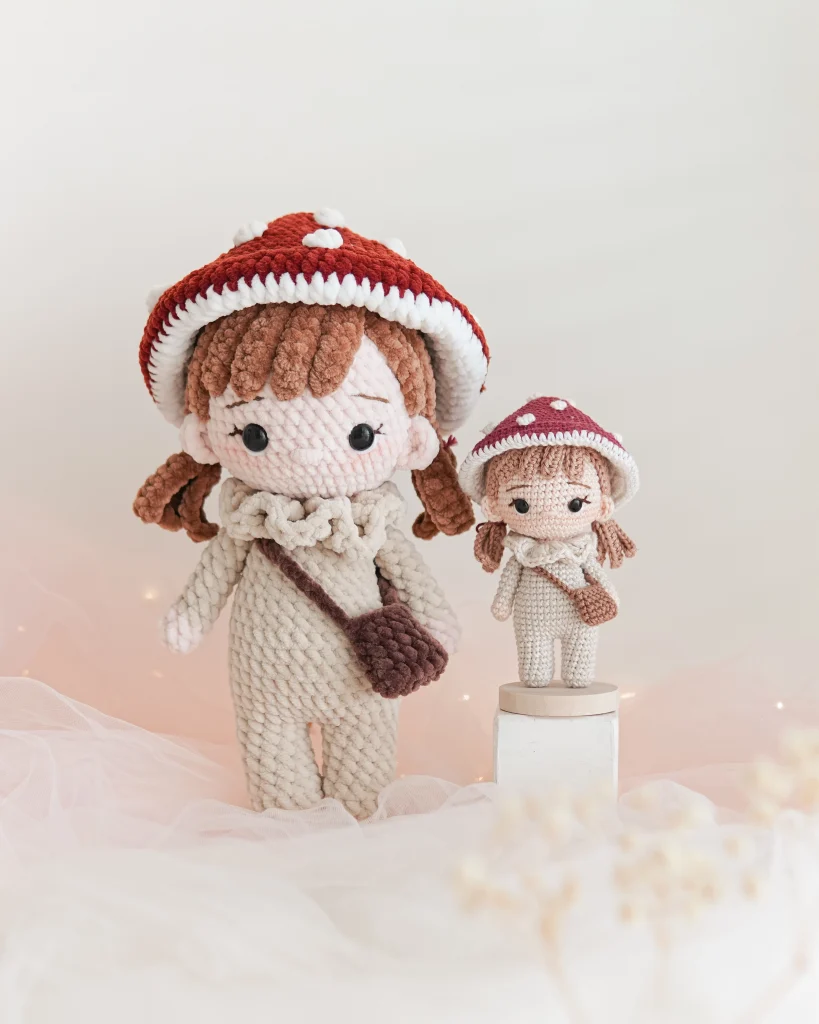
A sturdy neck not only makes your doll look better but also makes it feel higher quality—perfect if you are selling your finished work or gifting it to someone special.
I hope this method will help you in your crochet doll making journey.
You can find more crochet patterns in our Etsy and Website shops.
For more inspiration and behind-the-scenes contents, join me over on Facebook or Instagram!
Happy crocheting, my friends!