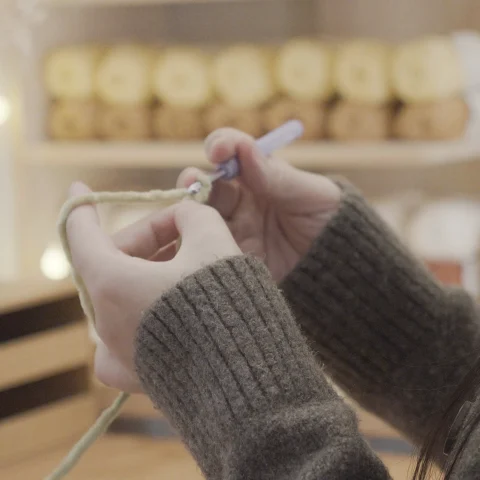
Meet the cutest mini hatching gosling amigurumi! Designed as a no-sew project, this tiny gosling works up in under 20 minutes and is perfect for craft fairs or last-minute gifts.
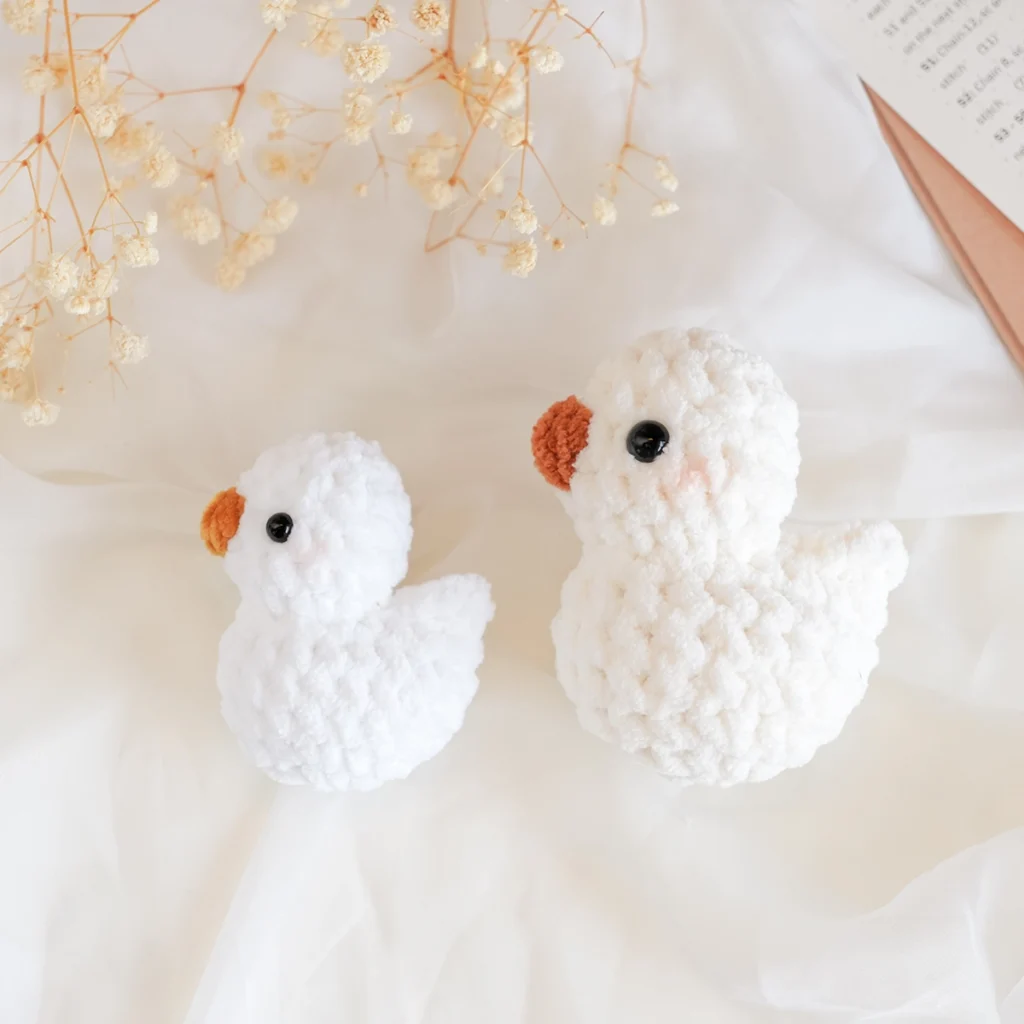
Why I’m Obsessed With These Little Guys
There’s something about a tiny gosling hatching out of an egg that just gets me every time. I’ve been on a bit of a “hatching amigurumi” kick lately, and honestly I can’t stop making these little goose babies. They’re so round and squishy and ridiculous in the best way.
These are perfect if you’re prepping for a craft fair, need a last-minute gift, or just want a pocket-sized buddy to brighten someone’s day. They work up so fast that you’ll probably end up with a whole pond of goslings before you even realize it.
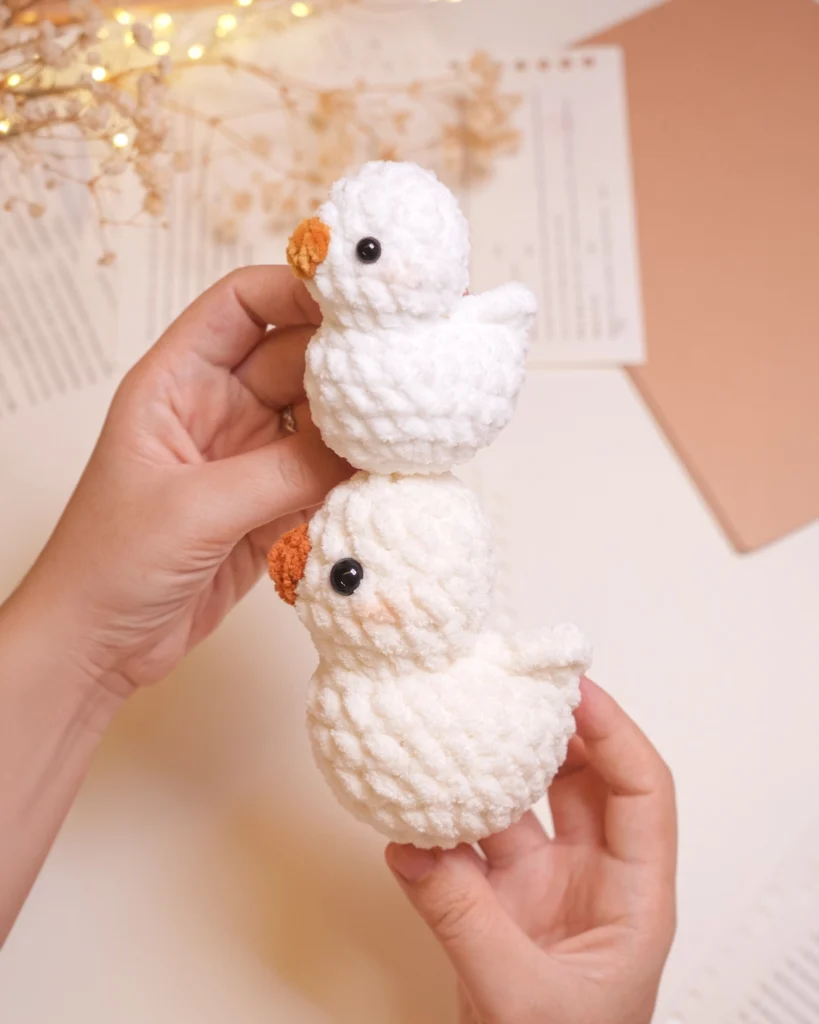
Why You’ll Love This Pattern
- 100% No-Sew: No needles, no assembly, just pure crochet fun.
- Fast & Satisfying: You can finish one in under 30 minutes (or 15 minutes if you are more advanced!).
- Tiny & Giftable: Perfect as keychains, egg filler toys, or little surprise gifts.
Get Free Patterns Straight to Your Inbox
If you love free patterns like this one, come join my newsletter! I share new designs, crochet tips, and the occasional sweet deal. No spam, I promise. Just the good stuff every now and then.
Want the Ad-Free PDF?
If you’d rather have a printable version without the ads, you can grab the premium PDF bundle for the hatching gosling and duckling on my website. It comes with clear photos and is easy to save to your phone or tablet.
Looking for the Duckling Version?
If you want to crochet the gosling too, don’t forget to check out my Hatching Duckling pattern!
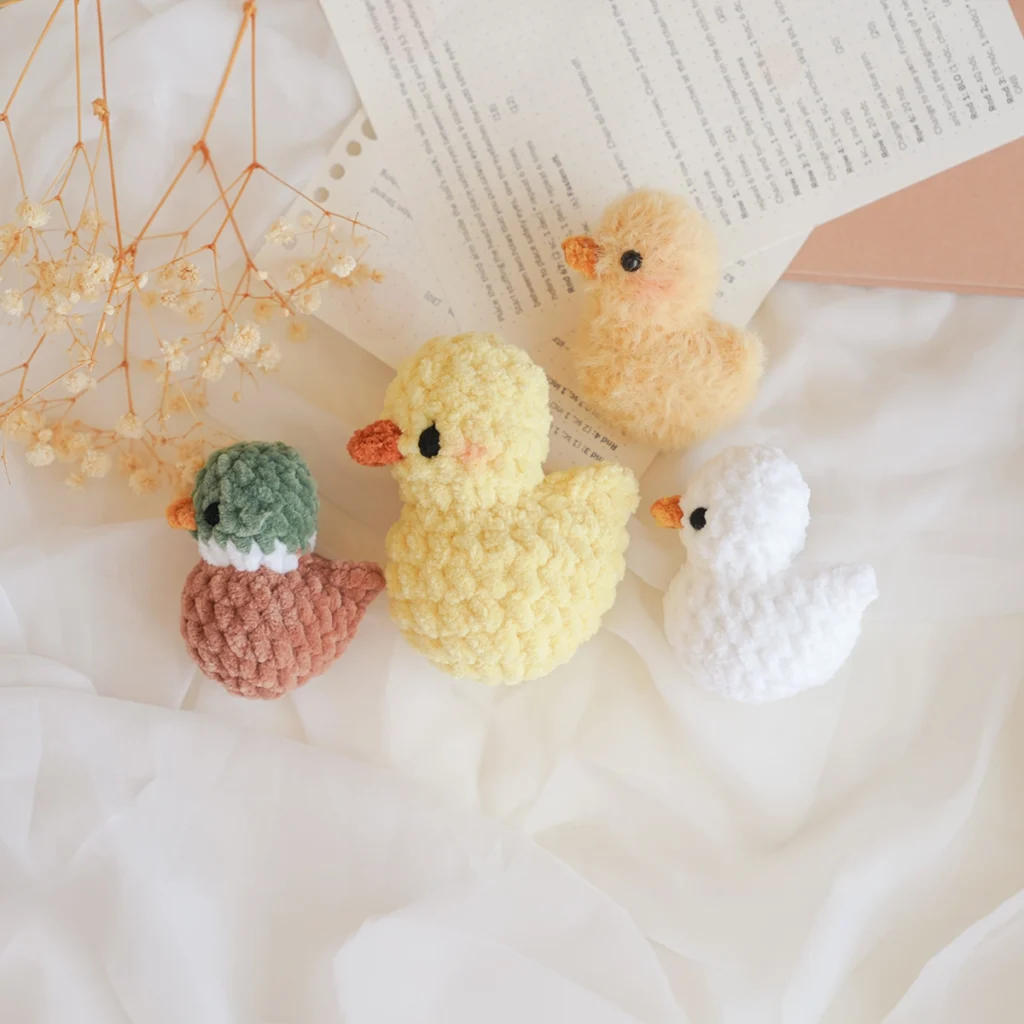
Project Overview
Quick tip before we dive in: keep your stitches nice and tight so the stuffing stays hidden inside. We’ll be working in a continuous spiral with no joining rounds.
I always suggest skimming through the full pattern before you start. It really does make the whole process smoother!
We’ll crochet from the bottom up to the head.
What You’ll Need
The pattern can be customized with different yarn weights to create smaller or larger gosling.
Bigger Size: 12 x 8 cm ~ 5 x 3 inc
- Yarn: Weight #6 yarn : Premier Basix Chenille Bright or Bernat Blanket
- Quantity: 15 g of the main body color and 1 g of the beak color.
- Hook: 5.5mm US 9
- Safety eyes: 10 mm
Smaller Size: Length: 8 cm ~ 3 inc
- Yarn: Weight #6 yarn: Premier Parfait Chunky
- Quantity: 8 g of the main body color and 1 g of the beak color.
- Hook: 4.0mm US 6
- Safety eyes: 7 mm
Other materials and tools:
Need the Egg Shell?
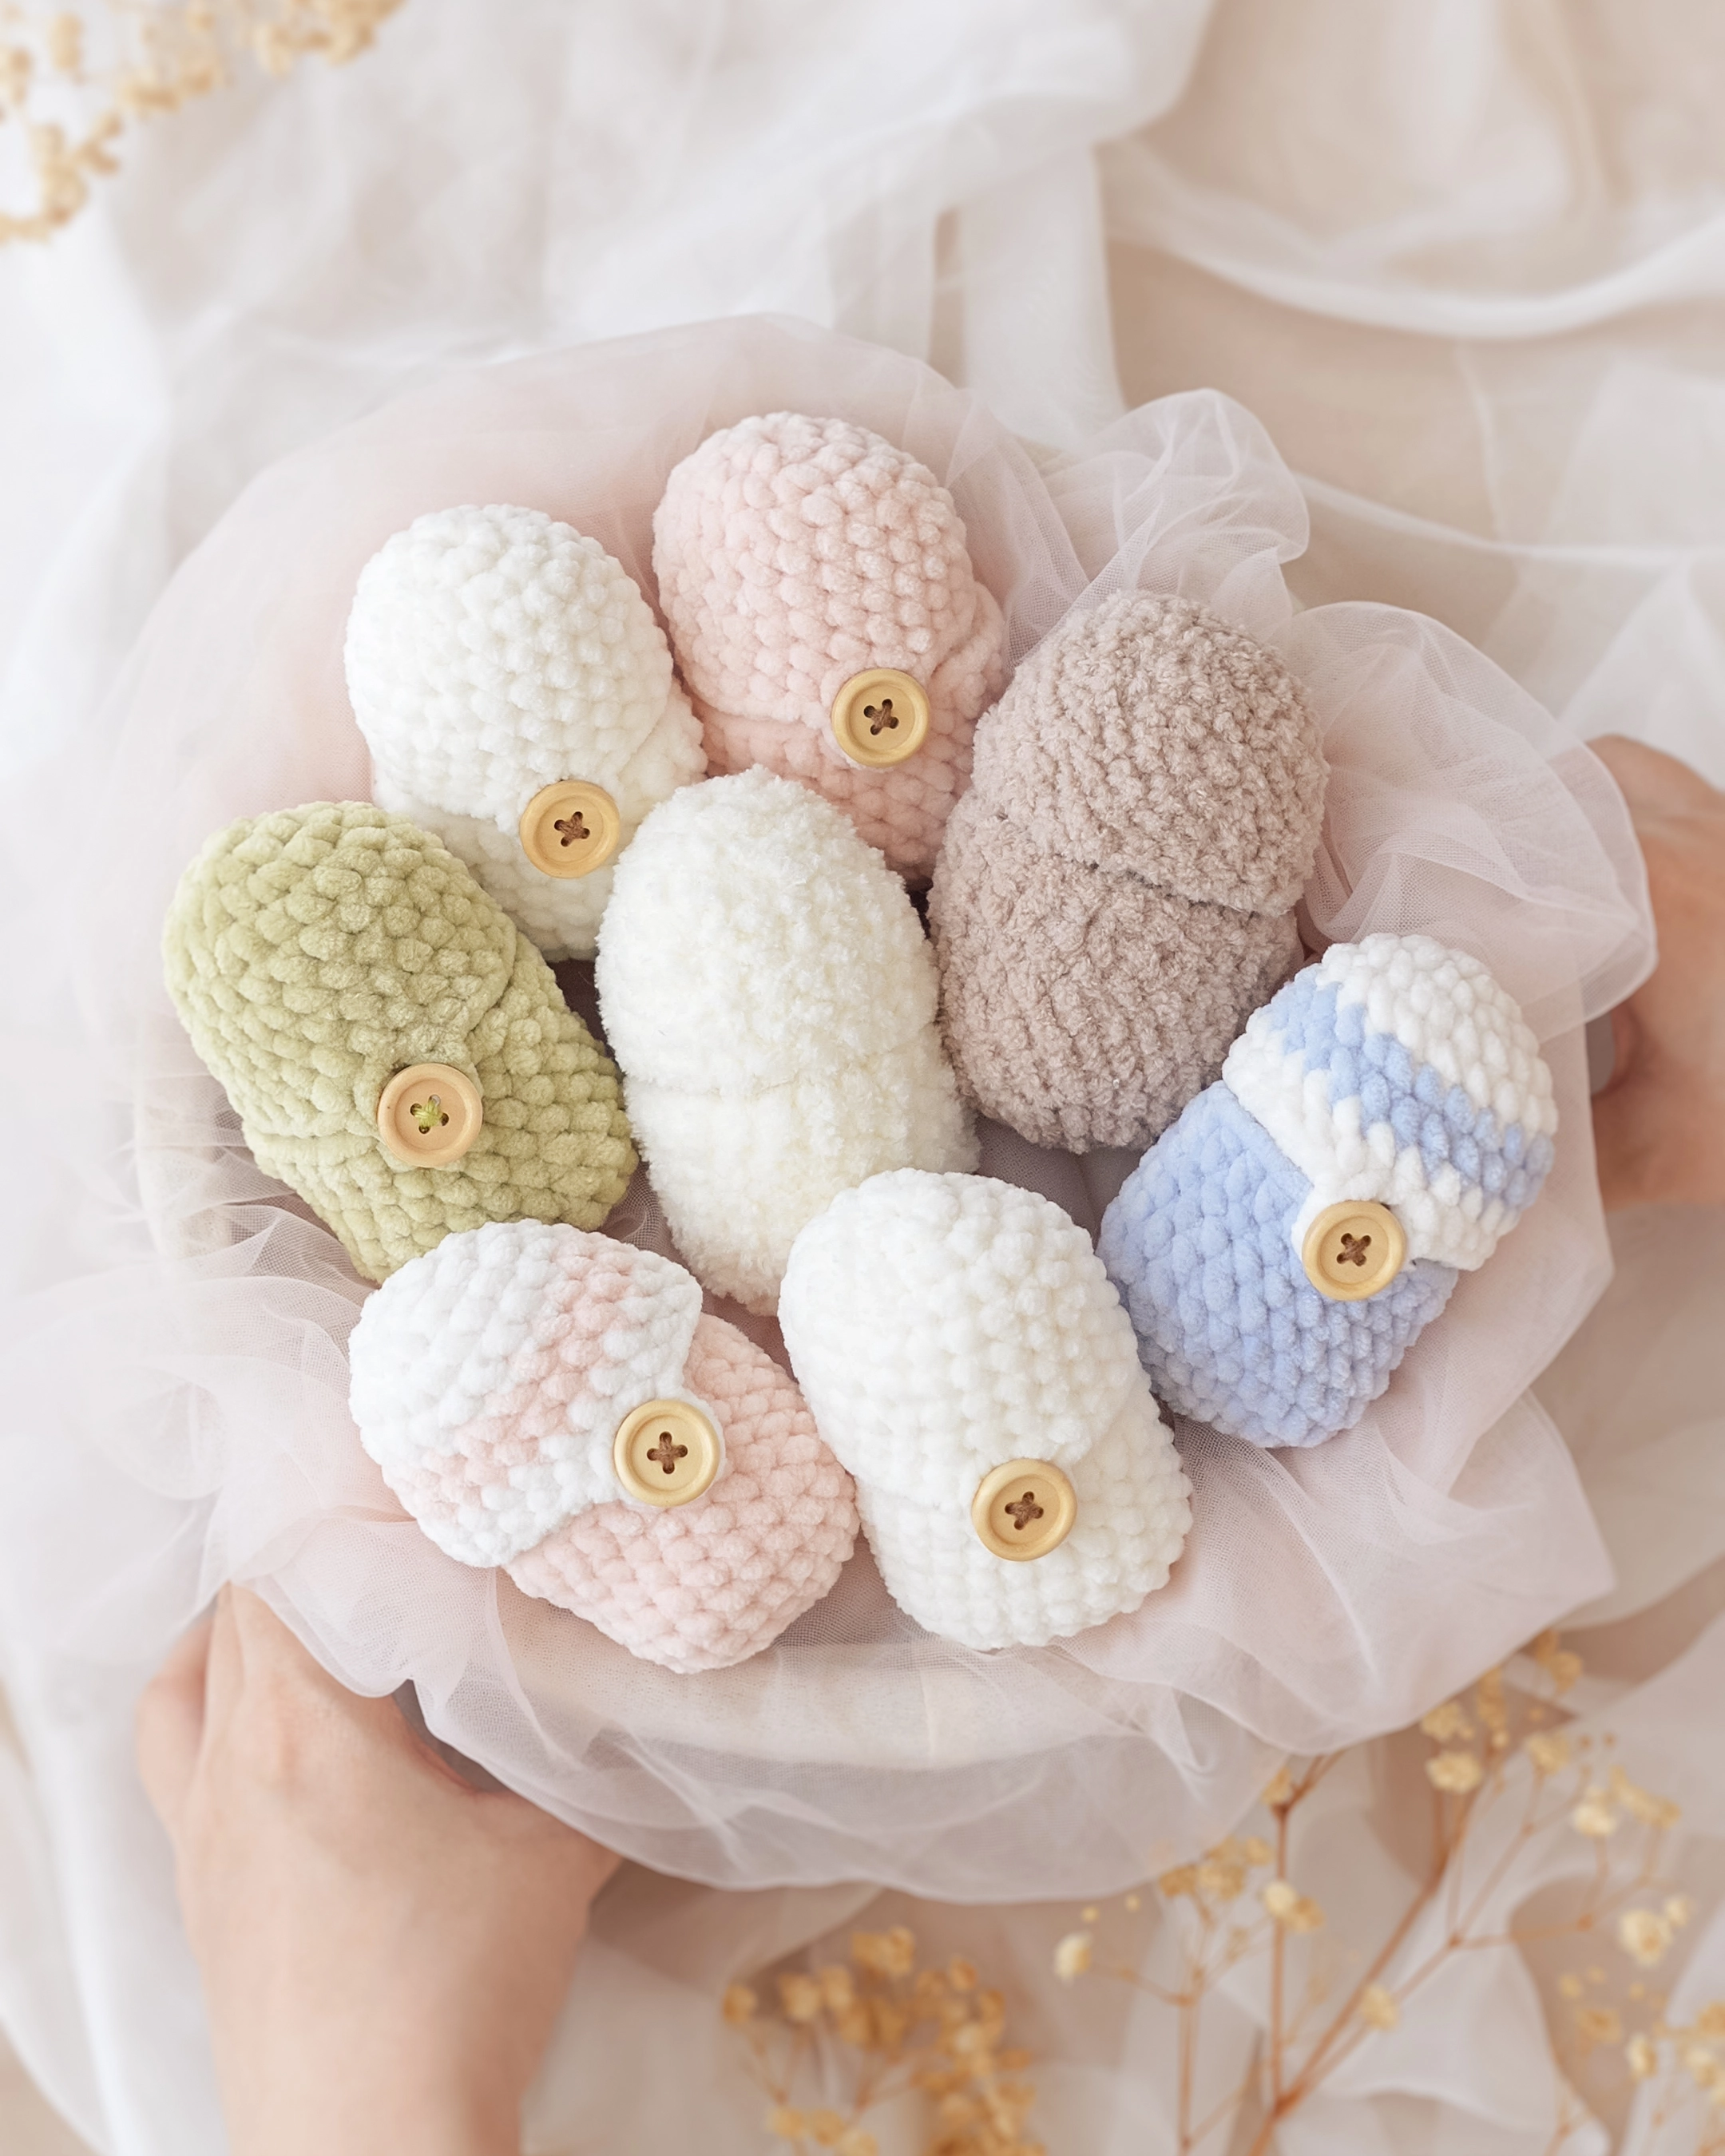
Don’t forget to make the little shell for your duckling to hatch out of! You can find the Egg Shell Pattern Link Here.
Stitches & Abbreviations (US Terms)
This pattern is written in US crochet terminology.
- Rnd: Round
- slst: Slip stitch
- sc: Single crochet
- hdc: Half double crochet
- dc: Double crochet
- inc: Increase (2 sc in one stitch)
- dec: Decrease (invisible decrease works best)
- FLO: Front loops only
- BLO: Back loops only
Hatching Gosling Free Pattern
Body and Head
Begin with yellow/white yarn. Work in spiral rounds.
Rnd 1: 8 sc in the magic ring [8]
Rnd 2: 8 inc [16]
Rnd 3: (3 sc, 1 inc) * repeat 4 times [20]
Rnd 4 – Rnd 6: 20 sc [20] [3 Rounds]
Rnd 7: 4 sc, (1 sc, 1 dec) * repeat 4 times, 4 sc [16]
Put a stitch marker in the front loop of the 5th stitch (black stitch marker) and the 12th stitch (red stitch marker) of Rnd 7.
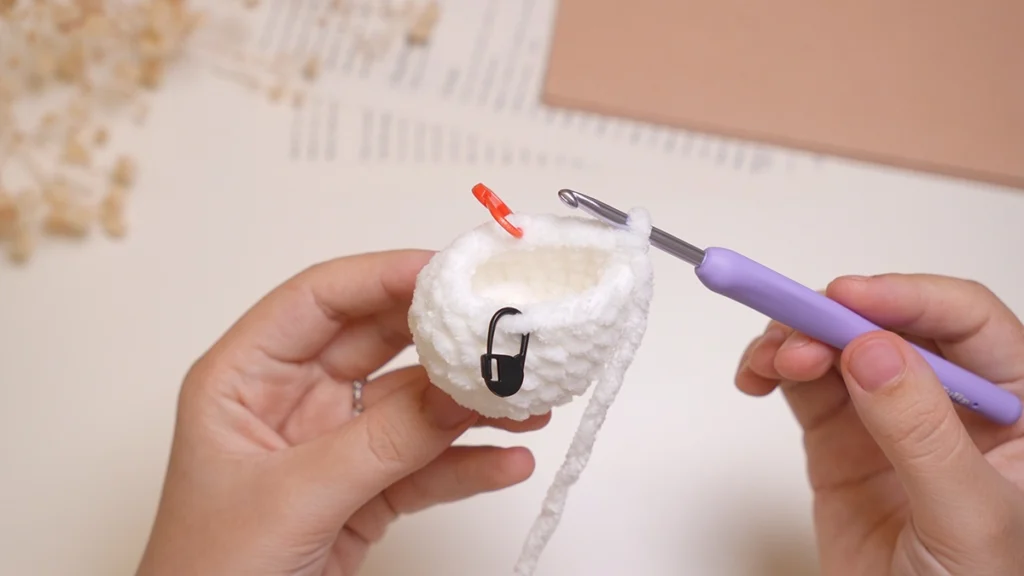
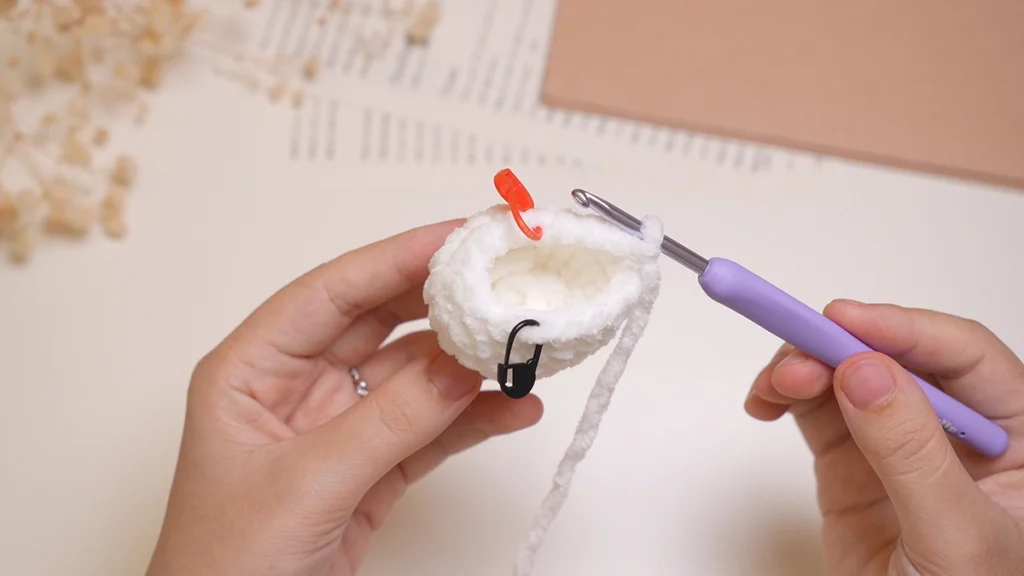
Now, chain 1 and work through both sides to close the body:
- First, 1 inc through both sides of the first pair of stitches.
- Next, slst through the back loops of the next 4 pairs of stitches.
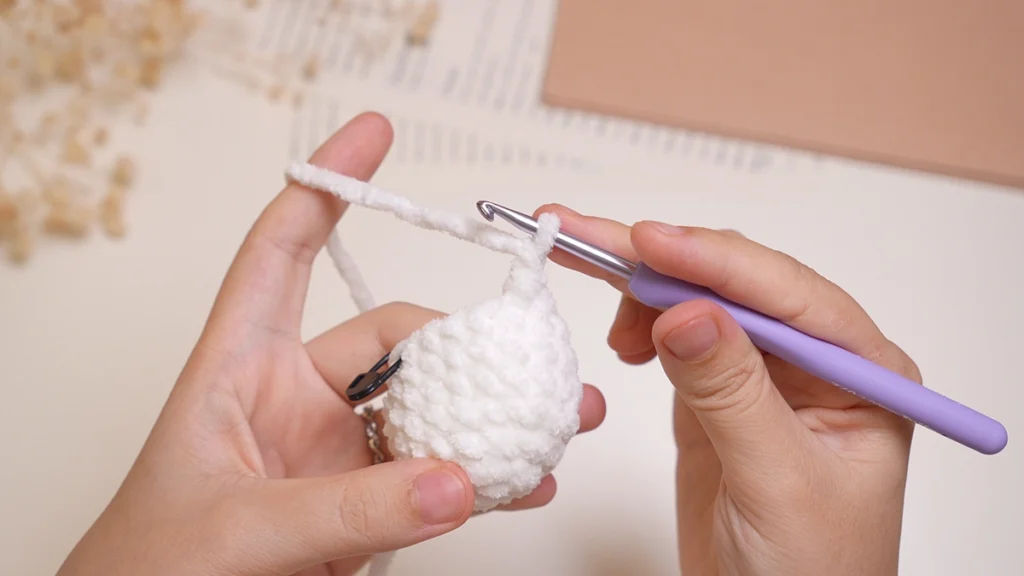
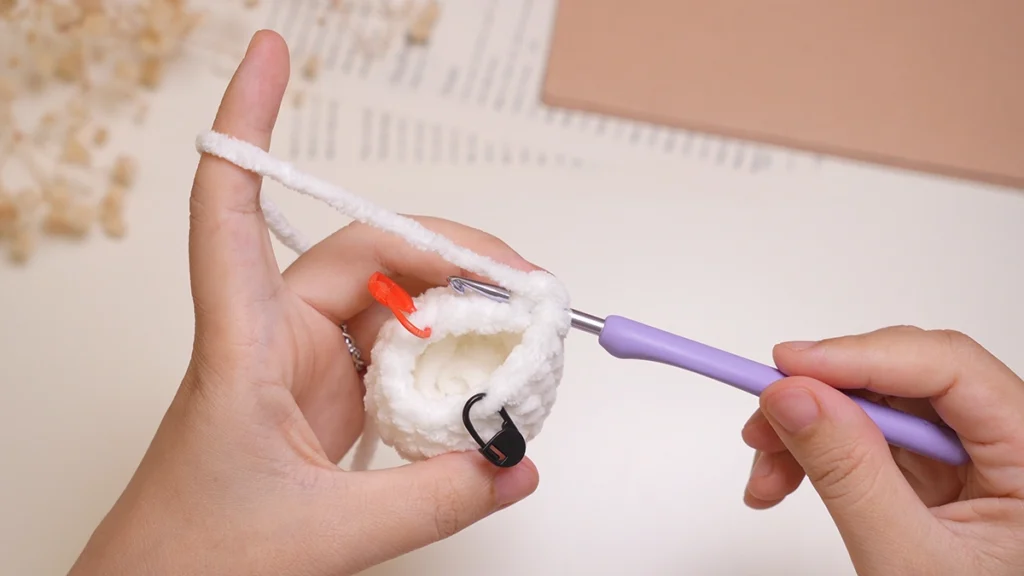
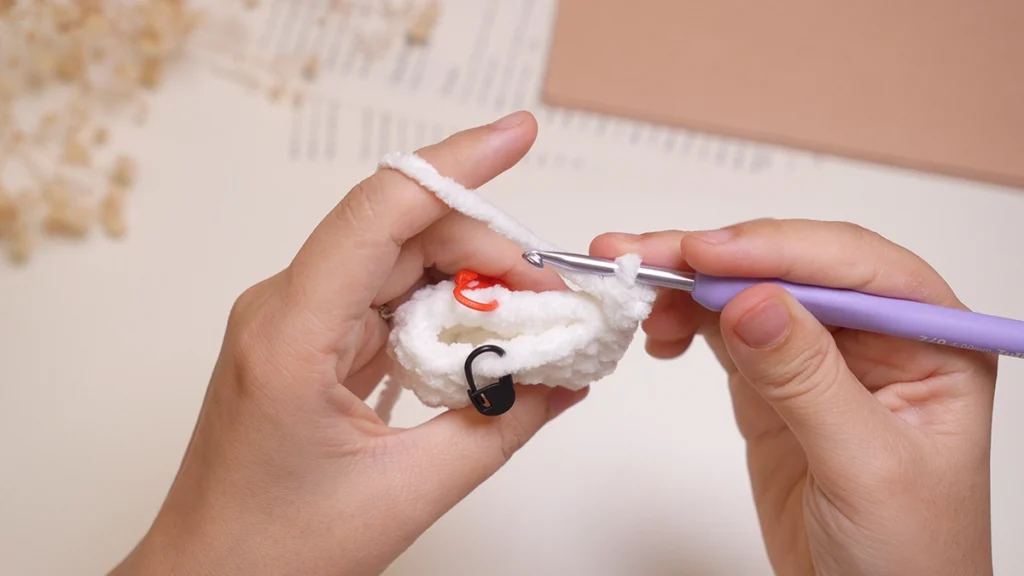
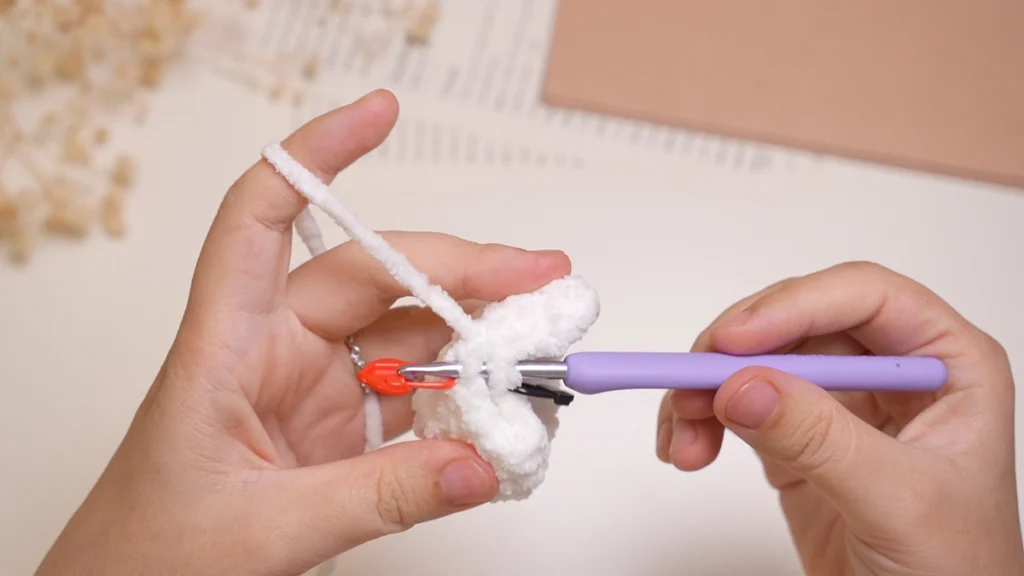
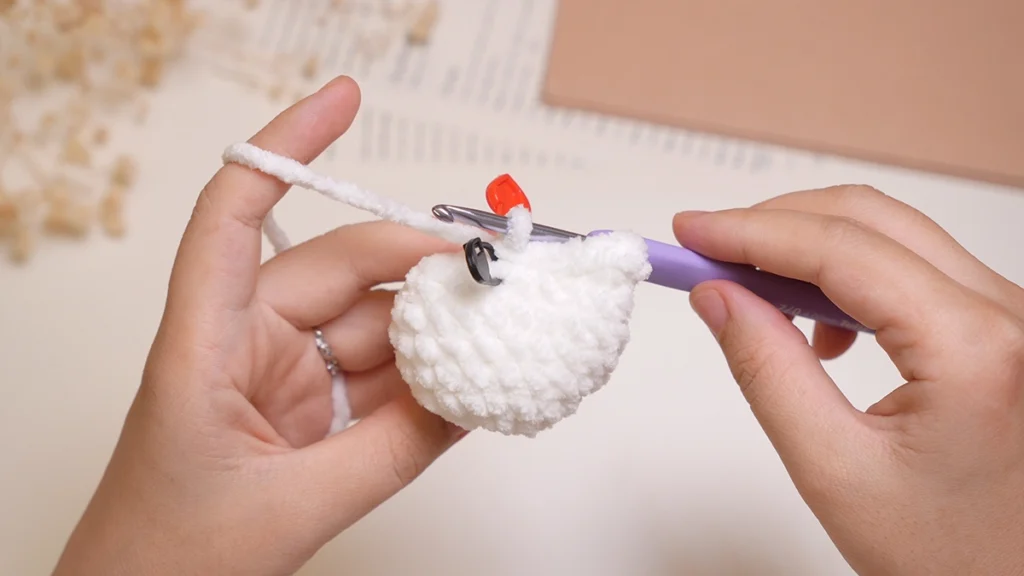
Now the body is closed, with 6 stitches left unworked. Continue crocheting the head in spiral rounds. Begin counting rounds from here. The black stitch marker now marks the first stitch of the round.
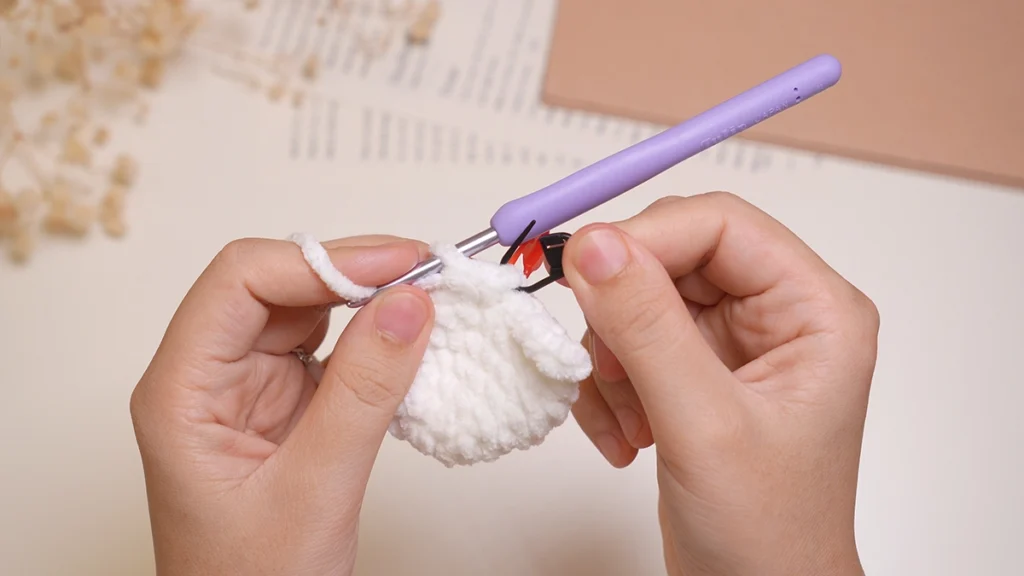
Rnd 8: Working through both loops for all stitches: 1 inc in the 5th stitch of Rnd 7 (black stitch marker), 1 inc in each of the 6 unworked stitches, 1 inc in the 12th stitch of Rnd 7 (red stitch marker) [16]
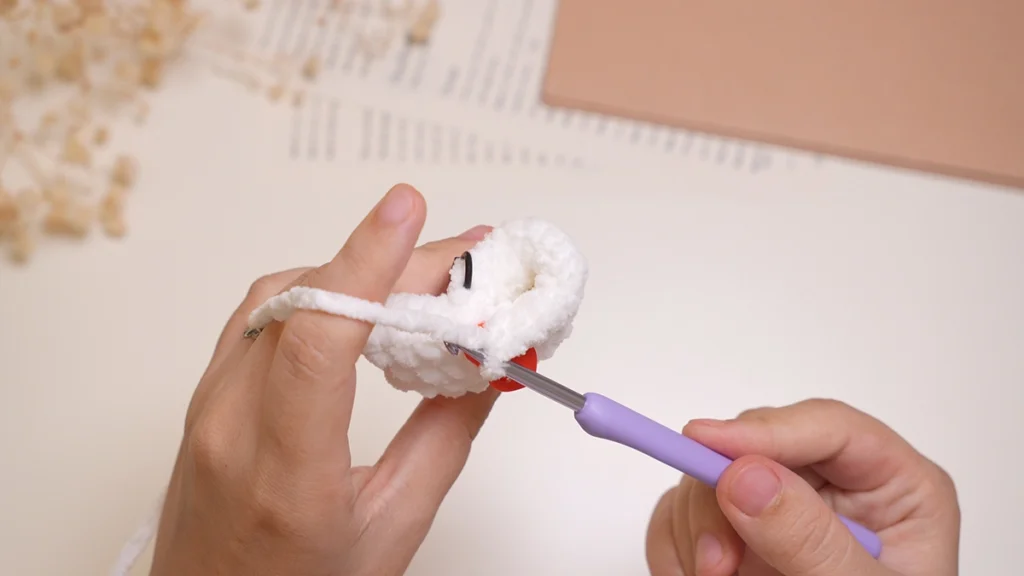
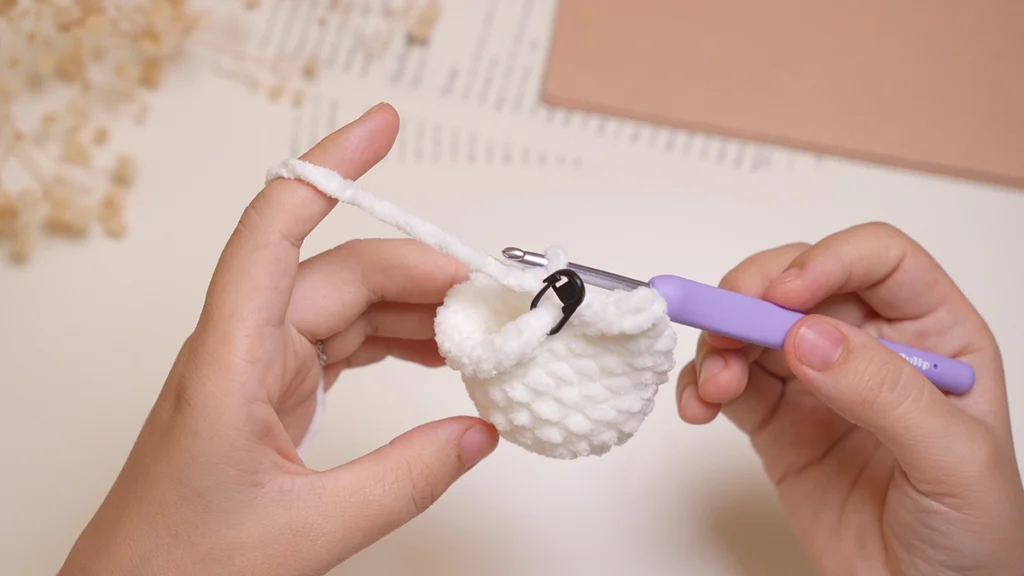
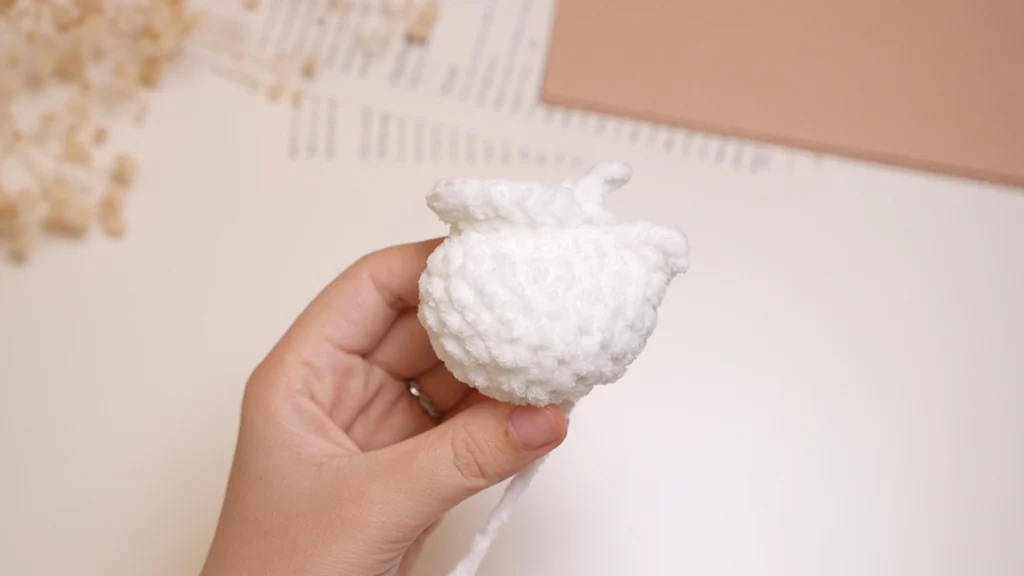
Stuffing the body.
Rnd 9: 16 sc [16]
Rnd 10: 7 sc, 1 bobble-3-dc in gold, 8 sc [16]
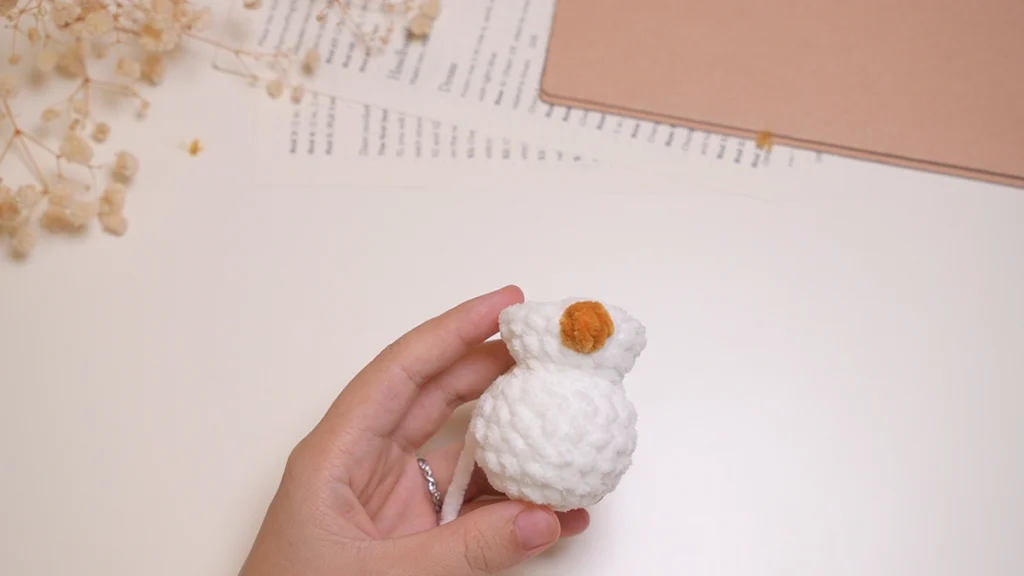
Rnd 11: 2 sc, 2 dec, 3 sc, 2 dec, 3 sc [12]
Rnd 12: 12 sc [12]
Place safety eyes between Rnd 10 and Rnd 11, with 1 stitch apart from the beak. Stuffing the head.
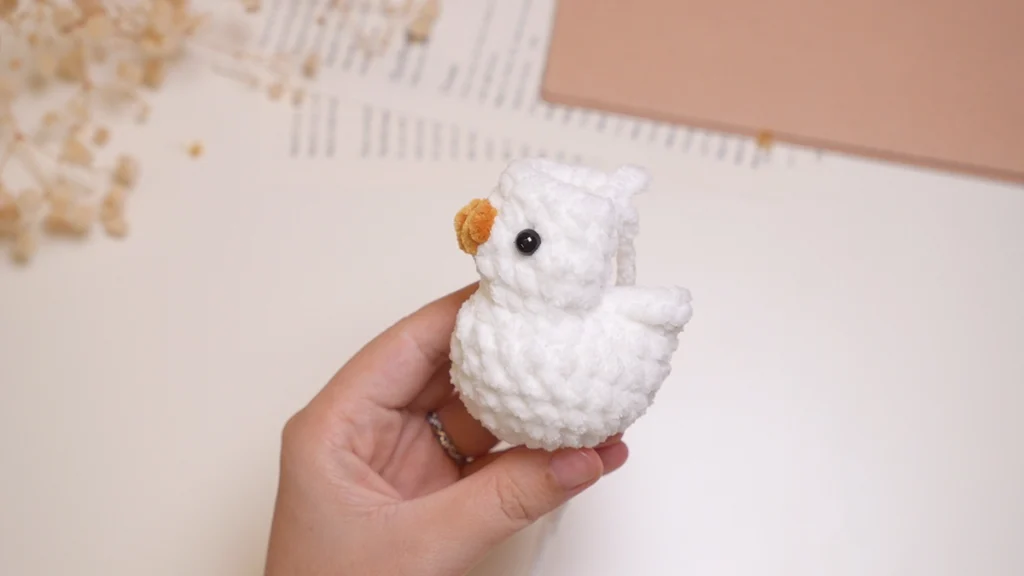
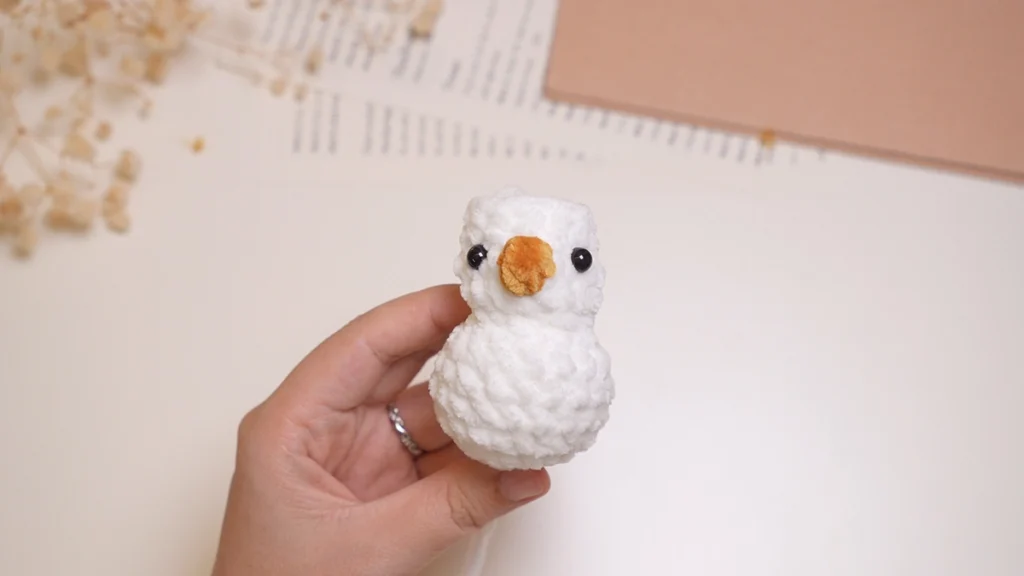
Rnd 13: 6 dec [6]
Fasten off and leave a long tail. Use a sewing needle, weave the yarn tail through the front loops of the last round and pull it tight to close the hole. Make a knot to make it more secure and weave the yarn tail inside the head.
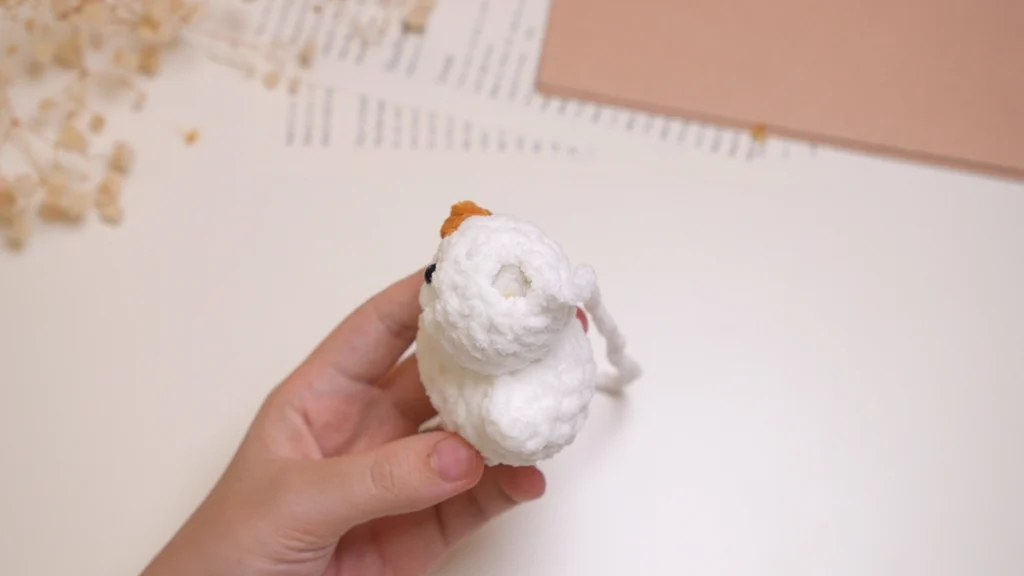
Finishing Up
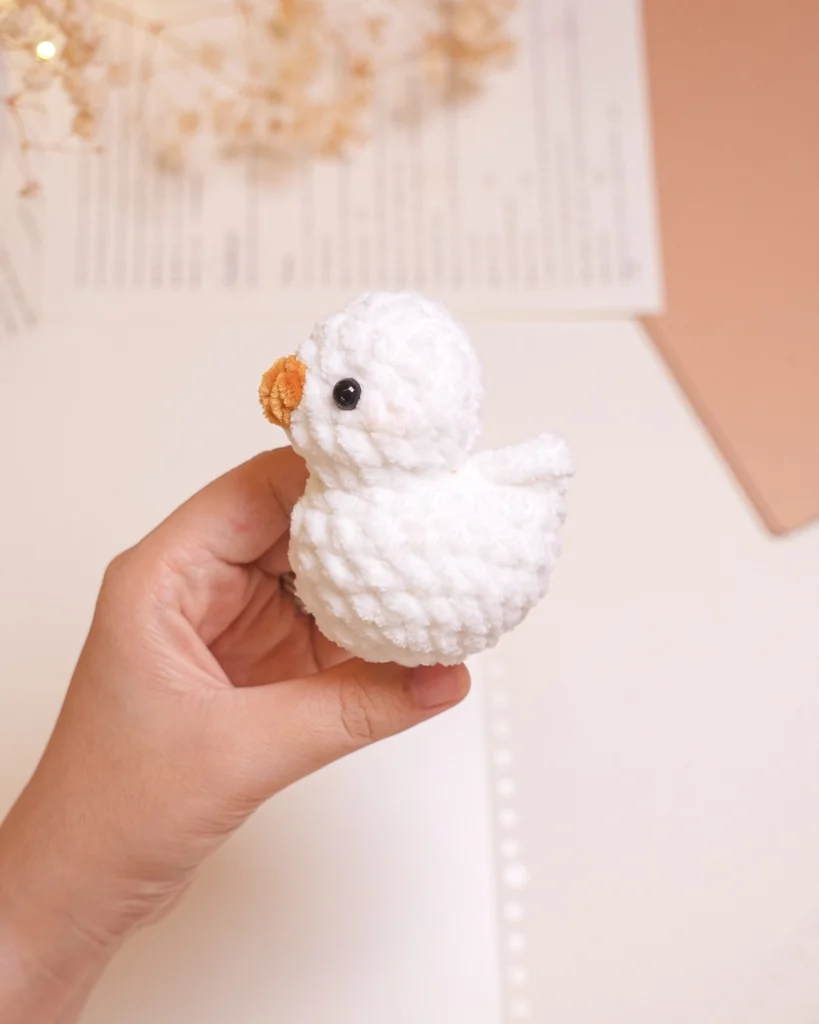
Once your gosling body is done, weave in your ends and tuck it into its egg shell. These little guys are made for a quick, satisfying crochet session. If you’re doing a craft fair, honestly? Make a whole basket of them! I think they will sell like crazy!
I’d love to see your finished hatching goslings! Tag me @greenfrog.crochet on Instagram or use #greenfrogcrochet so I can share your work.
Thank you for crocheting with me today! If you love cute crochet patterns like this one, make sure to join my newsletter for crochet tips, and new pattern updates delivered straight to your inbox. I can’t wait to crochet with you again!
You can find more crochet patterns in our Etsy and Website shops.
For more inspiration and behind-the-scenes contents, join me over on Facebook or Instagram!
Happy Crocheting!
This post may contain affiliate links. View our disclosure policy here.
Copyright © 2026 Green Frog Crochet. All rights reserved. Please do not redistribute or sell this pattern as your own. You are welcome to sell finished items made from this pattern.